
TABLE OF CONTENTS
- How to Edit and Revise Documents
- How to Repeat Documents
- How to Share Documents
- How to Track Documents
- Manage Payments in the Mobile App
This article covers documents that already exist. See Creating Documents in the Precoro Mobile App if you need to create one first.
How to Edit and Revise Documents
- Open the document you want to edit.
- Tap More Actions ("...") in the top right corner, then select Edit from the menu.
- Update the values you need, then tap Update to save your changes.
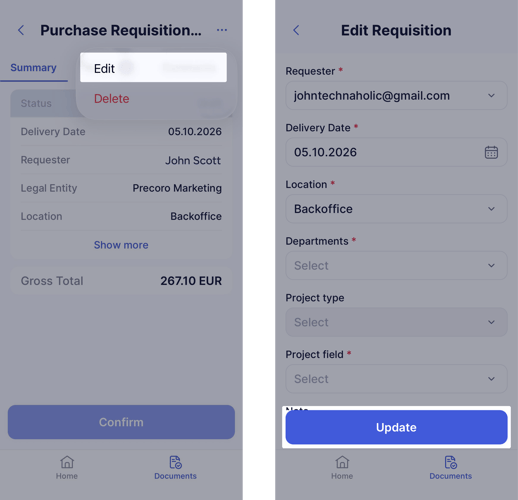
Please note that editing a document may trigger the re-approval process. Learn more about what triggers it here.
In addition to editing documents, you can also revise them on mobile.
This feature offers the ability to change items and correct the values of document fields. To revise a document, open it, press “...” in the top right corner, and select Revise.
Revise is available to:
- the document's Initiator;
- the document's Approvers;
- a user with the Super User role who has access to the document through custom document fields and location.
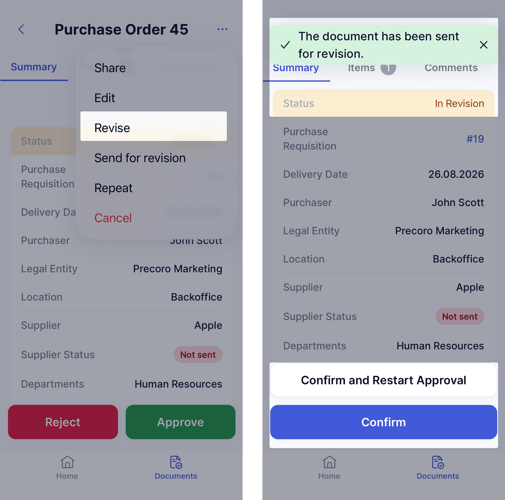
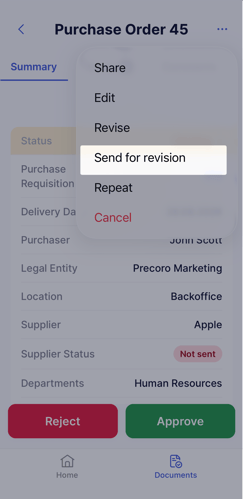
If you'd rather send the document back to its initiator to make the changes instead of revising it yourself, use Send for revision. It moves the document into In Revision status and assigns it back to the document's Initiator—everything else about it works the same as a regular Revise.
Send for revision is available to:
- the document's Approvers;
- a user with the Super User role who has access to the document by custom document fields and location.
How to Repeat Documents
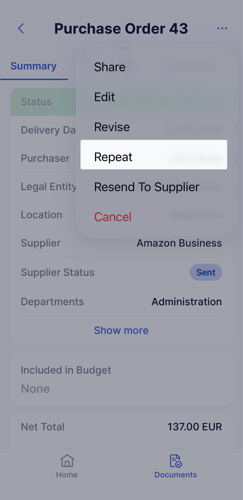
If you regularly create similar documents, like recurring purchase requisitions or repeat orders, duplicate an existing one instead of filling it out from scratch each time. Repeat is available for every document type you can create in the app.
- Open the document you want to repeat.
- Tap More Actions in the top right corner.
- Tap Repeat.
- Check the details, make necessary edits, and confirm the new document.
How to Share Documents
Once a document is confirmed, share a link to it directly from its document page, so the people you're working with can go straight to the exact document instead of searching for it.
- Open the confirmed document you want to share.
- Tap More Actions ("...") in the top right corner.
- Select Share from the menu to share the document's link.
.png?width=243&height=500&name=share-mobile%20(1).png)
How to Track Documents
From the Module Page
On any module page, use these tools to move through the document list faster:
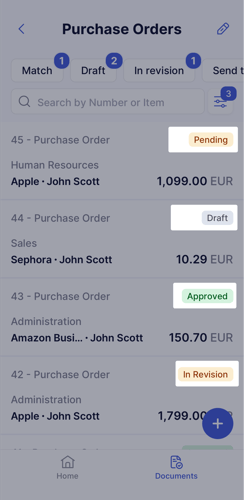
- Statuses, to see a document's progress stage at a glance.
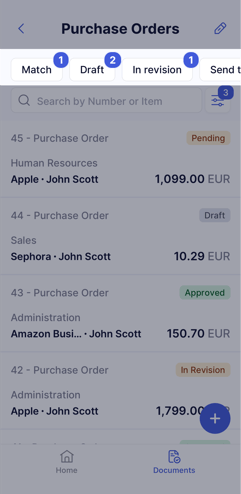
- Infocards, standard filter sets that speed up searching. Tap an infocard to see only documents matching its criteria.
- Filters, for a more precise search by specific parameters.
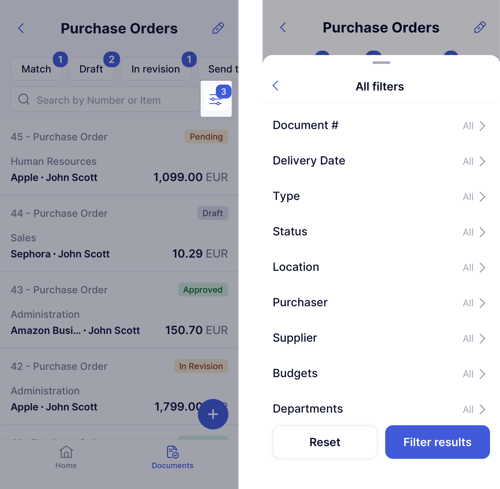
You can also filter the document list by custom item field values, such as part number, cost center, item category, or any other item-level detail your company uses.
From the Document Page
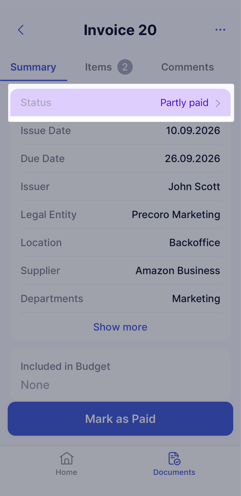
Open a document to see its status and details. If related documents exist, you'll also see their numbers and links to them.
Manage Payments in the Mobile App
There are two ways to work with payments in the app:
1. Pay Through Precoro Payments
Use it for approved invoices when your company has set up Precoro Payments in the web app. It allows users with the required permissions to create and authorize supplier payments directly from their mobile device.
✍️ Note: To access this feature, please set up Precoro Payments in the web app. To do so, check out this guide and contact our support team to assist you.
Precoro partners with Stripe Payments Company for money transmission services.
2. Mark a Document as Paid or Partly Paid
To use this feature, you need:
- The Payments module enabled
- The Invoices / Expenses Pay role
- A document in Approved or Partly Paid status
Add Payments
To mark a single document as paid:
- Open the document.
- Press Add Payment at the bottom of the screen.
- Fill in the details.
- Press Pay.
✍️ Note: The Payment Amount can be lower than the total amount of the invoice or expense, so the document will move to Partly Paid status. However, the Payment Amount cannot exceed the total amount of the document.
To add payments in bulk:
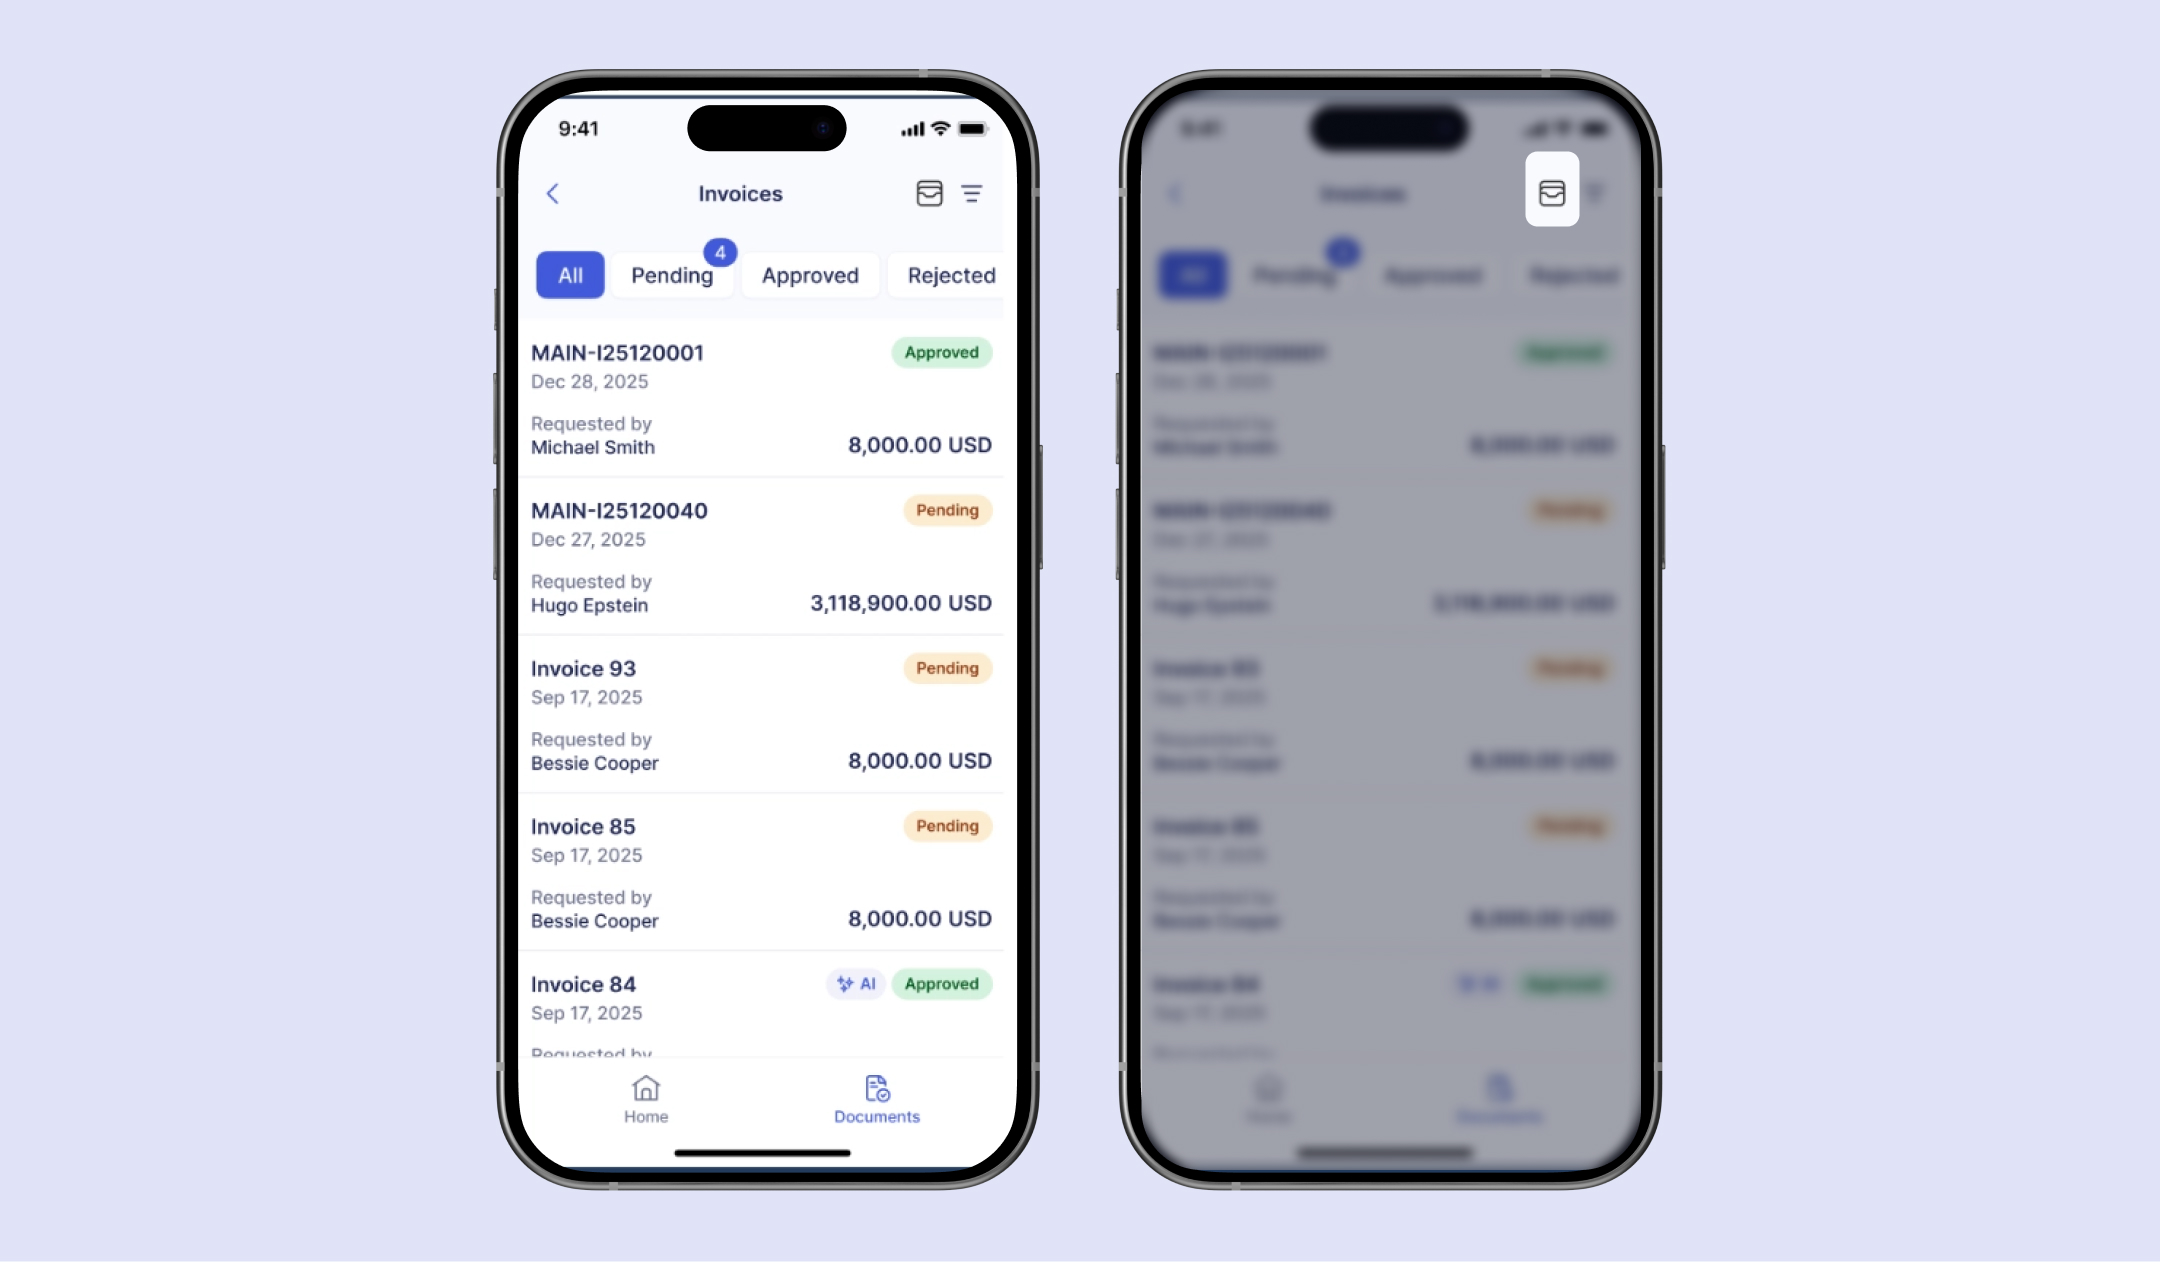
- Navigate to the Invoices or Expenses module, depending on what type of documents you want to pay.
- Press the Payments icon (see screenshot below).
- Select the documents you want to pay and press Add Payment.
- Fill in the details.
- Press Pay.
Cancel Payments
To cancel a payment from the document page:
- Open a Paid or Partly Paid invoice or expense.
- Tap More Actions (...) in the top right corner.
- Press Cancel on the required payment.
- Confirm the action.
- The payment status will change to Cancelled, and the document will return to Approved or Partly Paid.
To cancel a payment from the Payments list:
- Open the required payment.
- Press Cancel.
- Confirm the action.