TABLE OF CONTENTS
Easily Navigate the Catalog Using Favorite Item Lists
The highly anticipated favorite item lists are already available! Save items to custom lists within your catalog to quickly request frequently ordered goods and services. This feature allows you to:
- Always have quick access to popular goods and services via lists configured to your preferences.
- Create multiple lists with as many items as you need.
- Flexibly manage and update the lists.
How to Create and Manage Item Lists
Item lists can be created from two points in your workflow:
- On the Item Management page.
- In the Catalog window, when you’re adding items to a document (WR, PR, RFP, PO, or Invoice).
The default list called All Items contains all items added to the catalog. It’s a tab located at the top of the page/window. To add a new list:
- Click the “+” icon near the catalog tabs.
- Fill in the list name and press the Enter key to create a list. If necessary, you can change the name later.
- Once the list is created, you’ll see a new tab ready to be filled in.
On the newly created tab, add new items manually or import them using the action buttons in the top-right corner. They’ll be added to this list and to All Items.
Here’s how to add items that already exist in your catalog:
- Navigate to a previously created list (for instance, All Items).
- Find the item you need to add to the new list and click the More Actions button (three dots) in the Action column.
- If you only have one custom list, you’ll see the option to add the item to it in this menu. If you have several, click the Add to List option and then select an existing list or create a new one.
To rename or delete a list, open the Item Management page, right-click the list tab, and select the needed option.
Once you’ve created the lists, you can use them when adding items from the catalog to WRs, PRs, RFPs, POs, and Invoices to speed up navigation.
Scan Expenses to Reduce Manual Work
Expense scanning is now available in the web version of Precoro in addition to mobile! Instantly create expense documents by following these steps:
- Open the Expenses module.
- There are two ways to upload an image or a PDF file that contains expense information:
- Press Scan Expense in the top right corner, then select the file.
- Locate the file in your file manager, then drag it onto the page.
- Precoro will recognize the data, automatically create an expense document with the Draft status, and open it in a new tab for your review.
For larger expenses, data recognition may take time, but you can continue your work while the files are being processed in the background. The drafts you create are accessible on the Expenses page.
Please note that this feature is currently in Beta, which means we’ll continue polishing it to increase scanning accuracy and success rate.
Payment Date in Custom Payment Reports
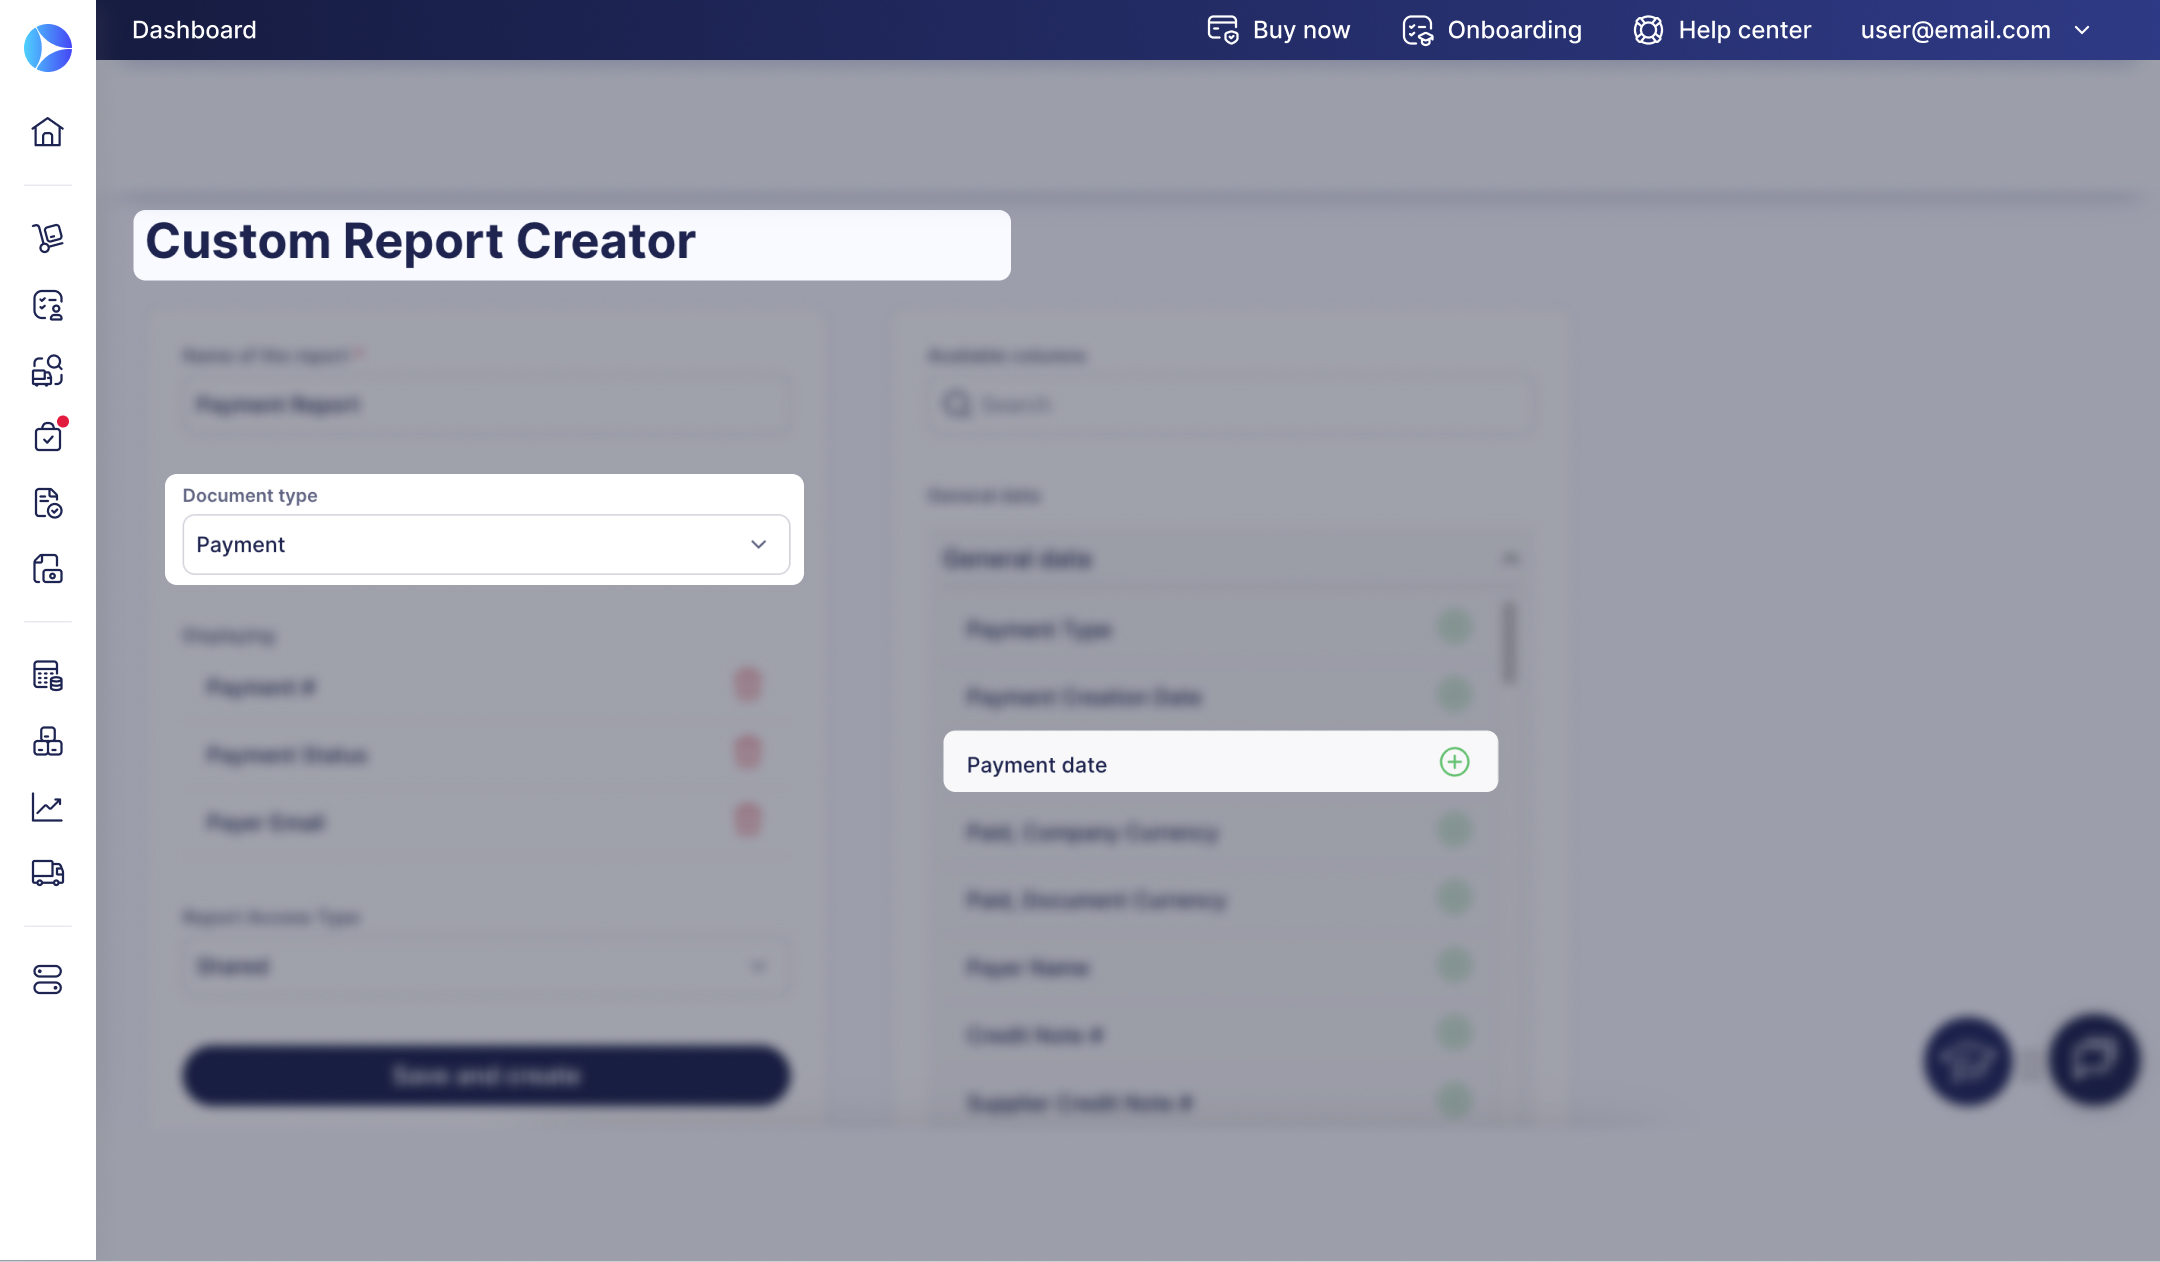
With the latest update, you'll see a Payment Date column instead of Due Date in Custom Payment Reports in Precoro and in the exported report files. All the necessary data will remain available, and the name change will help ensure consistency and correct report integration.
You’ll also be able to use Payment Date as a filter when generating invoice and payment reports.
New in the Mobile App
To offer even more flexibility and comfort, we’ve added two new features to Profile Settings in the mobile app:
- You can now enable vacation mode and appoint a substitute right in the app when you take time off.
- A dark mode is another new option that helps you view documents comfortably in any environment.