TABLE OF CONTENTS
How to Manage Documents on the AP Inbox Page with Infocards and Filters
The AP Inbox page offers info card filters and mass action buttons to help users quickly locate documents by status and take immediate action.
Simply click on the desired info card, select your documents, and apply the necessary actions:
-
Draft: View all draft documents with the option to delete them in bulk.
-
Canceled: View canceled documents and choose to delete or resubmit them for AI rescanning.
You can also use fast and advanced filter sets to find documents by location, supplier, due date, status, legal entity, and more.
Limiting Access by Legal Entity
If your company uses Account Configurations with the Set Up Access by Legal Entity setting, access to attachments is limited by legal entity. This functionality allows you to protect data from unauthorized access and speed up work by only showing relevant documents.
Here’s how it works:
- Precoro uses AI to match each invoice to the correct legal entity by its name and address, even if the name is missing, abbreviated, or formatted differently (for example, a trade name or "St." instead of "Street").
- If no single legal entity can be determined with certainty, Precoro assigns the one with the highest likelihood.
- Attachments with a legal entity assigned are only visible to users with access to that legal entity.
- A user who uploaded an attachment can still see it even if they don’t have access to the assigned legal entity.
- If a legal entity is disabled, it can’t be selected in new attachments, but previously created documents with this legal entity remain available.
How to Use AP Inbox Columns
Check where the document came from
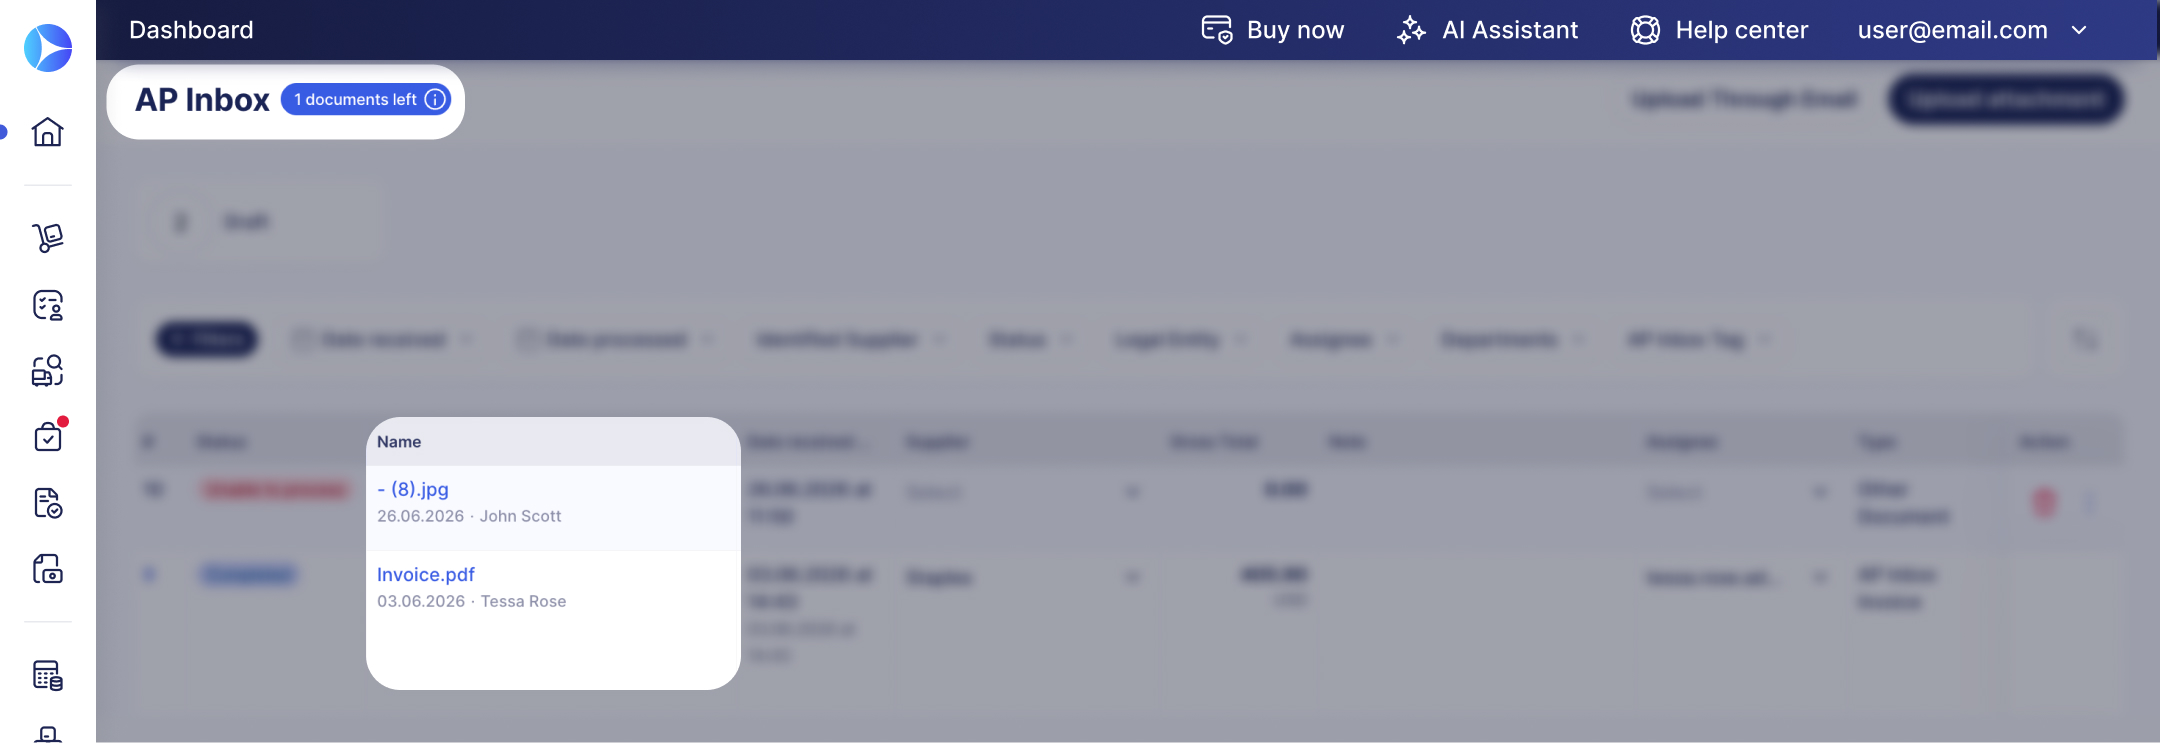
The Attachment column shows the document source.
- For documents received through email scanning, you will see the sender’s email address.
- For manually uploaded documents, you will see the name of the user who uploaded the file.
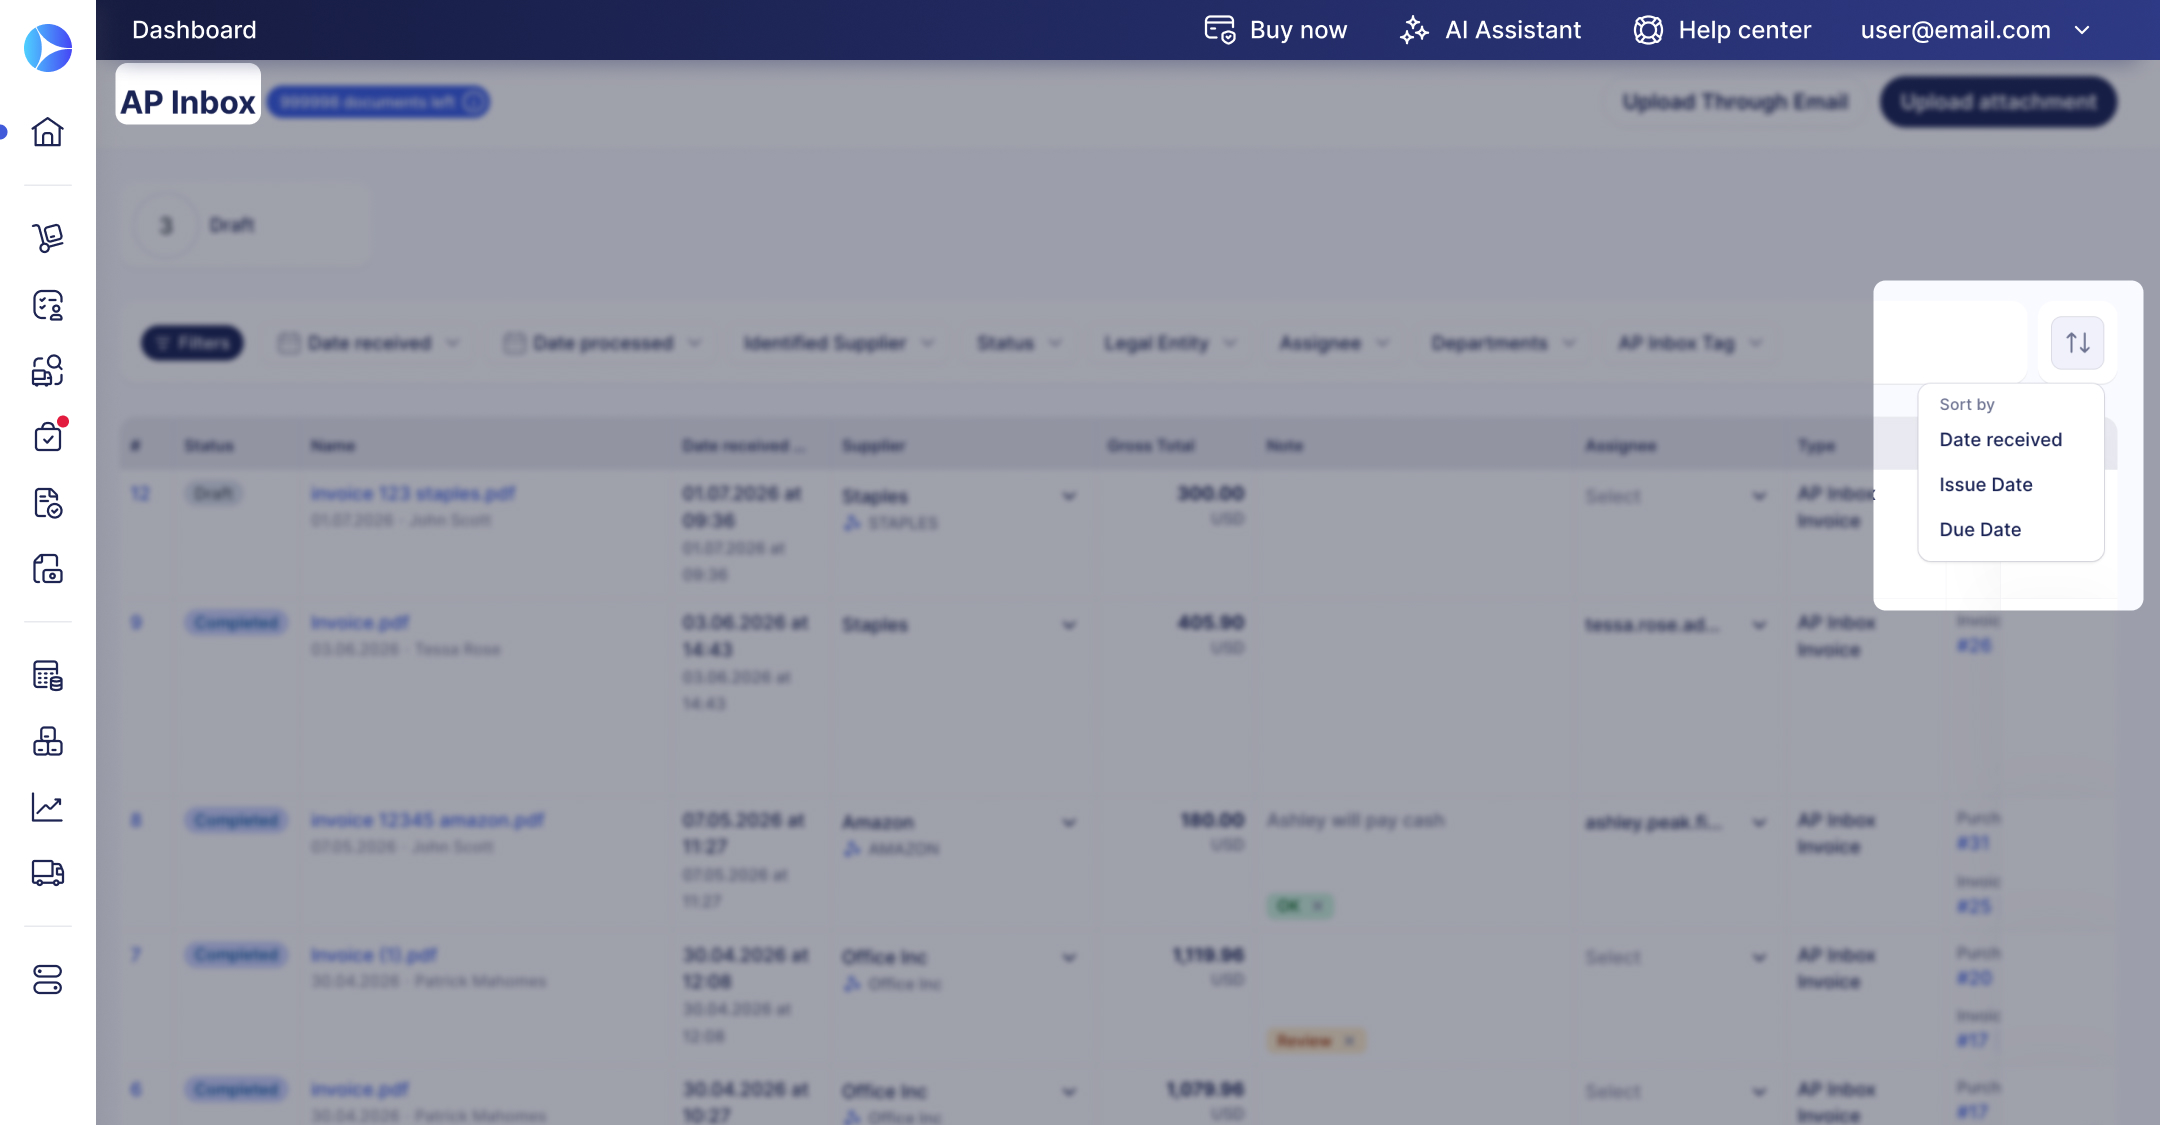
Sort attachments by the date
Click the Sort icon (two vertical arrows) on the right side above the document table to arrange your invoices. You can sort the list by fields such as Date received, Issue Date or Due Date.
Review the detected document type
The Type column shows the document type detected by Precoro.
Possible document types include: invoice, credit note, account statement, receipt, payment reminder, bank details, timesheet, tax form, certificate, or other document.
-
If the document is recognized as an invoice or credit note, it continues to standard AI invoice processing.
-
If the document is not an invoice or credit note, standard invoice processing doesn't run. The document receives the Unable to process status, and the AP Automation credit used to classify it is refunded to your company.
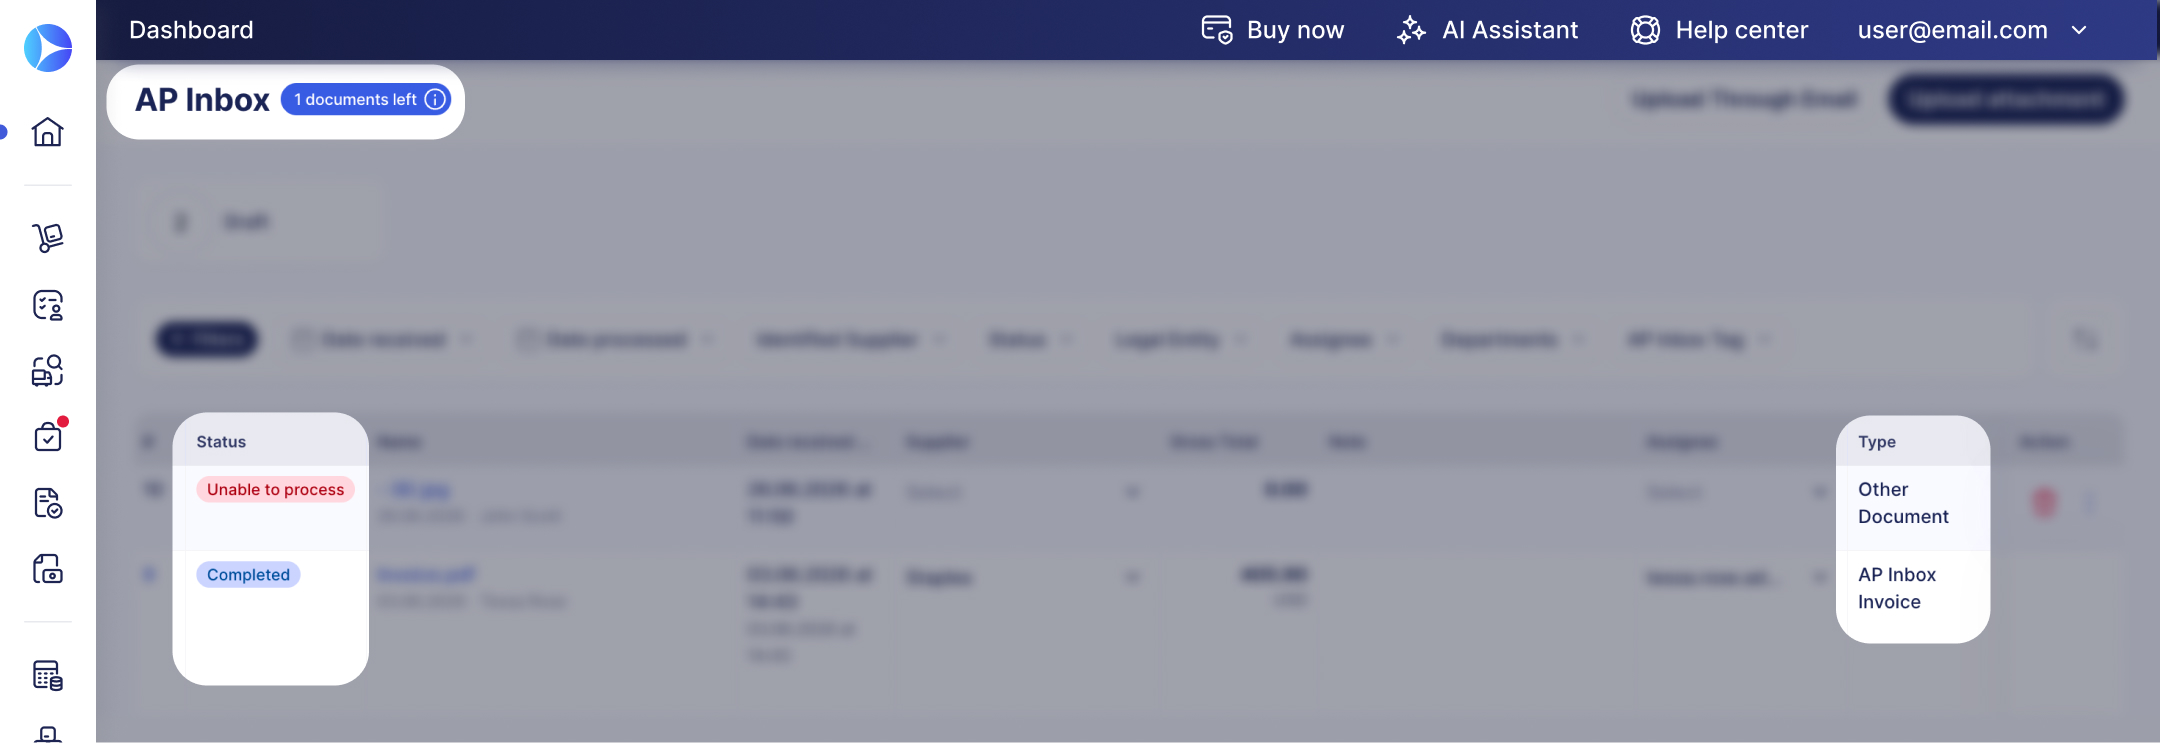
For more detailed description of other statuses explore this article.
For documents with the Unable to process status, click Resend to try processing the document again.
Please note: Clicking Resend uses an AP Automation credit.
-
If the document is an invoice or credit note, Precoro sends it to standard processing.
-
If it is a non-invoice document, Precoro tries to extract available details, such as supplier or sender, issue date, total amount, and at least one line item.
-
If useful data is found, Precoro returns the extracted information to you. If nothing useful can be extracted automatically, the document is sent to Human Review, where the team attempts to extract the details manually.
How to Update Supplier Information in AP Inbox
The AP Inbox page lets you easily update supplier information across multiple documents processed with Intelligent AP Automation.
Let’s say you upload several documents for processing, and Precoro either doesn’t find a match for an existing supplier or matches it incorrectly. In this case, you can manually assign the correct supplier to one document, and it will be updated for the others. Here’s how:
- Locate the document where you need to change the supplier.
- In the Identified Supplier field, select the correct supplier.
- A confirmation pop-up will show the number of documents with the same supplier.
- Click Yes.
Once confirmed, the supplier information will be automatically updated in all other documents with the same supplier in Draft status.
How Does the Automatic Location Fill Work?
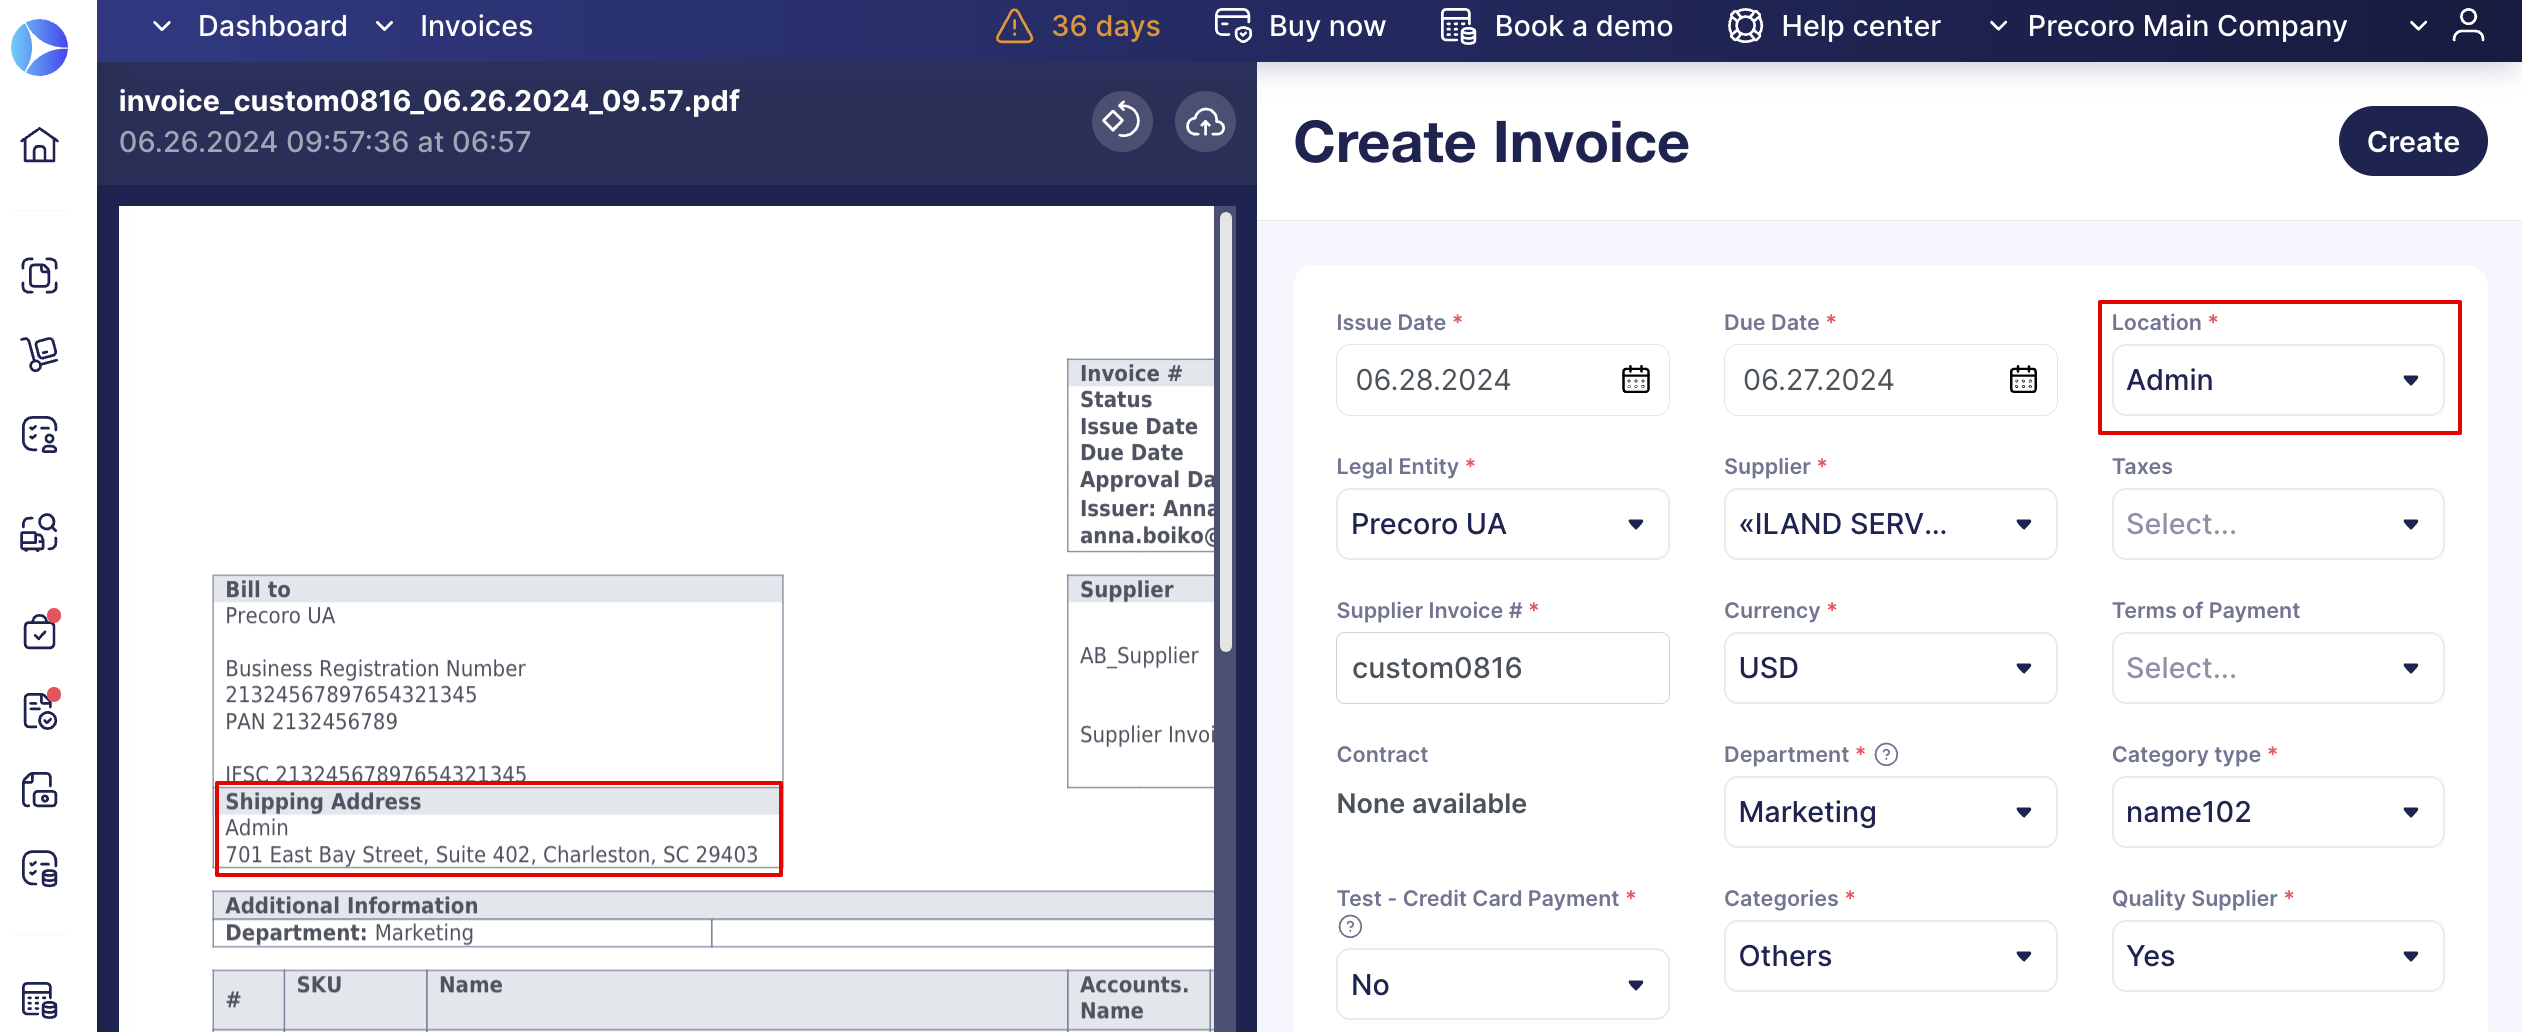
Precoro automatically fills in the Location field based on the Ship to Address recognized with AP Automation, so you can save time and ensure consistent data across invoices.
How it works:
- Upload a document for recognition, and Precoro will extract the Ship to Address.
- Select the location when creating a new document, such as a standard invoice, invoice from PO, or credit note.
- Precoro remembers your selection, and any future invoices with the same shipping address will have the Location auto-filled.
💡 Please note:
- If you change the Location, the system will update it for all future documents.
- If there is no match for the Ship to Address in Precoro, the Location field will remain blank.
How to Organize AP Inbox with Notes and Assignees
You can use notes and assignees in the AP Inbox to organize attachment processing and collaborate with your team more efficiently.
Notes
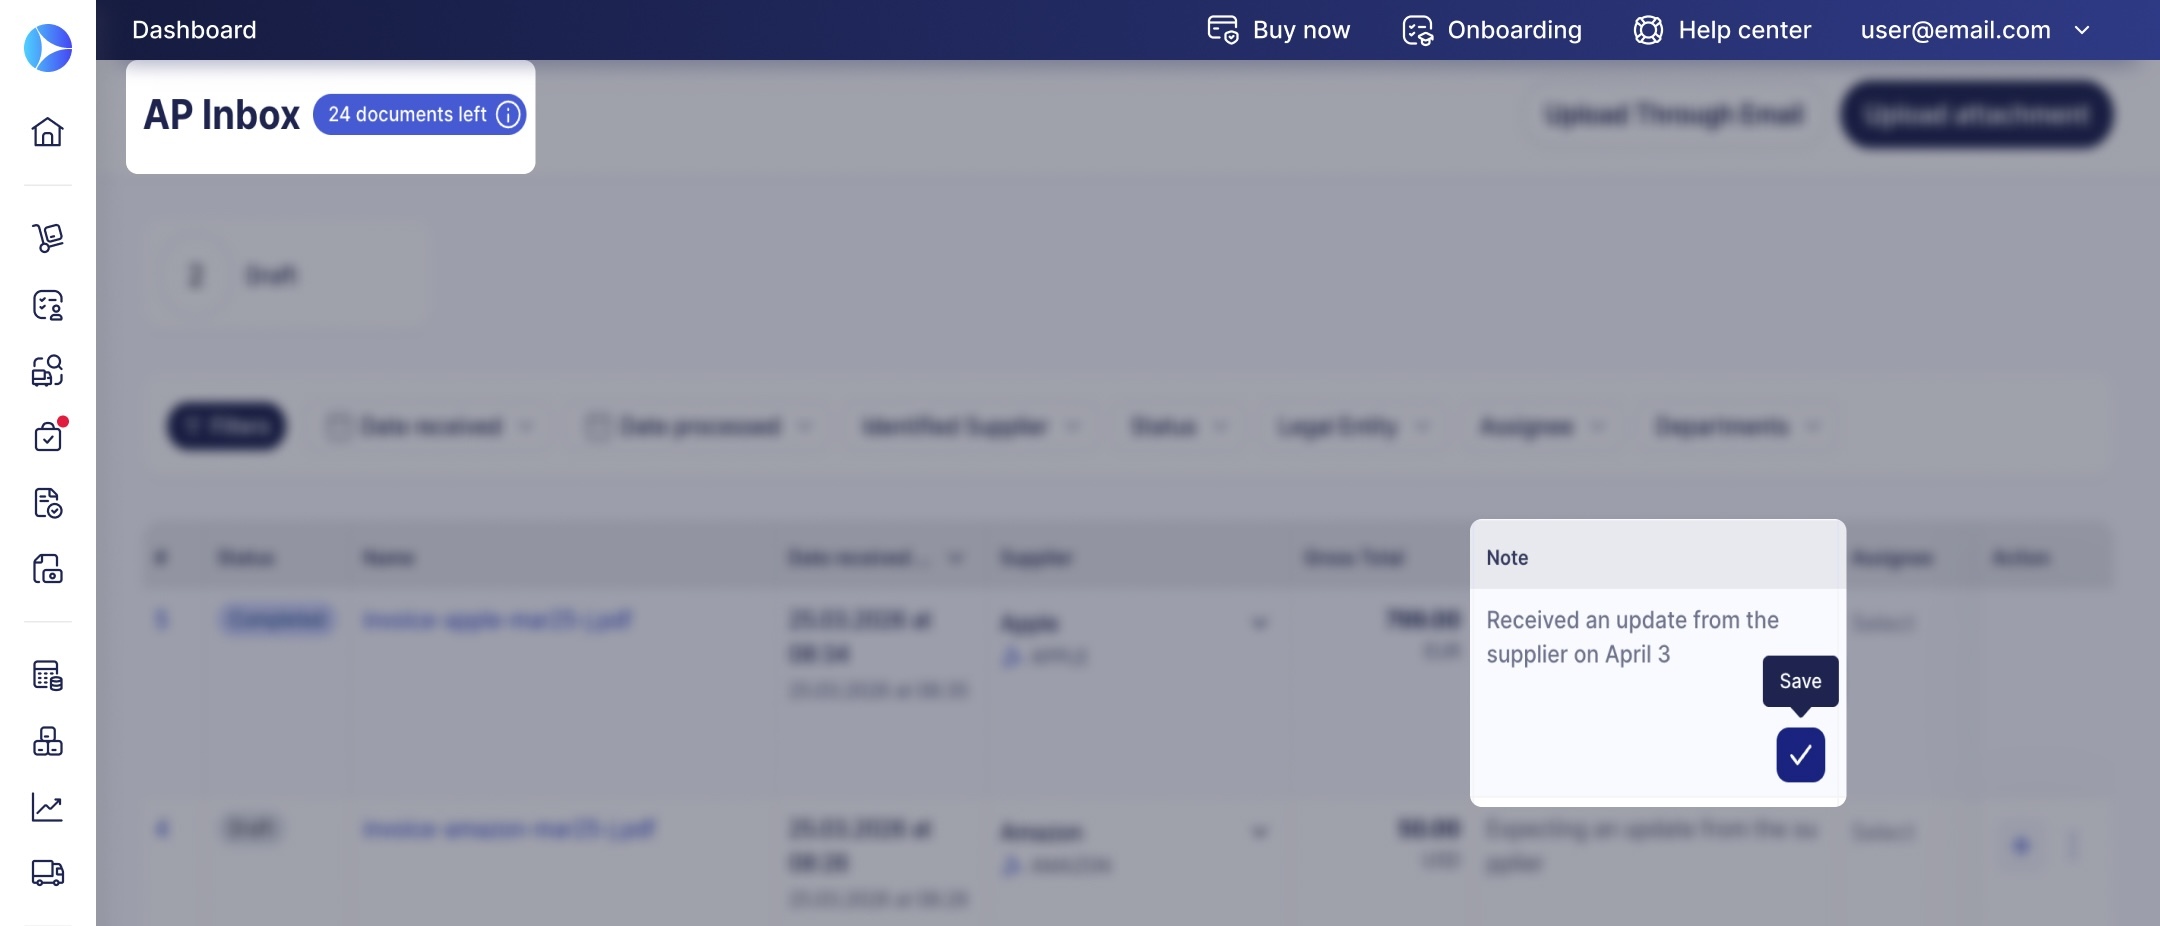
A dedicated column in the AP Inbox lets you add notes to each attachment. You can use notes to track attachment status, clarify required actions, or communicate with teammates.
To add or edit the note:
- Click the Note cell next to the attachment
- Enter your comment
- Click the check icon to save
Notes are visible to all users who have access to the attachment. Users with the AP Inbox and Invoice Create roles can add and edit notes.
Tags
Tags appear in the Note column as color-coded custom indicators. Use them for short bits of information your team can notice instantly.
- Create your first tag. On the AP Inbox page, click Add tag in any cell of the Note column. Select a color, enter a name, and press Create.
- Add more tags. Click Add tag or an existing tag, then select + New Tag at the top of the list. Add names and colors that will help you navigate the list.
- Assign tags to attachments. Press Add tag in the Note field of a needed attachment and select a tag or add a new one.
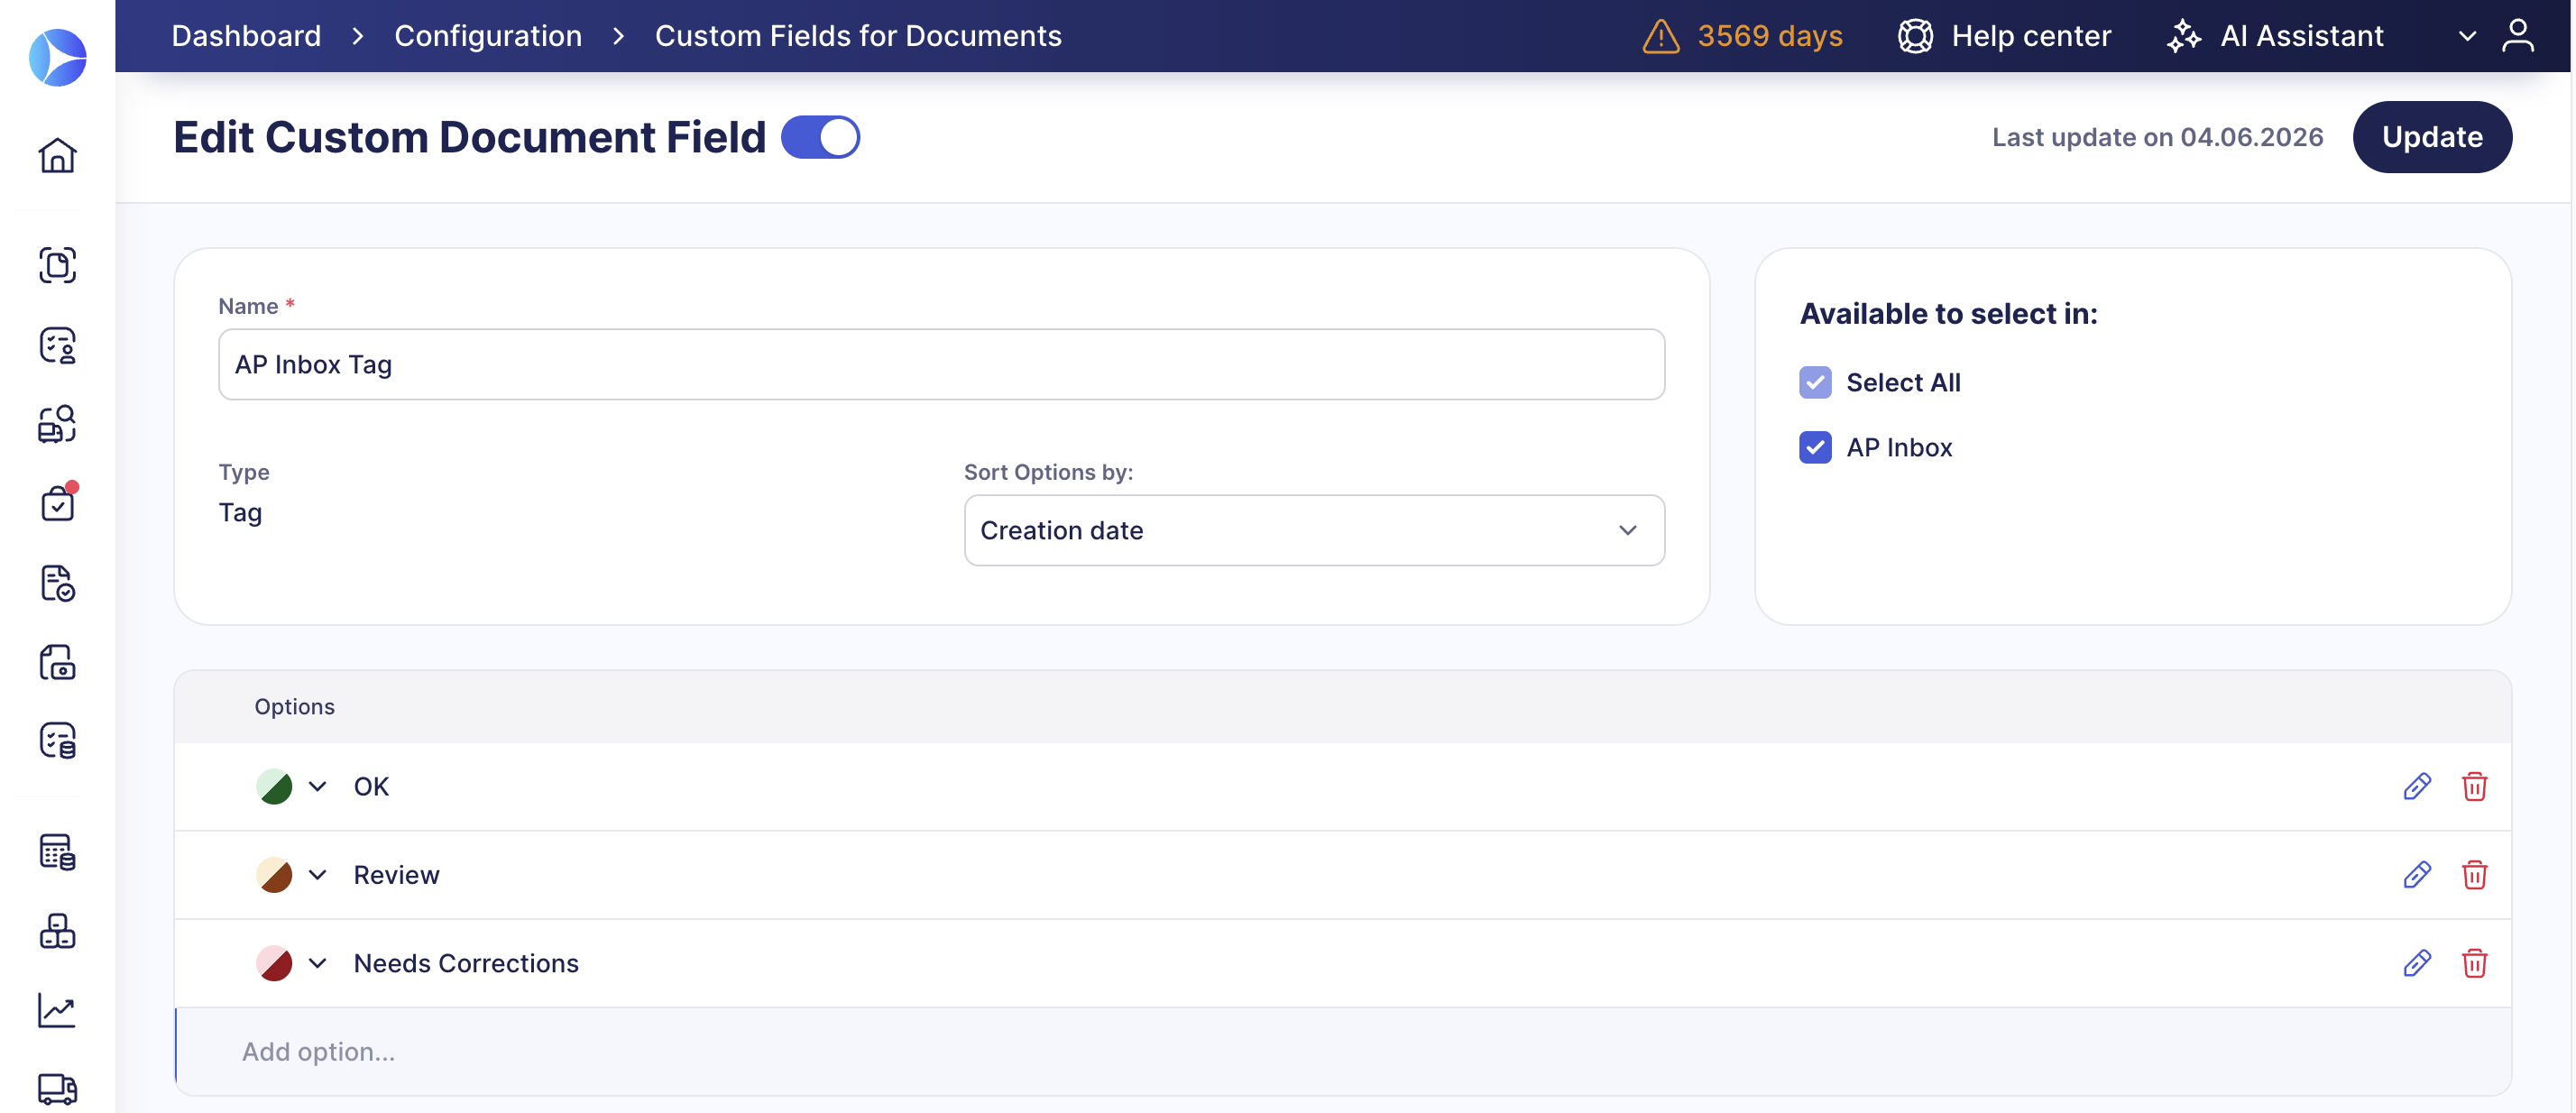
When you create a new tag, Precoro automatically adds it as a new Tag-type custom document field—AP Inbox Tag. To edit of delete tags, a user with the Configuration role needs to navigate to Configuration → Custom Fields for Documents, locate the AP Inbox Tag field, and edit its options.
Assignees
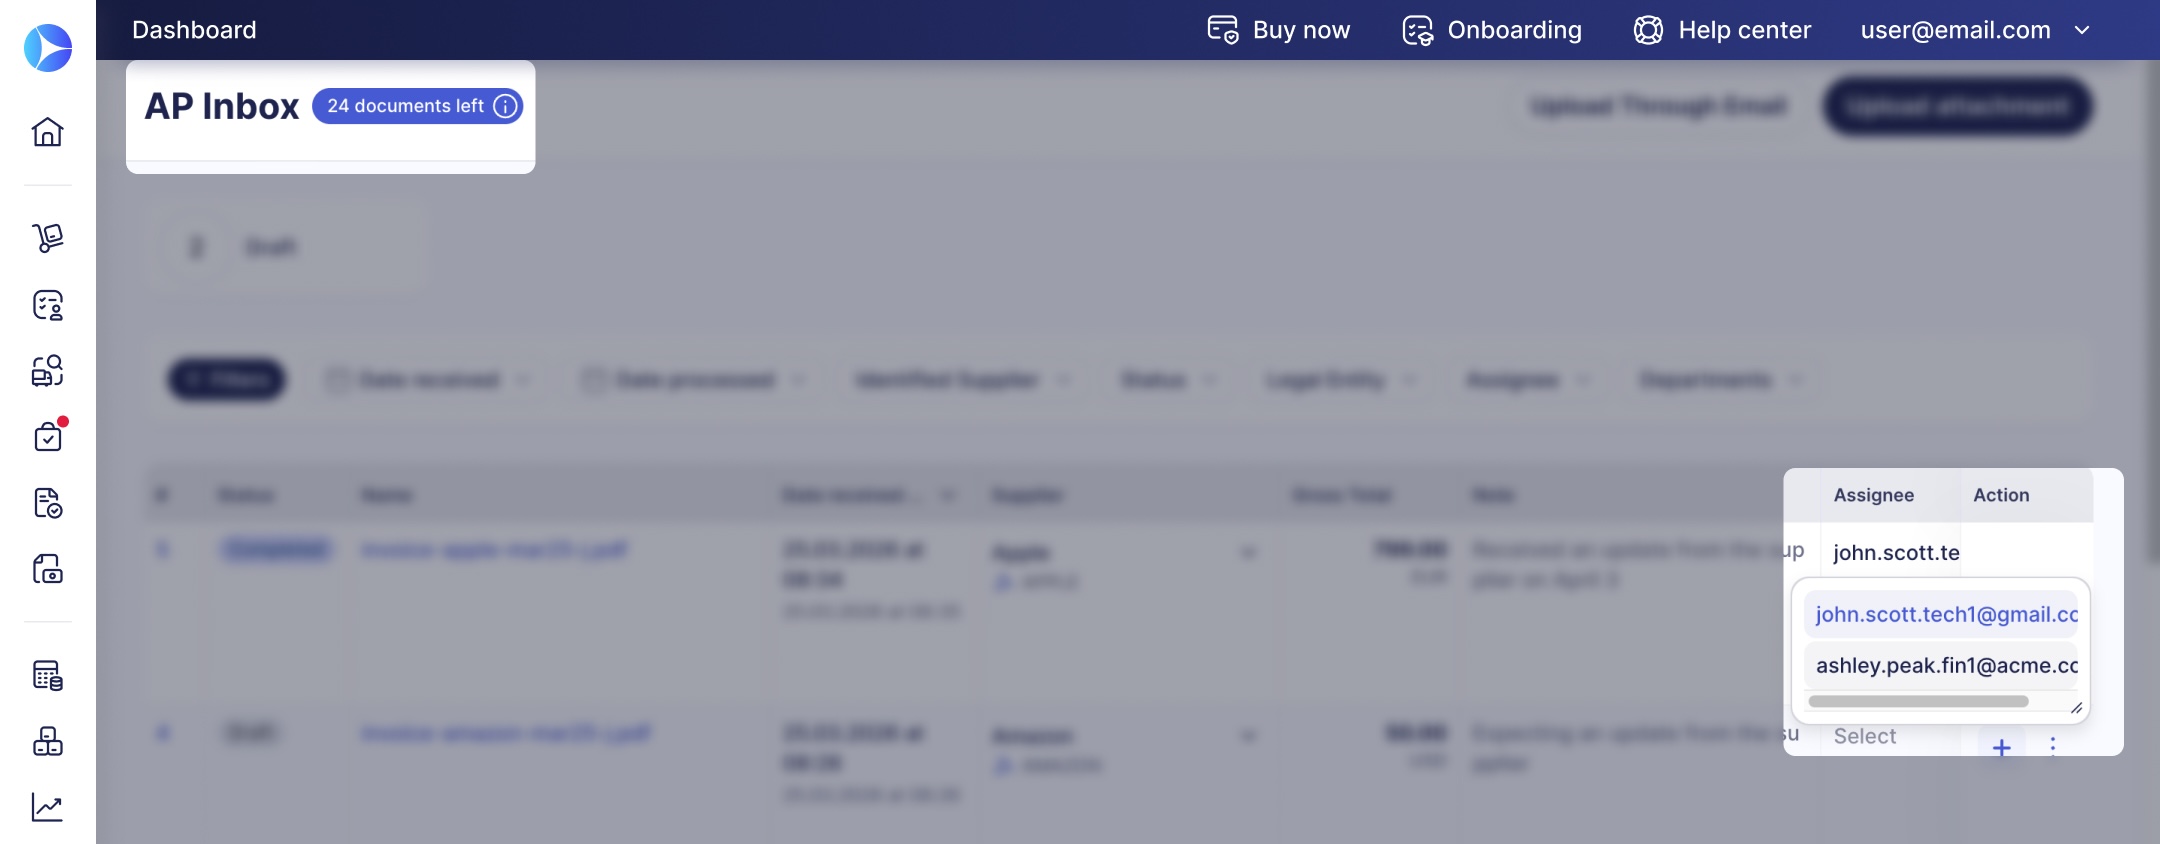
You can assign a user to be responsible for processing any specific attachment. You can also leave an attachment unassigned.