
TABLE OF CONTENTS
- Creating Requests for Proposal from Purchase Requisitions
- Automatic Delivery Date Filling in Requests for Proposals created from Purchase Requisitions
Creating Requests for Proposal from Purchase Requisitions
Choose the option that fits how you work: create your RFP from the Request for Proposals module, or jump straight into it from an approved PR.
- Option 1 works best when you're combining items from several purchase requisitions into one request for proposal, or picking which items to include.
- Option 2 is faster when you're starting from a single, already-approved purchase requisition and want all its items carried over automatically.
Option 1: Start From the Request for Proposals Module
1. Navigate to the left side of the menu, go to Request for Proposals and click the Create from Requisition button. The red number sticker on this button shows how many purchase requests can be included in the RFP.
2. Choose the location for the RFP and click the Plus button in the Action column.
3. On the next page, you can preview the requested items and choose which ones should be included in the RFP by checking the box on the left. Once done, click the Next Step button.
4. Select the due date (until the RFP is valid), desired delivery date, and currency. Once done, click the Create button.
Option 2: Directly from a Purchase Requisition
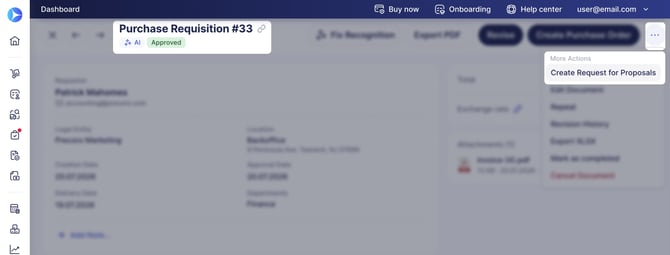
1. Open the approved purchase requisition's actions menu (the three-dot menu) and select Create RFP.
2. Precoro opens the RFP creation page, prefilled with the PR's items.
3. The new RFP is created in Draft status.
✍️ Note: The Create RFP option only appears when the PR is Approved and has items not yet tied to an RFP or PO.
Set Up Your RFP: Suppliers, Items, Notes and Comments
On the RFP Draft stage, you can see the information block and fields for adding suppliers' items. You can also add Comments and Notes for the specific RFP.
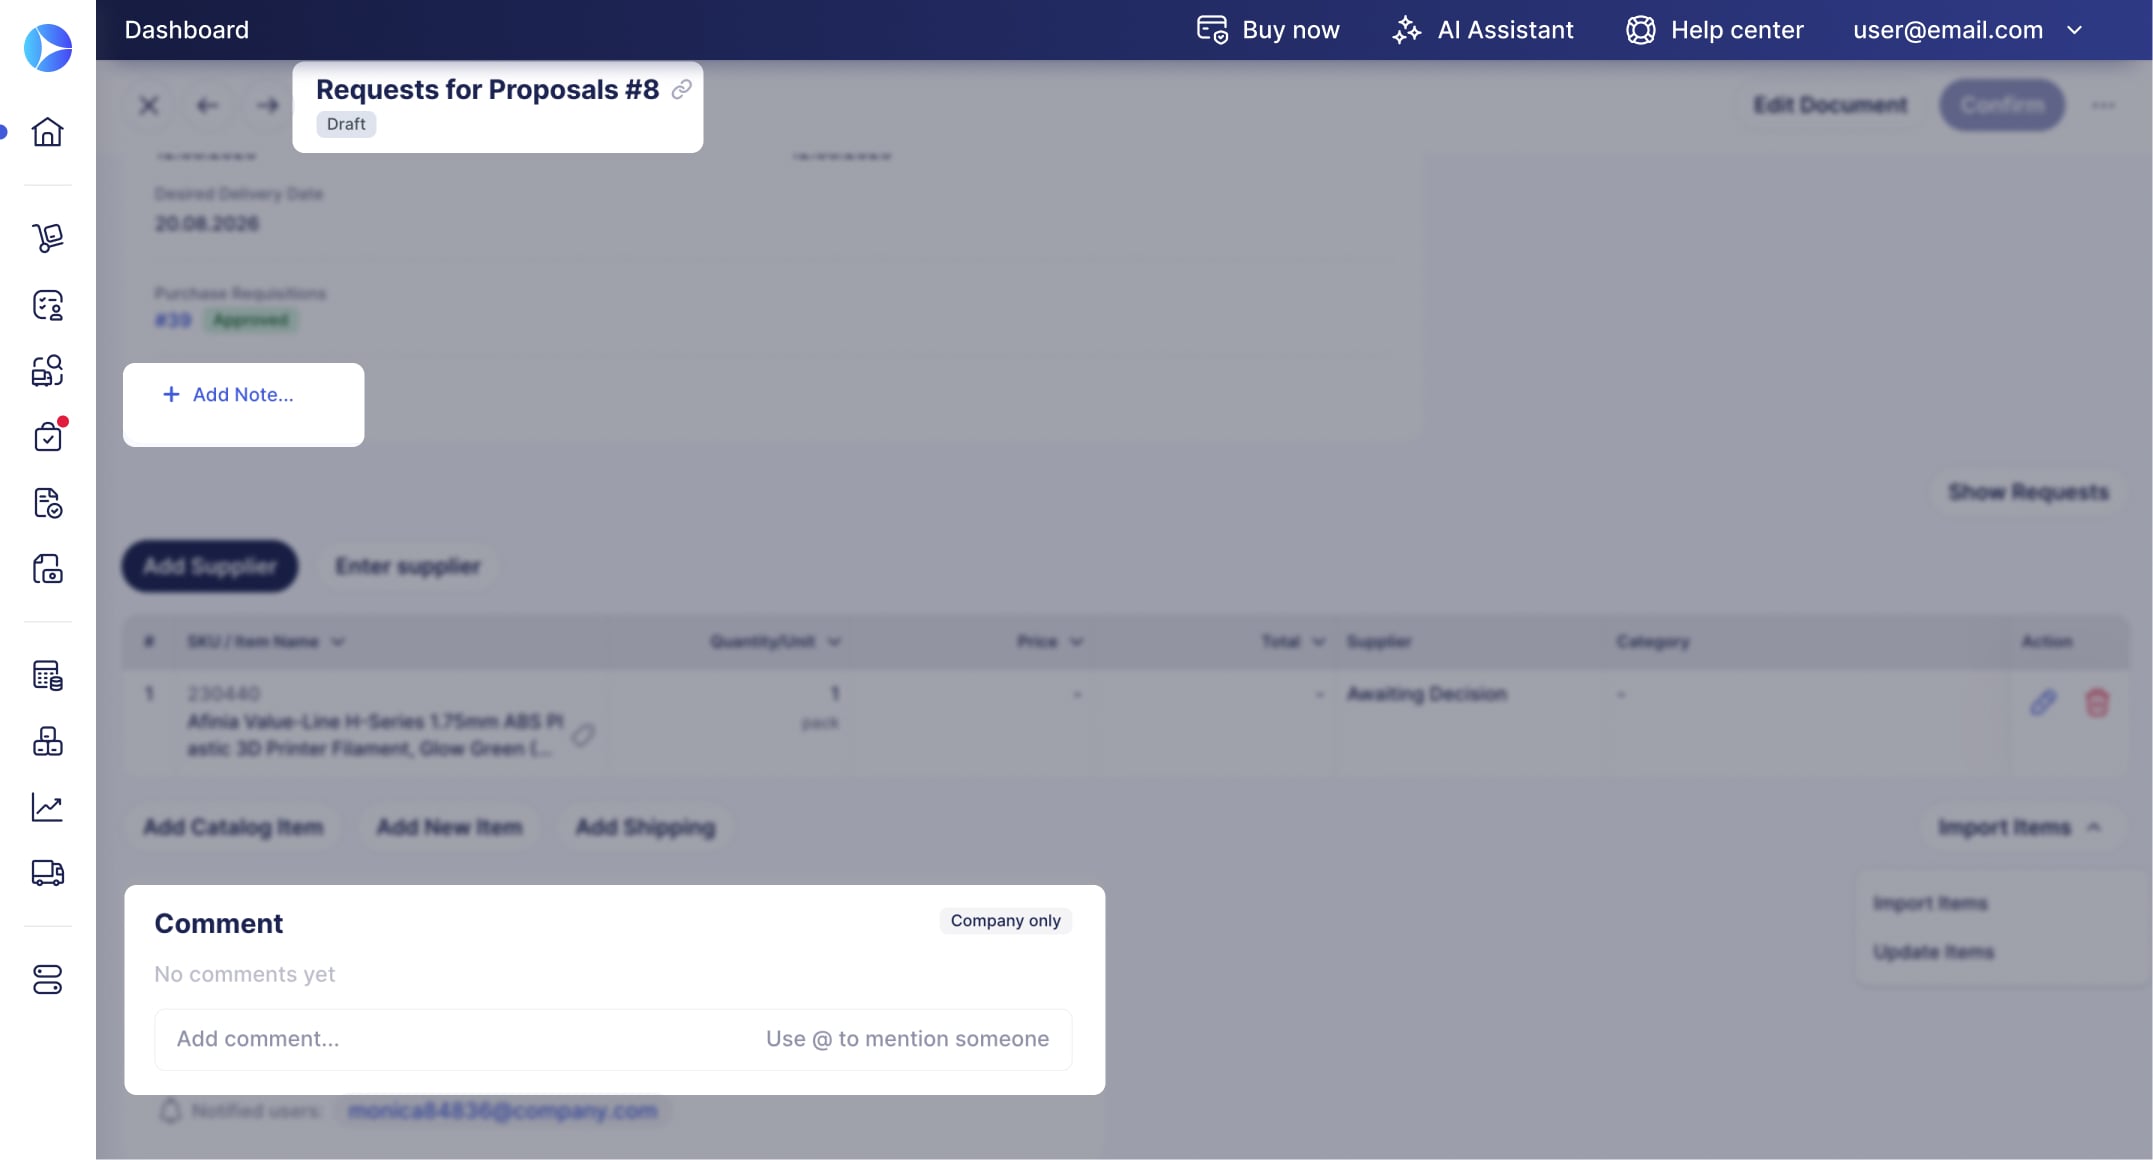
To add suppliers to your RFP, click the Add Supplier button and choose from the list of suppliers in Precoro, or add them manually using the Enter Supplier button.
You can select more than one supplier in the request for proposal or even approve a supplier for each item in the order. It will help you choose only the best deals and save money.
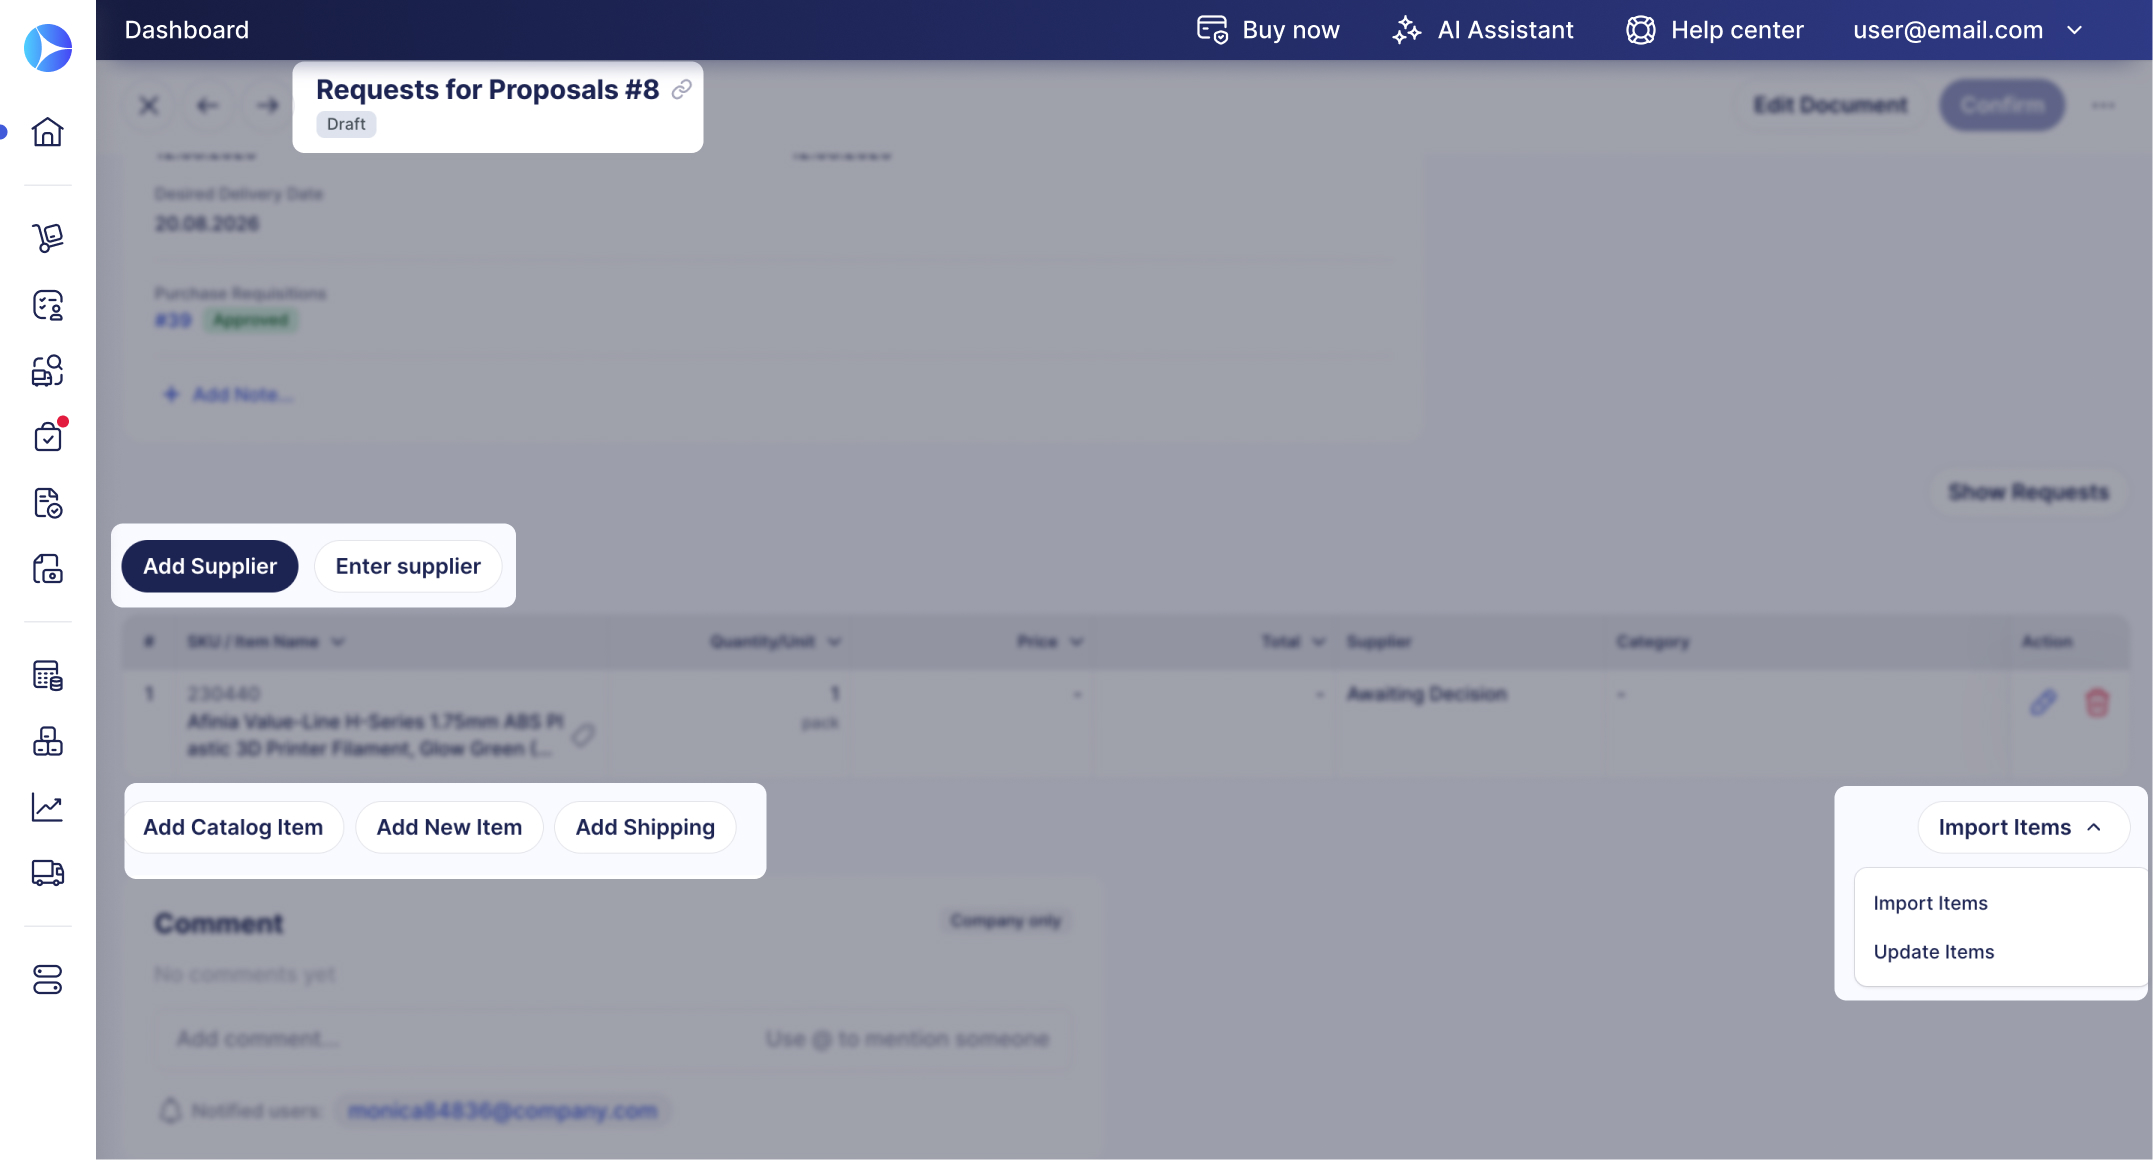
If you need to add more items besides those from the PR click:
-
- Add Catalog Item to select items from the existing catalog;
- Add New Item to manually add items from outside the catalog to your RFP;
- Import Items to add several items in bulk, or Update Items to do mass updating of document items;
- Add Shipping to manually add shipping items;
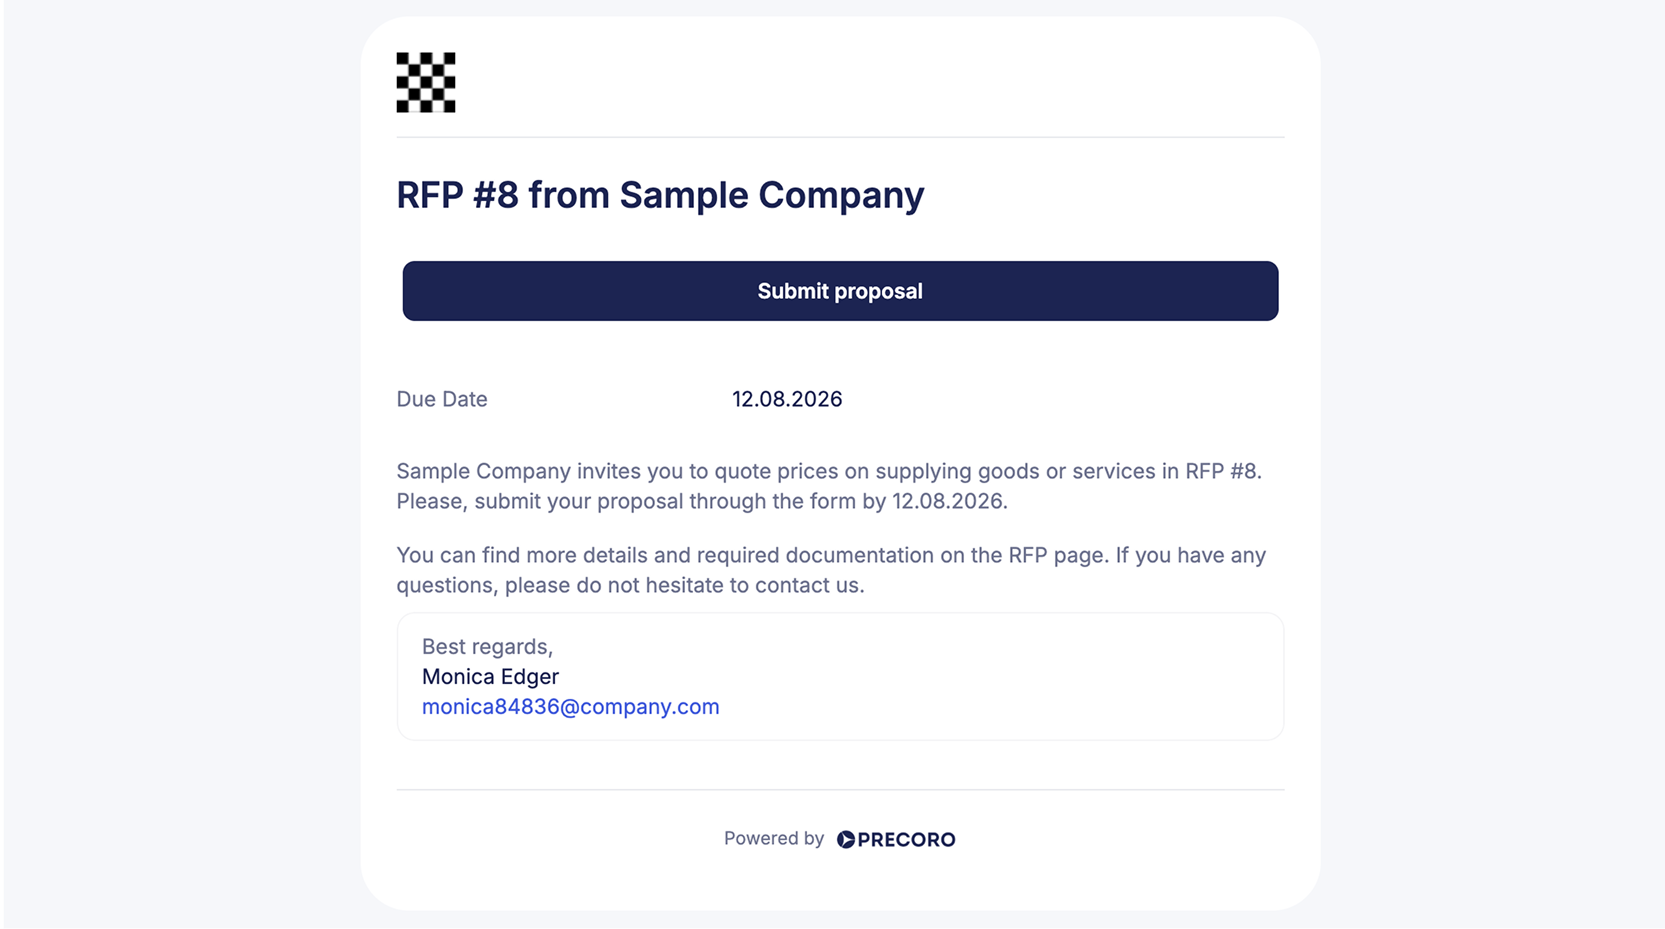
Once everything is set up, click the Confirm button. Suppliers will receive the notification in their mailboxes based on the emails listed in your request for proposal and can complete it on their side.
Track and Review Supplier Proposals
You will get an email notification when a supplier submits your proposal.
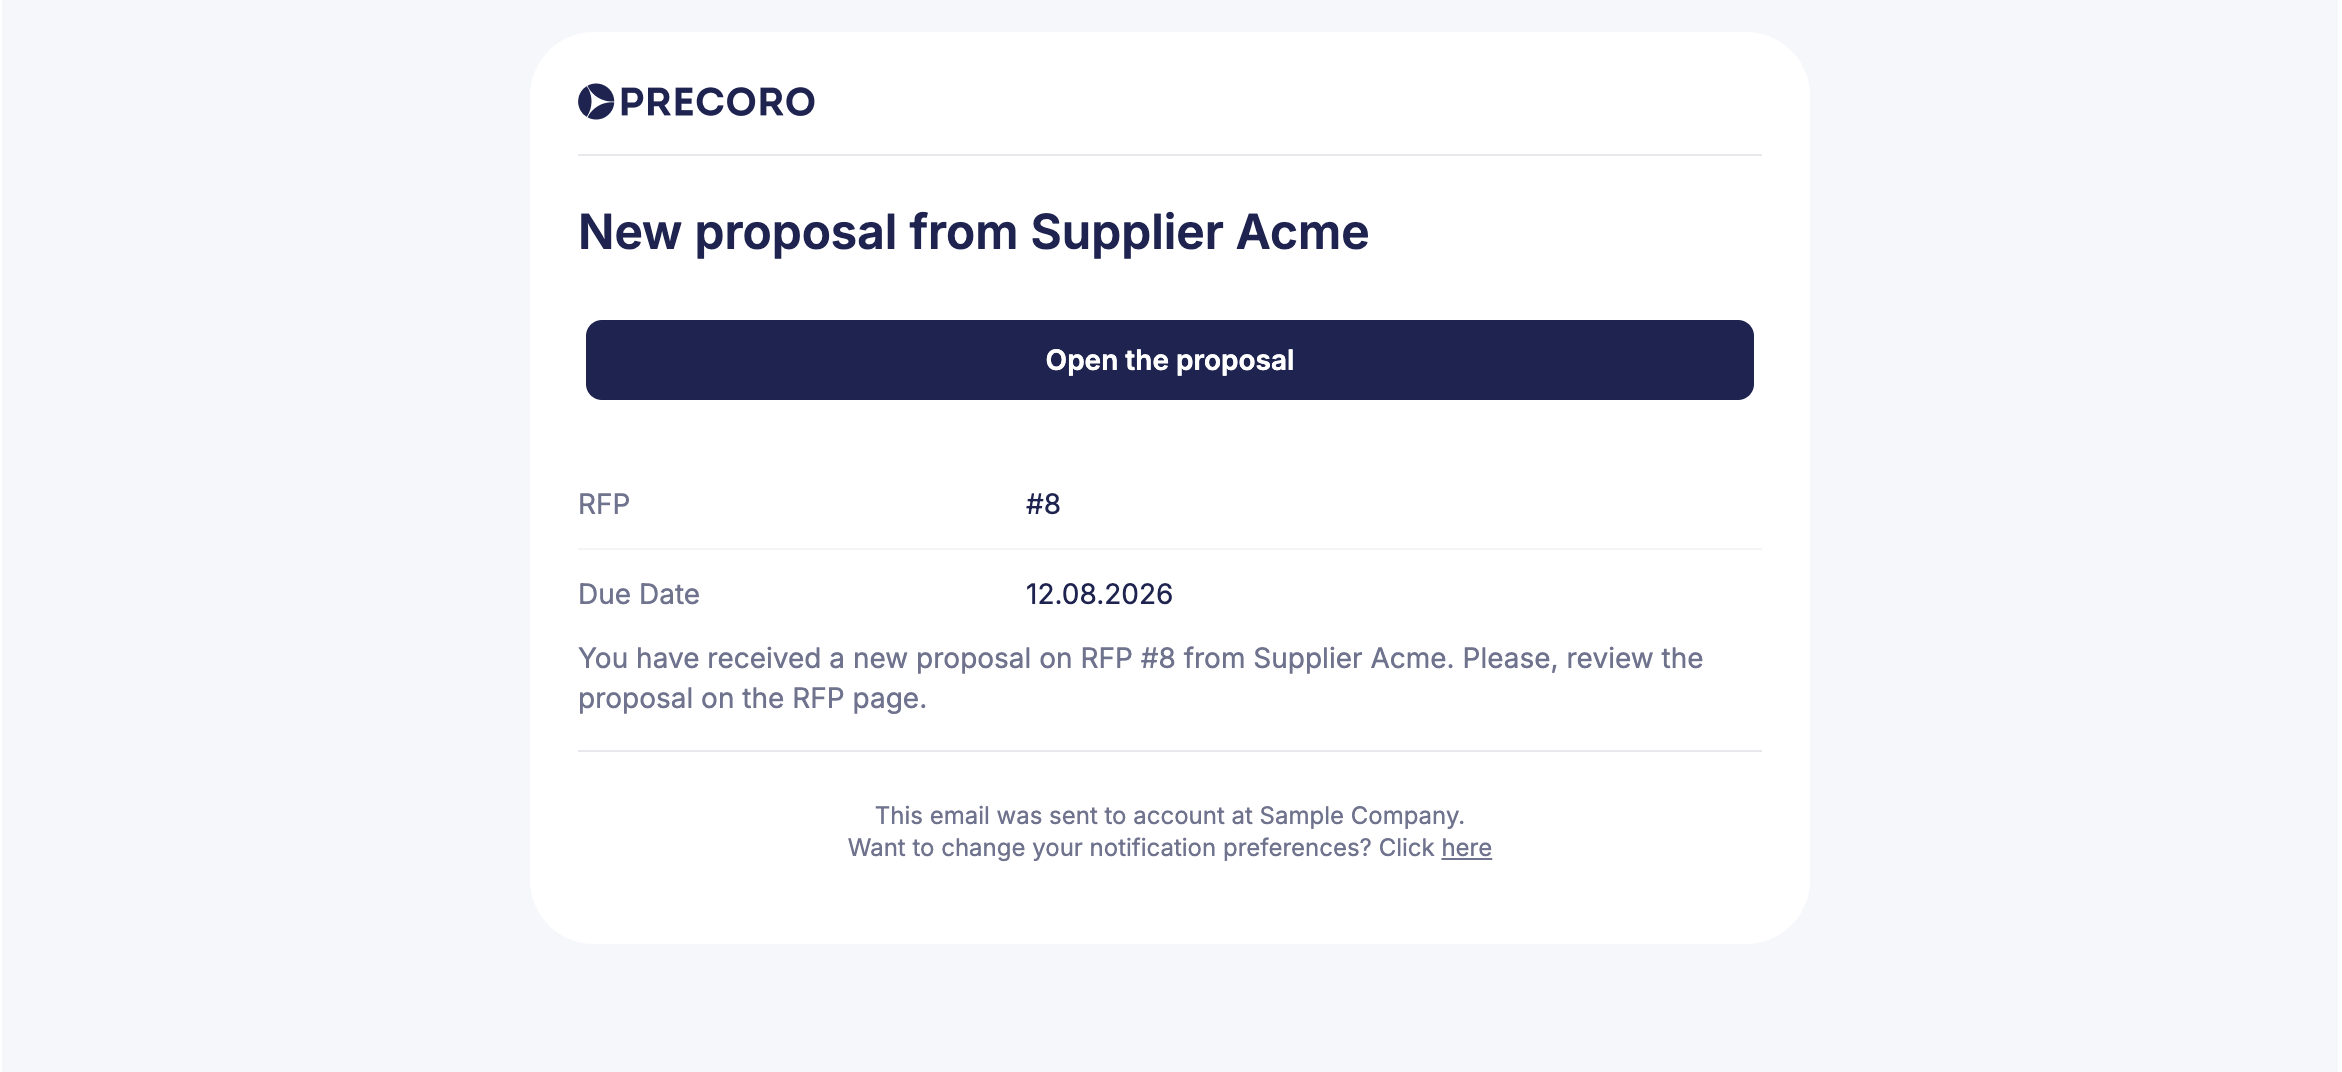
1. Open it through this email or from the PFR document.
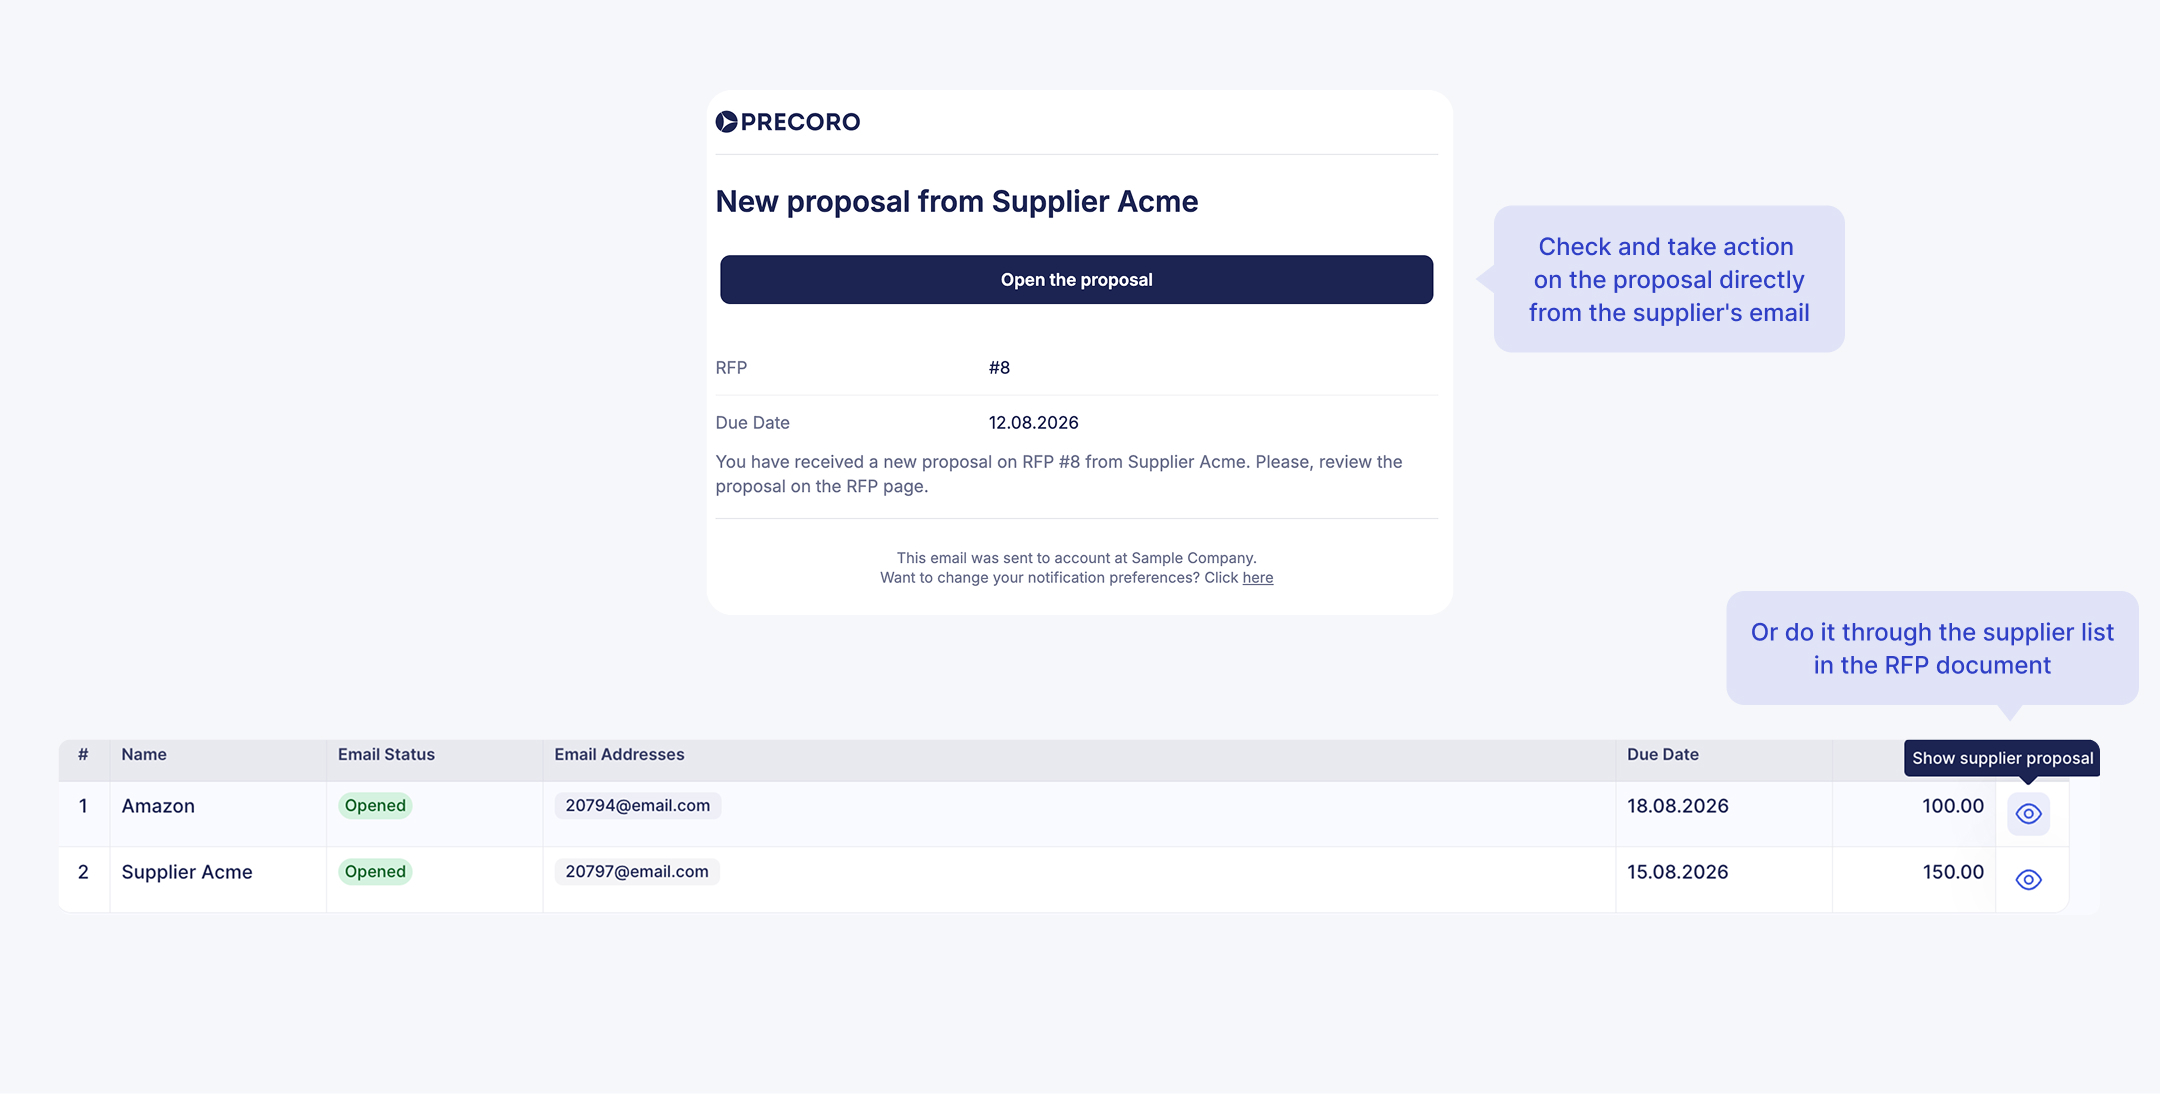
2. Check the estimated price and delivery day.
✍️ Note: Suppliers can add new items, shipping, taxes, and discounts to their proposals when Allow Suppliers to Enter Additional Lines is enabled. These appear in a Supplier-Added Items section for you to approve or reject. Learn more here.
3. Approve the proposal, or send it back for revision.
.png?hsLang=en)
You can also track the Document, Proposition, and Email statuses of your proposal. Please proceed to this Requests for Proposals Statuses article.
To see what suppliers view and how they submit their offers, see this guide.
Completing the RFP and Creating a Purchase Order
If you have approved all available items, the request for proposal status will be automatically changed to Completed, and the supplier will be notified that you have taken their proposals into consideration.
Also, if you have approved only some of the items, you can complete the request for proposals by yourself using the Mark as completed button in the PFR's actions menu (the three-dot menu). The status of the Request for Proposals will be changed to Completed, and the Supplier column of unapproved items will be changed to No Set.
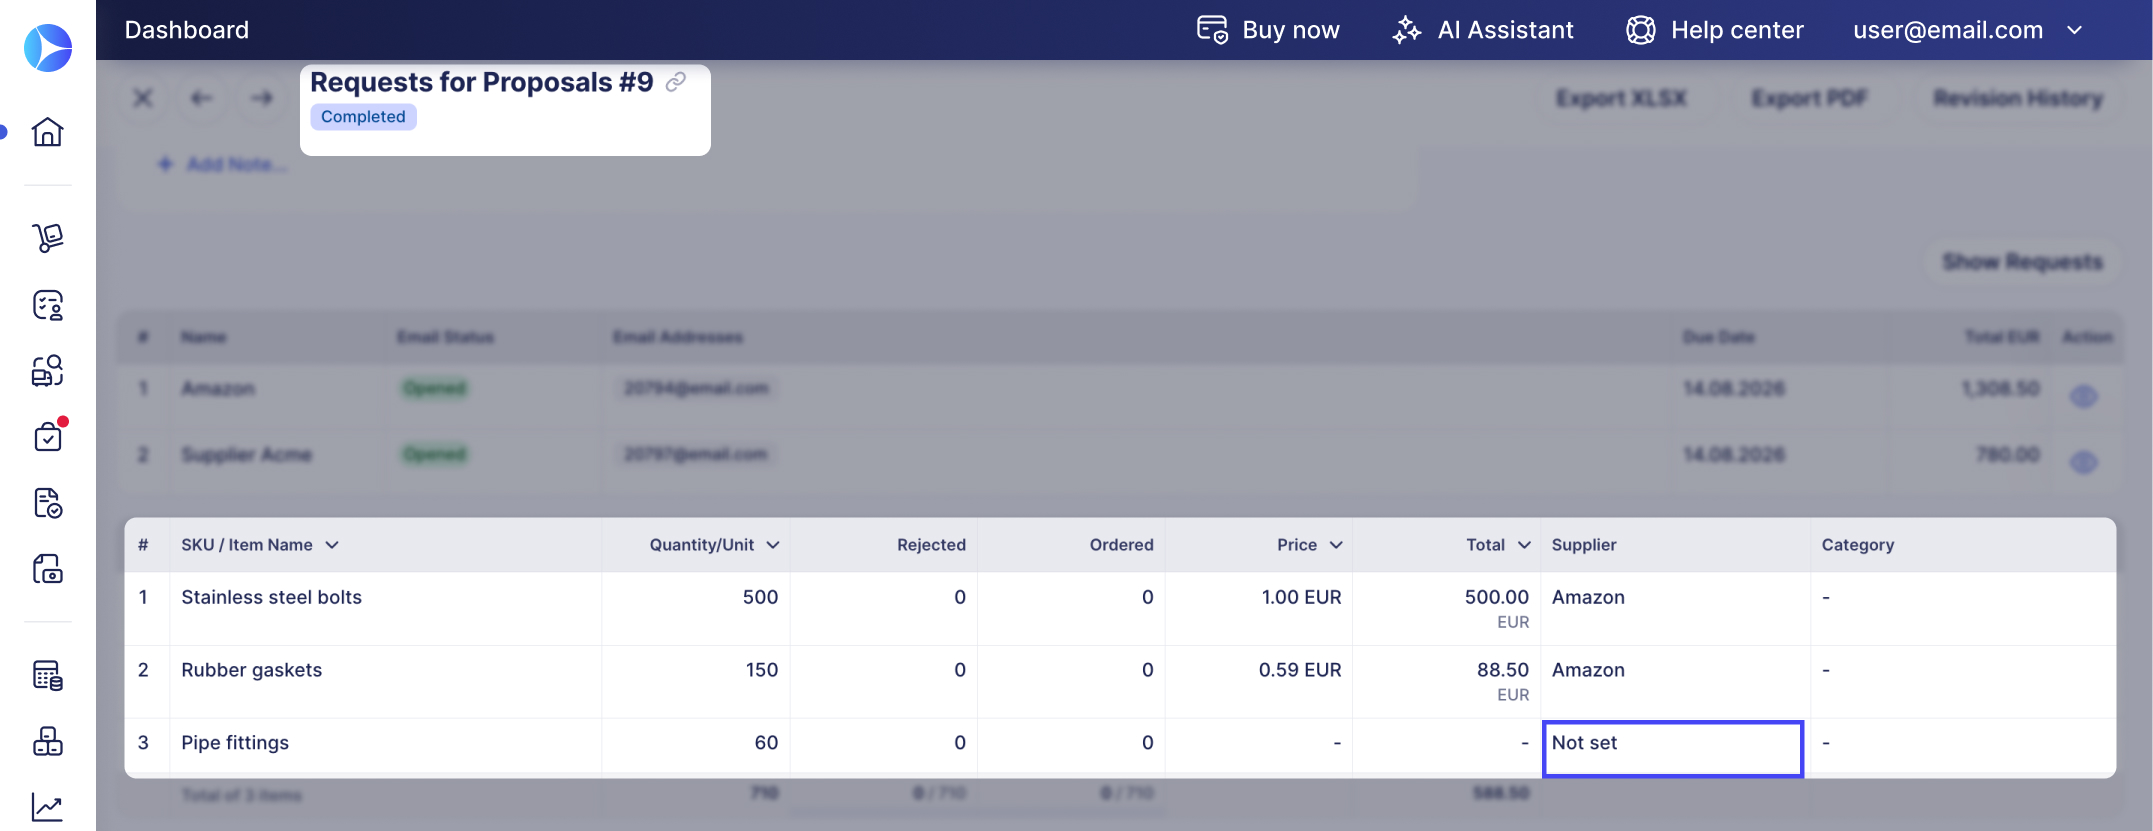
For a full walkthrough of selecting suppliers, approving items, and completing the RFP, read this article.
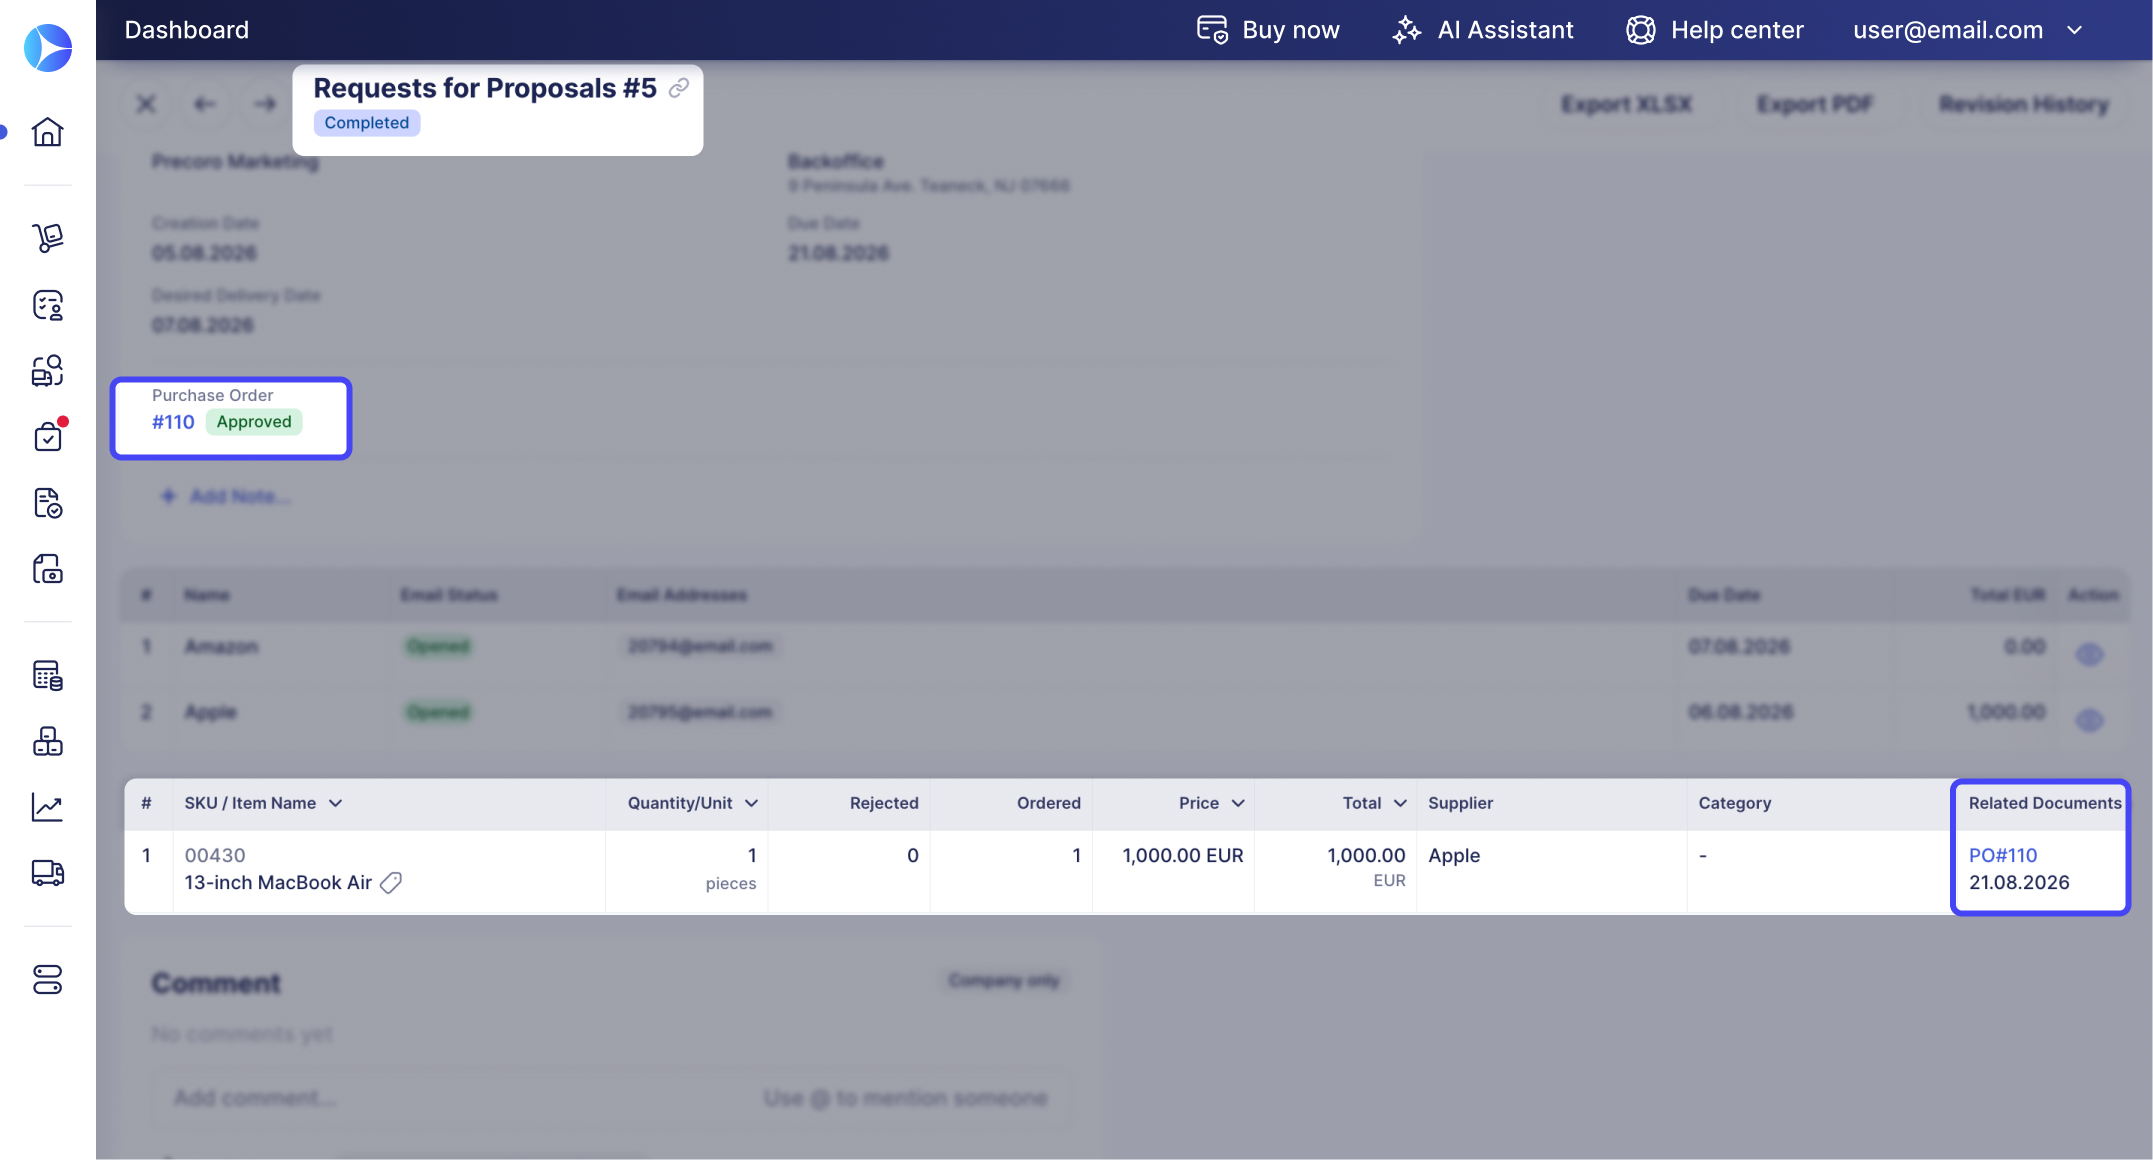
Turn a completed RFP into a PO in a few clicks.
Once RFP is completed, you can create PO directly from it instead of entering supplier and item details by hand. See the details here.
Automatic Delivery Date Filling in Requests for Proposals created from Purchase Requisitions
You don't need to go back to the related documents and search for the necessary data. The Delivery Date information will be automatically filled in the following cases:
- At the stage of creating requests for proposals from purchase requisitions, the Desired Delivery Date field will be automatically filled with information from the Delivery Date field in PR:
- If you create RFP from one PR document, the Desired Delivery Date will automatically be filled with the exact PR Delivery Date.
- In case you create RFP from several PR documents, the Desired Delivery Date will be automatically filled with the latest Delivery Date from the selected PRs.
- If you create RFP from one PR document, the Desired Delivery Date will automatically be filled with the exact PR Delivery Date.
- After selecting suppliers for certain products, the Delivery Dates from winning suppliers will be automatically transferred to the Related Documents/Delivery Date column in PR items.
✍️ Note: Previously, the Related Documents/Delivery Date column in PR items was filled with a general Delivery Date of the document.