TABLE OF CONTENTS
- How to Compare Supplier Proposals
- How to Resend an Approved Proposal Back to the Supplier
- How to Add New Suppliers to an Existing RFP
- How to Turn a Completed RFP into a PO
- FAQ
What is a Request For Proposal?
A Request for Proposal (RFP) is a document that solicits proposals from various suppliers for items your company wants to buy. An RFP is sent to potential suppliers to submit business proposals. It is introduced early in the procurement cycle, either at the preliminary study (exploratory) or at the procurement stage.
In Precoro, you can create an RFP in several ways:
- From scratch, we will describe it in this article.
- From a Purchase Requisition (PR) list.
- Directly from a PR document.
Requests for Proposals in Precoro help you solve the following problems:
- Manual price comparison in spreadsheets or over email
- Inequitable supplier choice
- Lack of supplier proposal history for tracking pricing trends over time
- Paper-based request preparation
- Long, manual approval processes
Best Use Practice
Use an RFP when you have no dedicated supplier for a category of goods and want to find the best price across multiple suppliers.
- Create the RFP from scratch or from a purchase requisition, adding comments or attachments if needed.
- Precoro emails the RFP to suppliers; you can resend it at any time before proposals come in.
- Suppliers submit proposals via a web link in their invitation email.
- Once all proposals are in, compare them side by side and create a purchase order from the best bid.
Let's see the full process of working with an RFP in Precoro.
How to Create and Complete Requests for Proposals
Step 1: Create the RFP Document
- In the left-hand menu, open the Requests for Proposals module → press Create.
- Select Location, Currency, Due Date, Desired Delivery Date, and Custom Fields for Documents (if available and required) for your RFP.
- Once done, press Next Step.
💡Please note: You can also create and add the Custom Numbering for the RFP documents. Find more information on this feature here.
Step 2: Add Suppliers and Items
To add suppliers to your RFP, click:
- Add Supplier—include a supplier that already exists in your database.
- Enter Supplier—add a completely new supplier to the database and to your RFP at the same time.
You can select more than one supplier in the request for proposal or even approve a supplier for each item in the order. It will help you choose only the best deals and save money.
Proceed to the item table to start filling your RFP document with the items needed.
Discover the details on the item-related functionality in the following articles:
- Add catalog or new items;
- Import items in bulk;
- Update items in bulk;
- Add Shipping;
- Add Tax;
- Save items to the catalog directly from your RFP;
Step 3: Confirm and Send the RFP
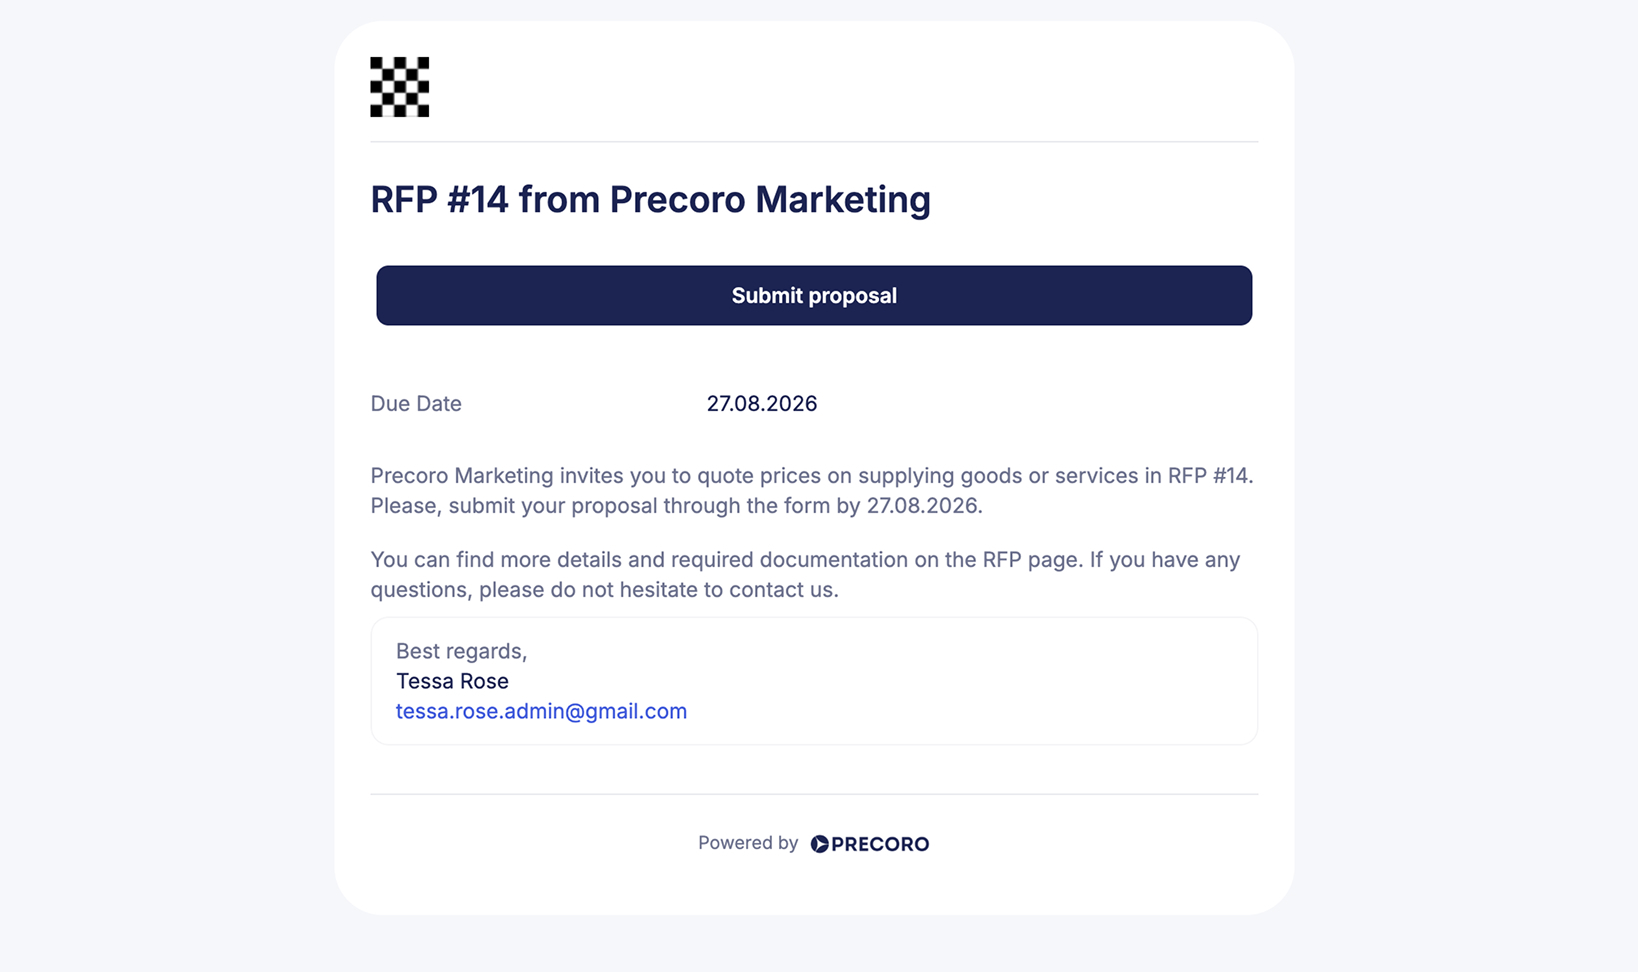
Once all items and suppliers are added, press Confirm to send the request for proposal to suppliers. Suppliers receive an email with the RFP link to submit their proposals.
You can remove suppliers from the list of RFP recipients. Click the Revise button in your RFP, and you’ll see the Remove option in the suppliers list. Removed suppliers get a corresponding message in their inbox.
If needed, you can edit supplier information (correct the currency or email) and re-enter that supplier to the list of RFP recipients.
Step 4: Review Proposals
You will get an email notification when a supplier submits your proposal.
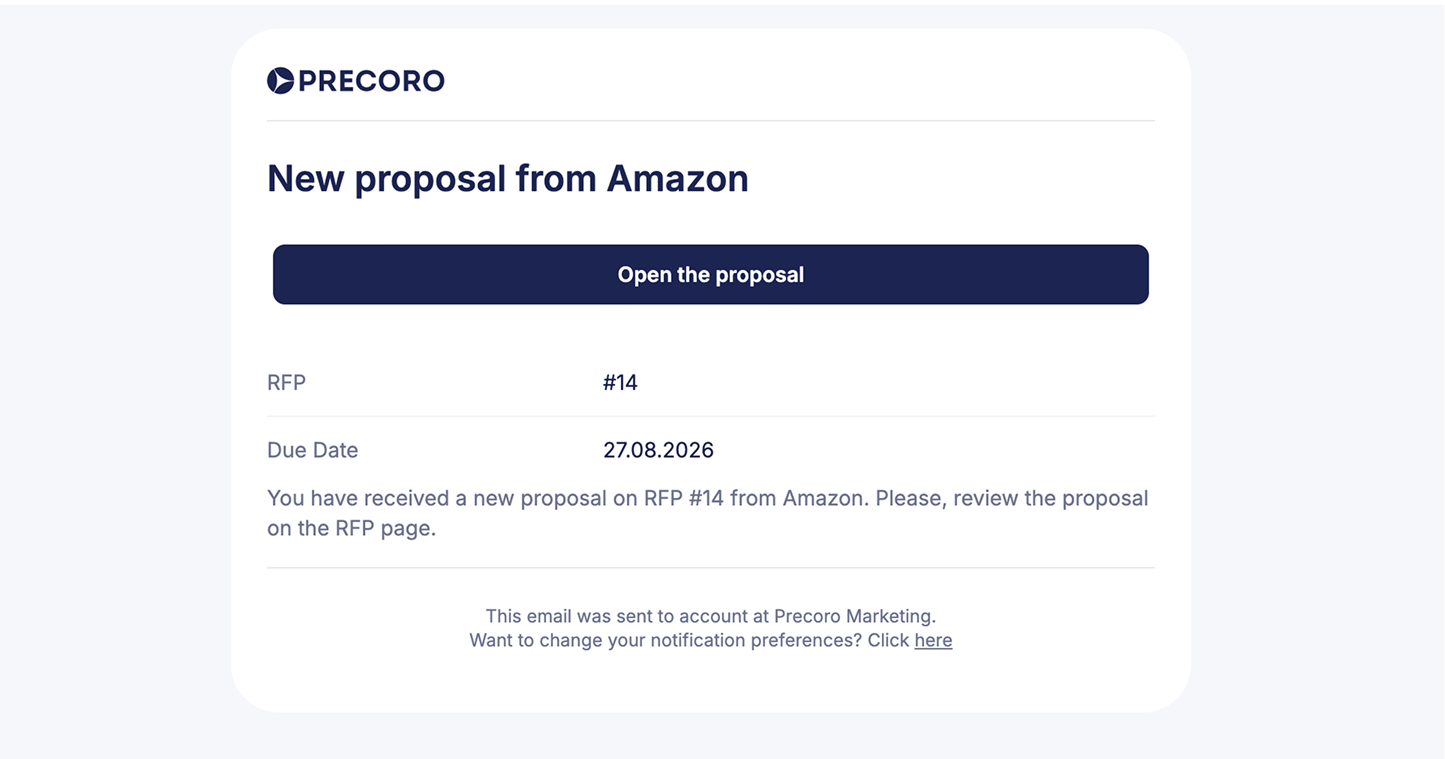
1. You can review proposals two ways:
- Open the proposal from this email or the RFP document and review each one separately.
- Enable Compare proposals above the item table to see every supplier's proposal side by side.
💡 Please note: If Allow Suppliers to Enter Additional Lines is enabled, suppliers can also add new items, shipping, taxes, and discount lines to their proposals.
Supplier-added lines appear in the Supplier-Added Items section at the bottom of the RFP and comparison matrix—select the lines you want to approve or reject before awarding the proposal.
This setting is enabled by default. To turn it off, go to Configuration → Basic Settings → Document Setup → Requests for Proposals and uncheck Allow Suppliers to Enter Additional Lines.
2. Approve the proposal, or send it back for revision.
💡Pro tip: You can select more than one supplier per RFP, or approve a different supplier for each item, to secure the best deal on every line.
You can also track the Document, Proposition, and Email statuses of your proposal.
Please proceed to this article for details.
To see what suppliers view and how they submit their offers, see this guide.
Step 5: Complete the RFP
Once you approve all available items, Precoro automatically changes the RFP status to Completed, and suppliers get notified by email that the submission process is complete.
If you have approved only some of the items, you can complete the request for proposals by yourself using the Mark as completed button in the PFR's actions menu (the three-dot menu).
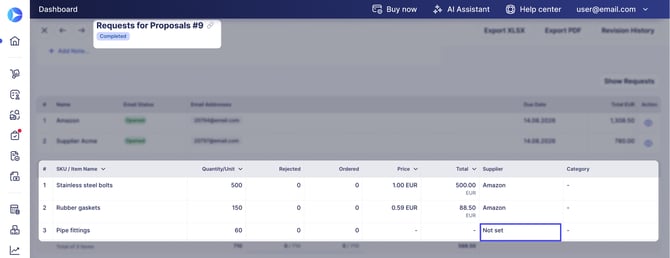
The status of the Request for Proposals will be changed to Completed, and the Supplier column of unapproved items will be changed to No Set.
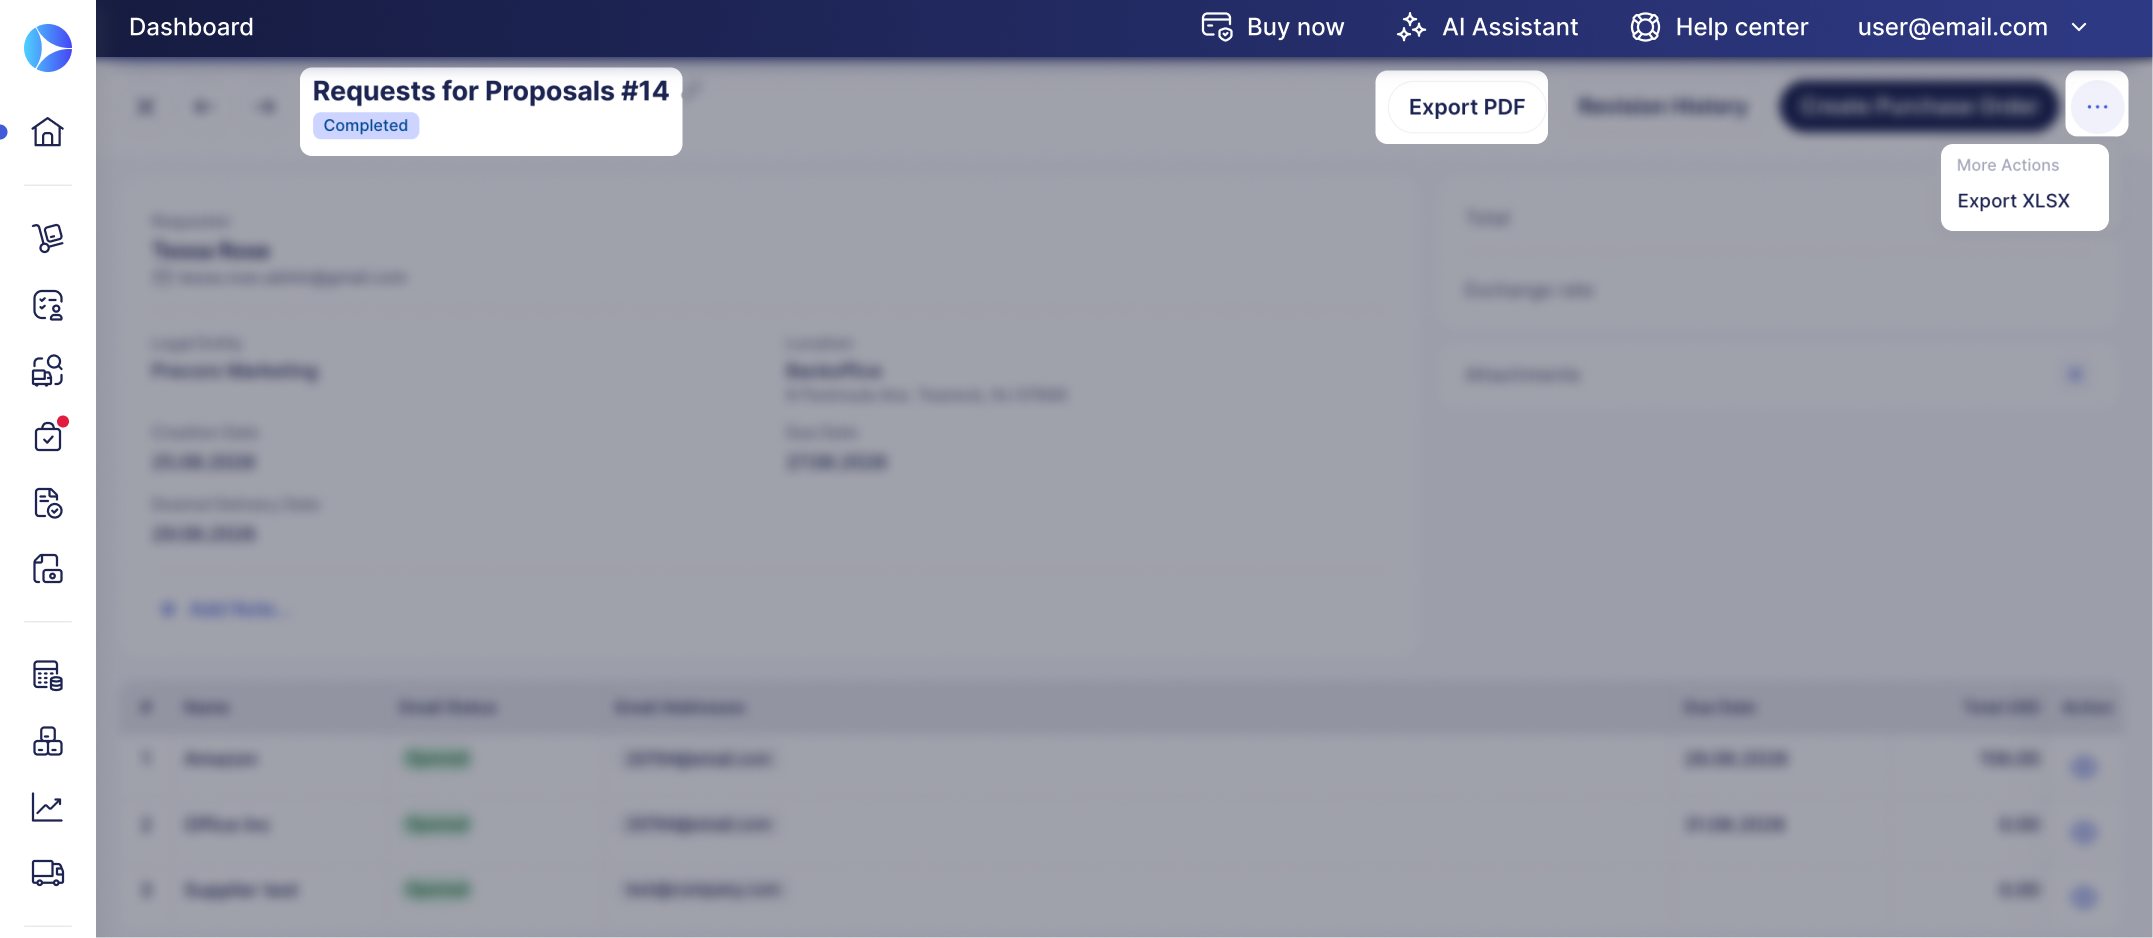
Download the RFP document as a PDF using the Export PDF button, or as an XLSX file from the More Actions (•••) menu.
Export a single supplier proposal
You can also download an individual supplier’s proposal as a PDF or Excel file for sharing, contract documentation, or record keeping.
There are two ways to export it:
- From the RFP page: Find the supplier in the supplier table, open More Actions (...), and select the necessary export option.
.png?width=670&height=299&name=proposal-download%20(1).png)
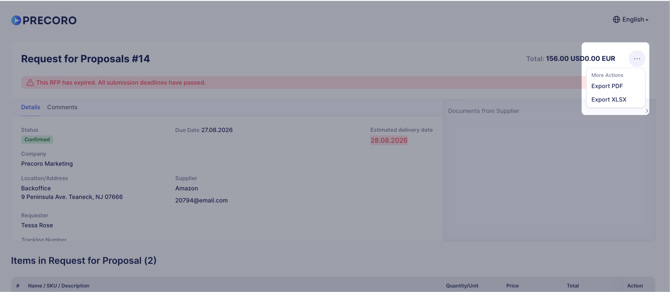
- From the Proposal page: Click View next to the supplier, open More Actions (...) in the page header, and select the export option.
.png?hsLang=en)
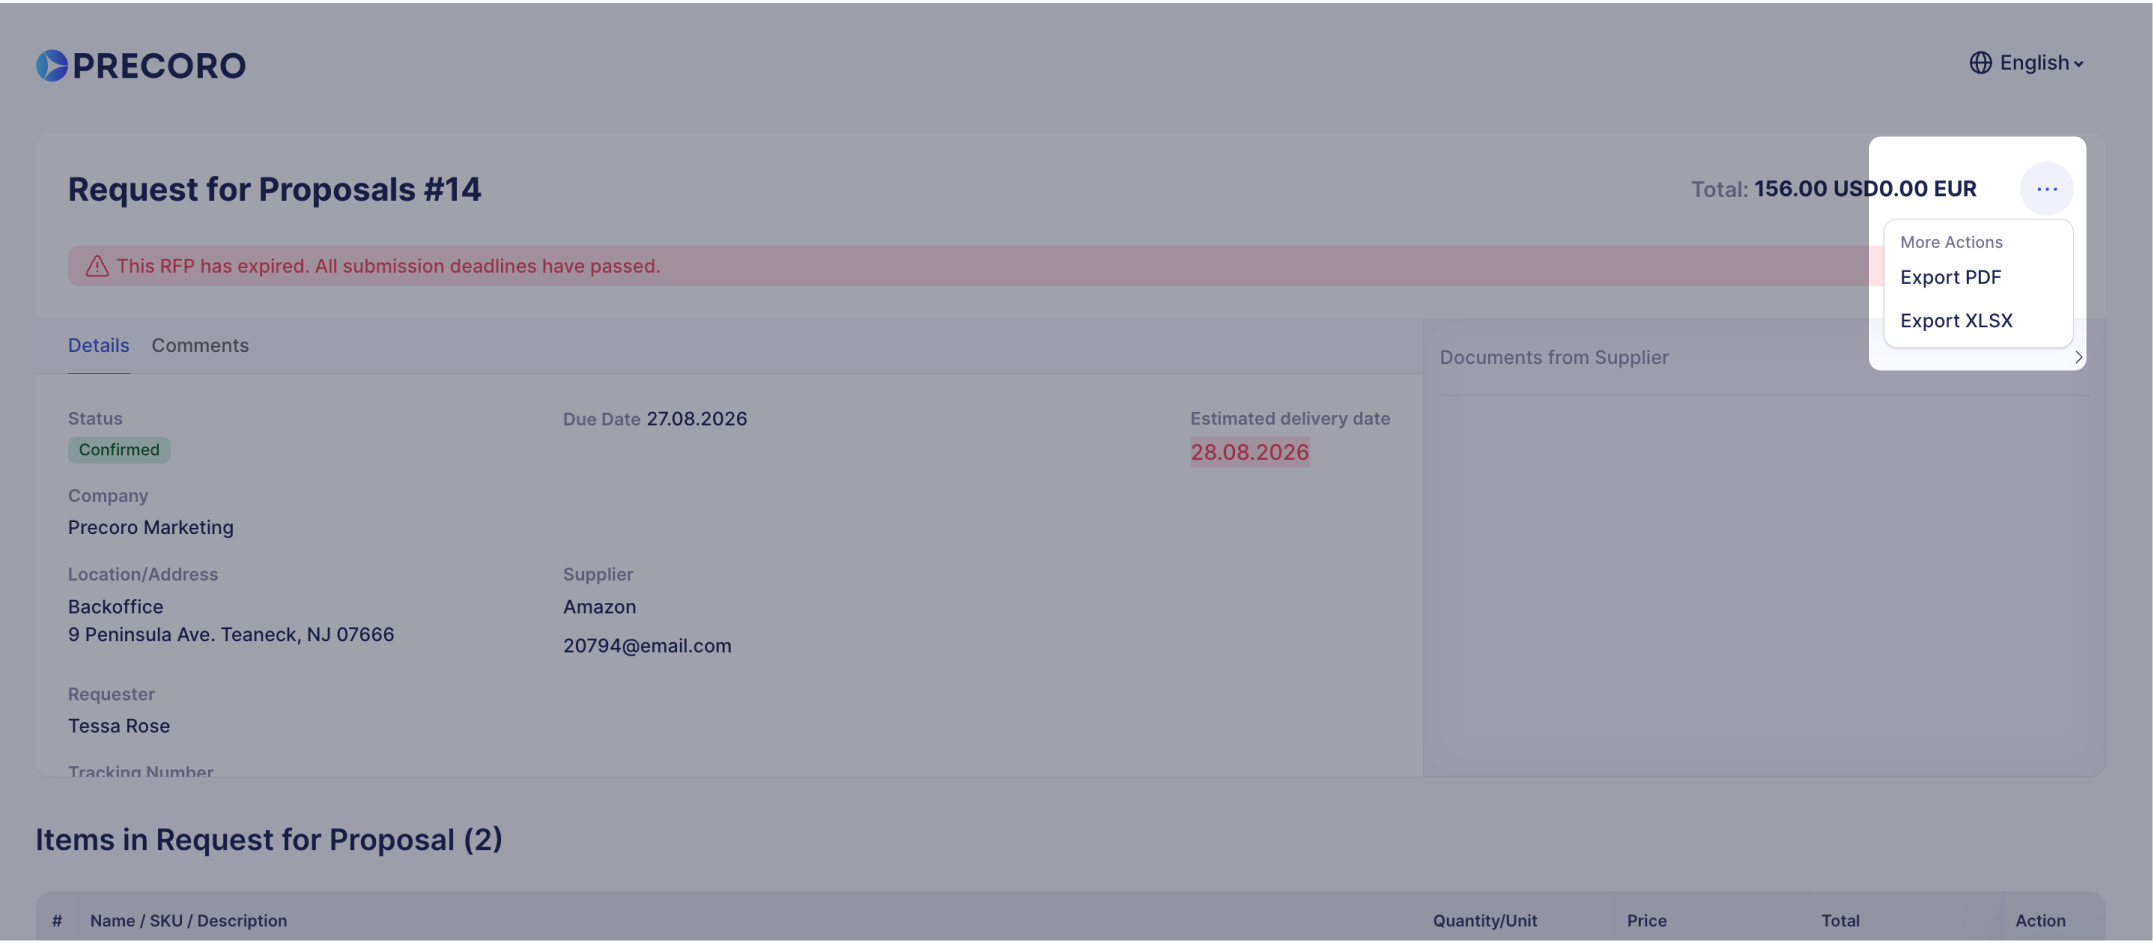
The exported file includes the supplier’s proposed items, buyer and supplier details, and the proposal total.
You can also create a related PO. Learn more in this section.
How to Compare Supplier Proposals
Compare every invited supplier's proposal side by side on the RFP page itself, instead of opening each proposal in a separate tab and comparing pricing and terms by hand.
How to Read the Comparison Matrix
- Open an RFP with at least one submitted proposal and turn on Compare proposals above the item table.
- Review the supplier information in the comparison matrix. Each supplier header shows:
- supplier name;
- item coverage, such as 5 / 5 items, showing how many RFP items the supplier quoted;
- delivery date;
- proposal total.
- Review the item-level details. For each item, the matrix shows the supplier’s Price and Total, with the lowest price highlighted in green.
If a supplier hasn’t submitted a proposal yet, their cells remain empty. If they rejected an item, you see Rejected by supplier in red next to that item, and you can't award it to them.
If suppliers add extra lines to their proposals, you’ll find them under Supplier-Added Items at the bottom of the comparison matrix. Review these lines alongside the original RFP items and approve or reject them before selecting the winning proposal.
You can also click Export XLSX above the item table once at least one supplier has submitted a proposal.
.png?hsLang=en)
Switch the toggle off at any time to see confirmed item prices instead of the full matrix.
How to Award Suppliers
1. Select the winning supplier for an item using the checkbox next to its price. You can:- choose different suppliers for different items;
- select one supplier for all available items using the checkbox in the supplier header.
💡Please note: Only one supplier can be selected per item. Once you select a winner for a line, the other supplier options for that item become unavailable.
2. After you start selecting winners, the action panel appears. Click Award to confirm your selection.
Awarded items are marked with the Awarded label, so you can see which items are complete and which still need a supplier.
The RFP remains Approved until every item has a winning supplier. Once all items are awarded, the RFP moves to Completed automatically.
How to Resend an Approved Proposal Back to the Supplier
Send a confirmed proposal back to a supplier if terms change or you've negotiated different conditions—no need to create a new RFP.
💡Please note:
- This function is available for RFPs with Approved statuses.
- As soon as the RFP reaches Completed status (suppliers have been selected for the items), the Proposal can no longer be sent for revision.
- During revision, the supplier cannot edit the item for which you have already appointed a supplier.
To send the RFP back to the supplier:
- Open the RFP document and click Show supplier proposal in the Status column.
- On the Proposal page, click Send for revision and leave a comment specifying what needs correcting.
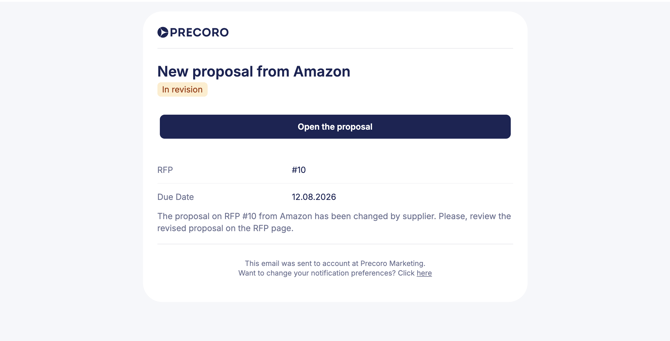
The supplier receives a notification with your comment, can edit the information, and return it for further confirmation. When a supplier changes the proposal, you will also get an email notification.
How to Add New Suppliers to an Existing RFP
If you've created an RFP, added suppliers, received their proposals, and none of them work, you don't need to create another document.
Take the current RFP to revise and add new suppliers.
💡Please note: You cannot edit or delete the previously added suppliers in the document.
After you have completed the R evise, Precoro will send standard notification letters only to the newly added suppliers, and they will undergo the usual proposal submission process.
How to Turn a Completed RFP into a PO
Once an RFP is completed, you can create a PO directly from it instead of entering supplier and item details by hand:
- Open the RFP.
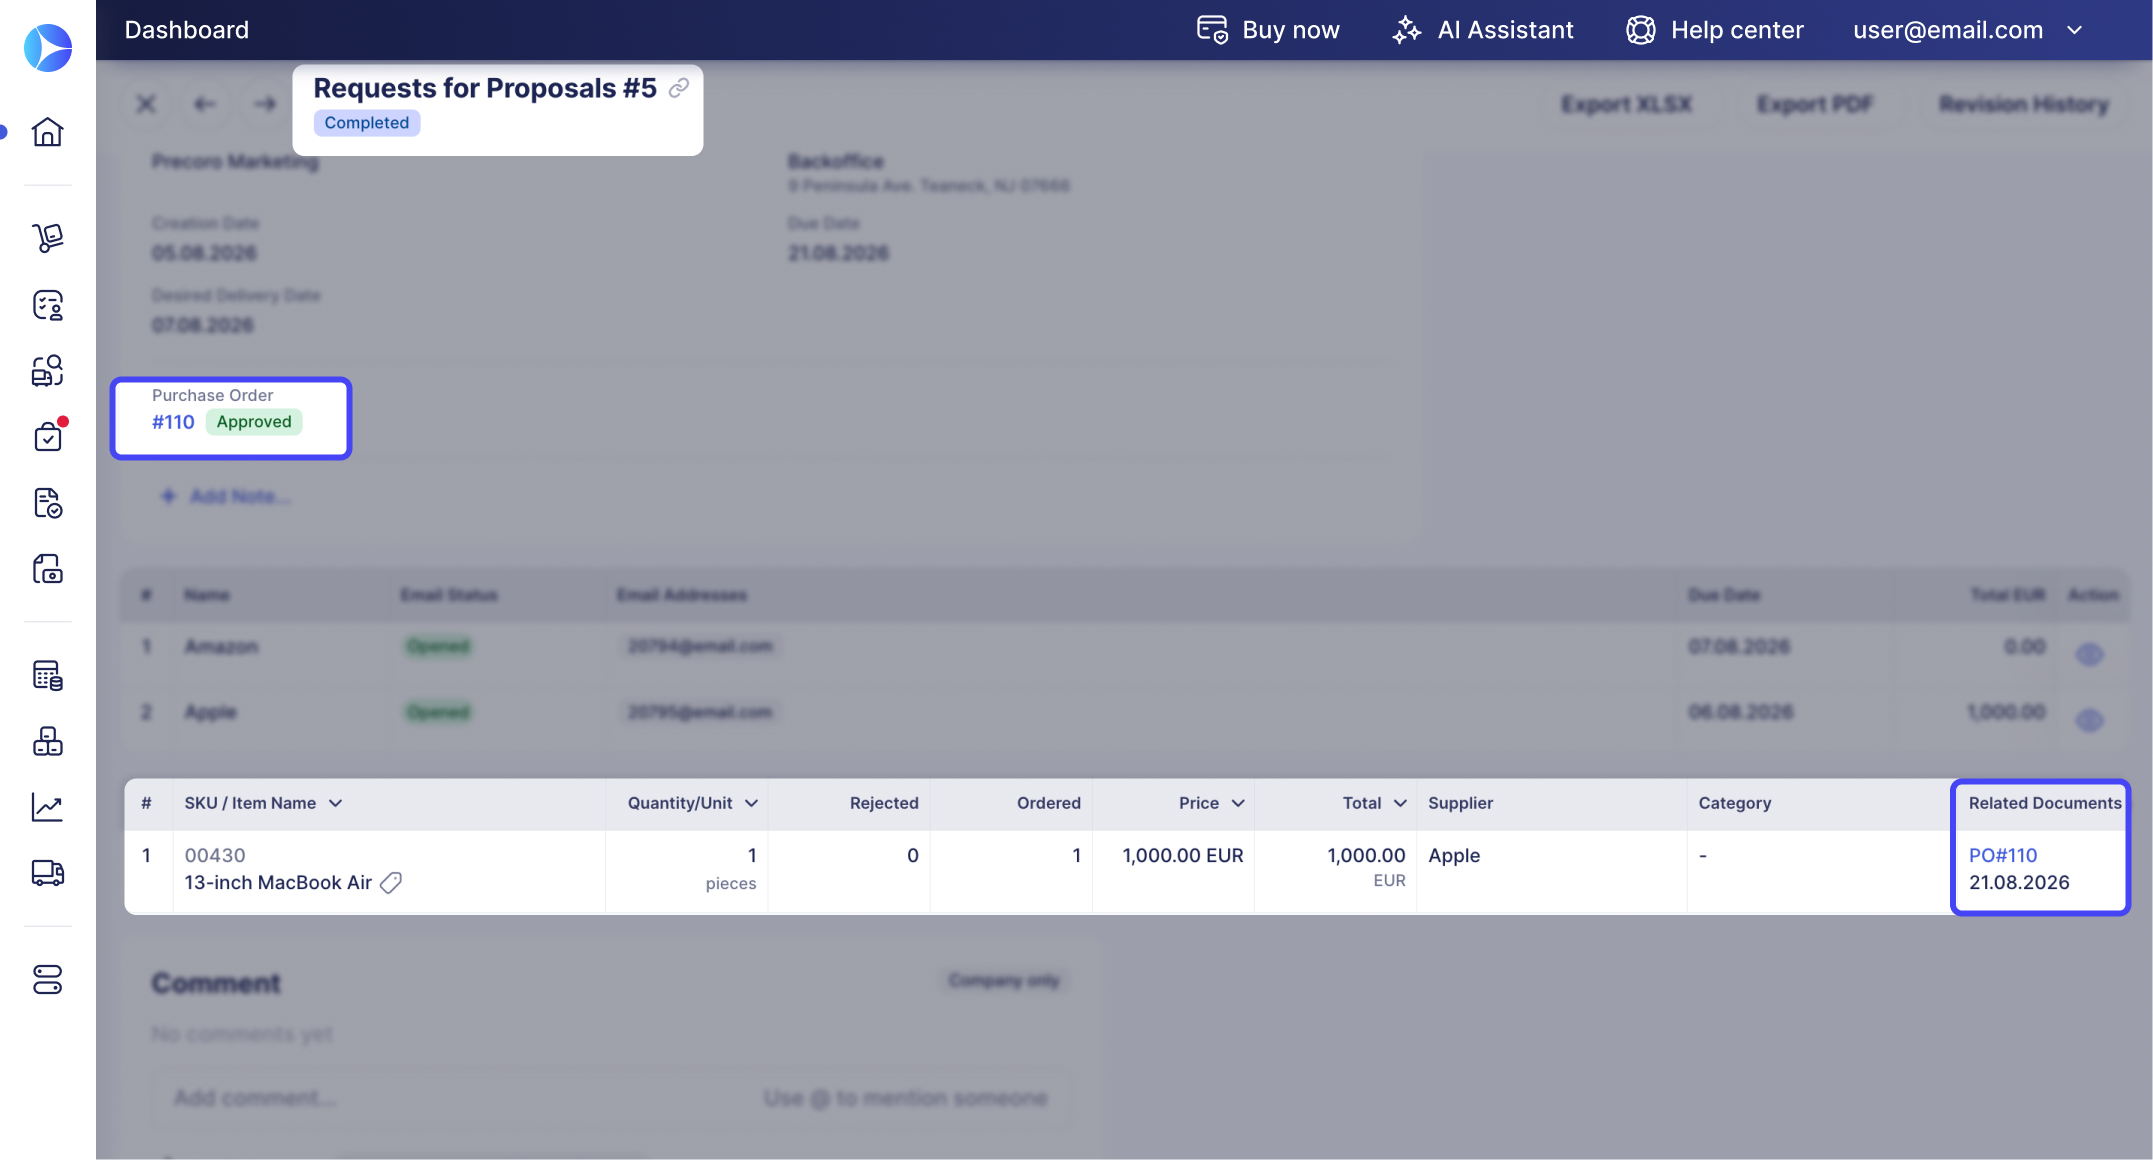
- Click Create Purchase Order in the top right. This button is available while there's at least one winning supplier and at least one item that hasn't been added to a PO yet.
- If there's more than one winning supplier, choose which one to create the PO for; with only one winner, this step is skipped.
- Choose which items and quantities to include.
Approved supplier-added lines are transferred to the PO with their original item type, such as shipping, tax, or discount. - Review the PO details prefilled from the RFP and save. The PO is created in Draft status.
💡 Please note:
- Canceling or deleting a Draft PO made this way releases its items back to the RFP for a future PO.
- Related purchase orders are displayed in the Related documents column.