TABLE OF CONTENTS
- Enjoy the New Design
-
Documents Cannot Be Confirmed Unless the Supplier Has Approved Status
- Better Purchase Requisition to Purchase Order Conversion
- Super User Can Take Over the Revise
Enjoy the New Design
Starting from 12 p.m. (UTC) on June 22, the new Login, Password Reset, Two-Factor Authentication, and SSO Sign-In pages will be available in the new design for all Precoro users.
Better Purchase Requisition to Purchase Order Conversion
With just one click, you can now convert a Purchase Requisition document into a Purchase Order.
To do that, follow the steps below:
1. Click the Create Purchase Order button in the right action panel of the Purchase Requisition document.
The Create Purchase Order button will only appear after the document has been Confirmed or Approved (if you have a set Approval Workflow).
2. Check that all the additional Item/Document Custom Fields information for the Purchase Order is in place and press Create to proceed.
3. You have a new Purchase Order with all the items added from the Purchase Requisition.
In case your Purchase Requisition has different Suppliers, the system will give you the ability to select each Supplier in turn and create separate Purchase Orders:
In case you did not select any Suppliers in the Purchase Requisition document, the system will prompt you to choose one:
Documents Cannot Be Confirmed Unless the Supplier Has Approved Status
Starting from 12 p.m. (UTC) on June 22, Purchase Orders, Purchase Requisitions, and Invoices will not be available for Confirmation if the Supplier is still Pending or has been Rejected. Documents can only be confirmed for Approved Suppliers.
This update will only impact companies that have a set Supplier Approval Workflow.
Learn more about the Supplier Approval Workflow functionality here.
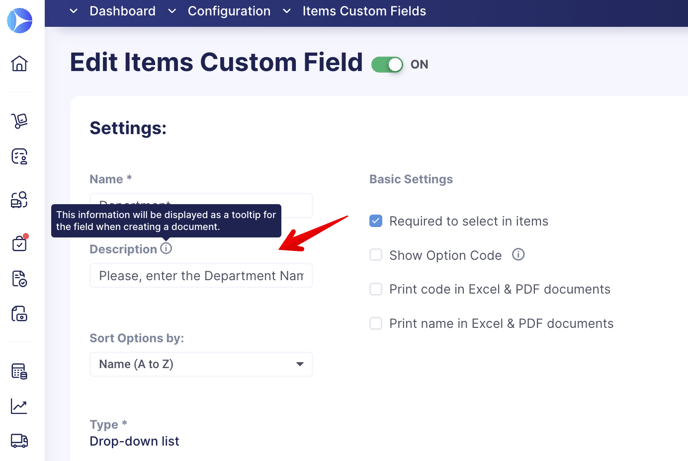
Item and Document Custom Fields Tooltips
Add Descriptions to your Item and Document Custom Fields to guide your users when creating new documents. So that they know exactly what information needs to be entered.
To add a Description:
1. Open the Item or Document Custom Fields.
2. Select and open the field you wish to edit.
3. Enter the Description and press the Update button below to save the changes.
The Description field has a limit of 255 characters.
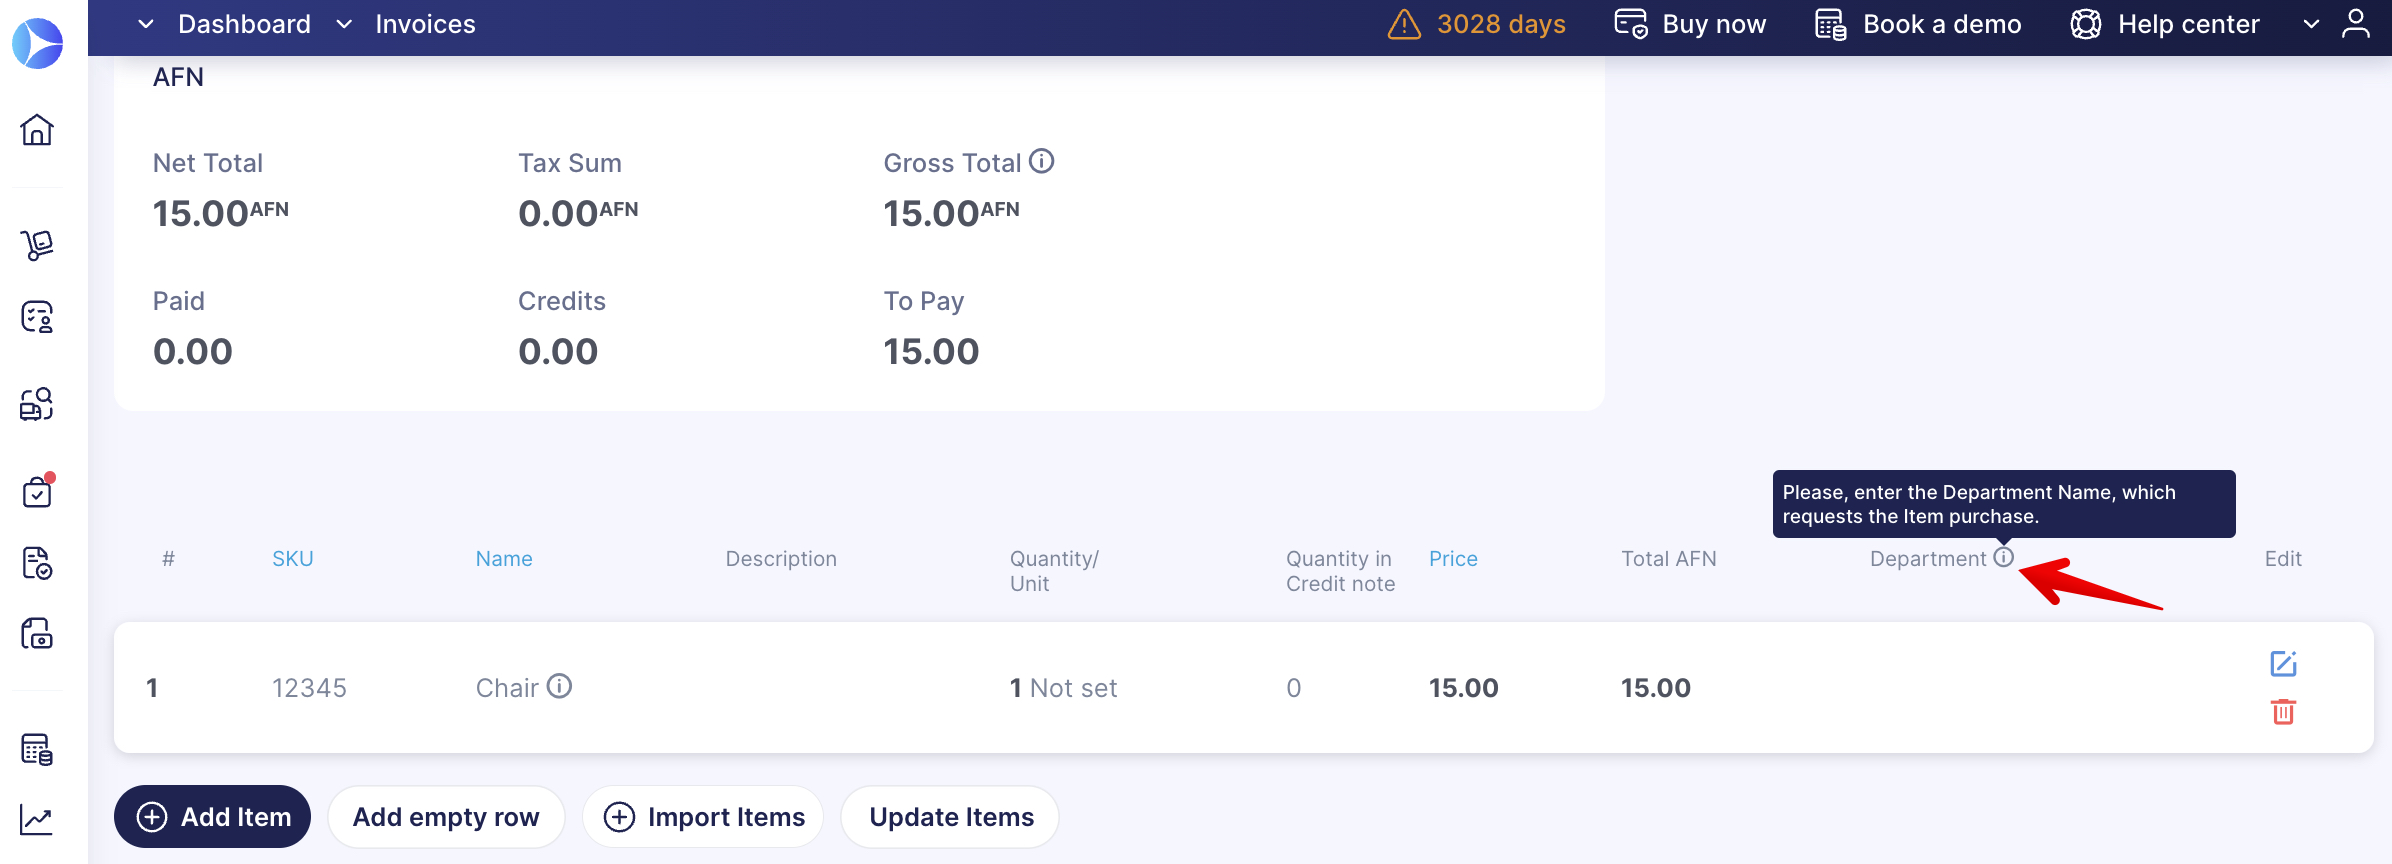
Users will see an informational icon next to the field’s Name in the document. The tooltip text will be displayed when you hover the cursor over the icon.
If the Description field is empty, no informational icon will be displayed.
Super User Can Take Over the Revise
Working through the documents with In Revision Status has improved as the Super User can now take over the revision even if another user initiated it.
Learn more about the Super User Role here.
To initiate the revision swap, follow the steps below:
1. Make sure you have the necessary Role.
2. Open the document with In Revision Status.
3. Press the Take Over the Revise button in the right action panel. This will make you the document reviser, allowing you to proceed with further work on the document.
Other users will be unable to perform any actions on the document until you, as the Super User, complete the revision.
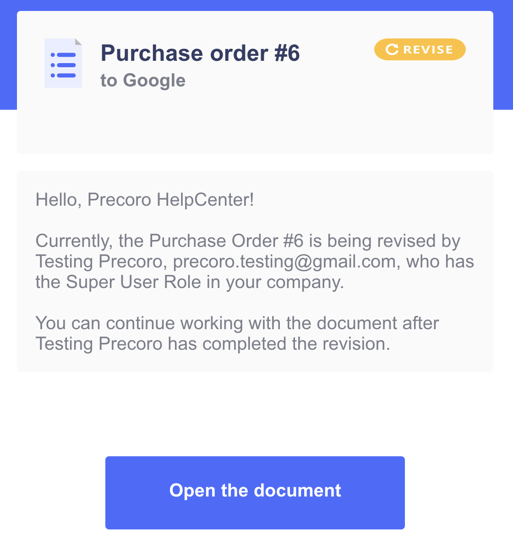
Also, the initial reviser will receive the following email notification:
Improved Search in the Imported Xero Information
Optimize your work with Xero integration by using the Search functionality that is available in the following import options:
-
Import Chart of Accounts
-
Import Departments
-
Import Classes
-
Import Customers.
In the Import Chart of Accounts only, you can search by both Name and Code. In all the other options, the search is performed by Name.
Webhooks Functionality Update
-
Possibility to enter up to 5 unique Webhook Endpoints.
To create a New Webhook, press the corresponding button on the Configuration page and then proceed to its setting.
-
Ability to manage all created Webhooks from one Configuration page.
You can view the current Webhooks and their activation status. You can also press the pencil icon to edit it.
Filter Suppliers by Their Portal Registration
On the Supplier Management page, you can quickly sort through those registered in the Portal. To do that, open the advanced filters and select either Yes or No in the Supplier Portal field to obtain the desired output.
The Supplier Portal filter is only available if you have at least one Portal Supplier. If not, this field will not be displayed.