TABLE OF CONTENTS
New Request for Proposal Design for Suppliers
The new design will help you work with documents even more efficiently and facilitate better communication with your Supplier.
- The Supplier can edit the SKU, Name, Description, Quantity, and Unit fields. The information filled in by you will be highlighted in red, while the new version entered by the Supplier will be highlighted in green.
- The Supplier can enter prices and save items. When all the Prices and Delivery Dates are entered, they can Confirm the proposal.
- The Supplier can Reject items or the entire proposal.
More information on how to fill out the request as a Supplier can be found here.
Revoke the Supplier Invitation Form
You can now Revoke the already sent Invitation form. You can do that on the Sent Invitations page by clicking the Revoke the Form button in the action column.
This function is available on Sent, Pending, and In Revision Invitation statuses.
In case the Supplier opens the revoked form, they will see the following message, and the form will no longer be available for editing.
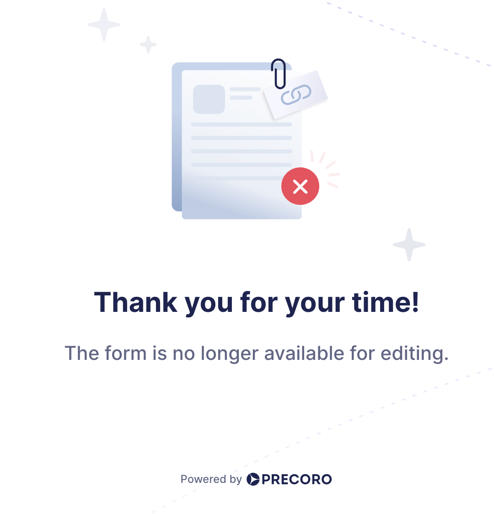
After revoking, the form will obtain a Cancelled status and be removed from the Invitations list.
Also, you will still be able to find the form by using the Status filters:
Improved Location Revoking for Users in Approval Workflow
Now you can edit or disable Locations for a user involved in Approval Worklow faster and easier:
- You can edit access to Locations for users in Approval Workflow. When you remove the Location access, it automatically disappears from the Approver availability.
- If a Pending document was on its last Approval Step and the responsible person was the one whose access was revoked or edited, the document will be sent for re-approval.
- Already Approved documents will not be affected.
- If you have other approvers on the current Step (where there was the approver with revoked or edited access) with the same access to the needed Location, the re-approval will not get triggered.
Import Warehouses In Bulk
Now you can promptly import any number of Warehouses with a single file, rather than creating all those entries manually.
This functionality is available on the Inventory management page.
Click the Import Warehouses button on the right action panel, and you will be redirected to the standard import form. Follow the steps as instructed on the page.
Please remember that the file format for submission should be XLSX, and you should enter information into the following required fields: Name and Location.
You can enter multiple Locations into the file by separating them with a semicolon “;”.
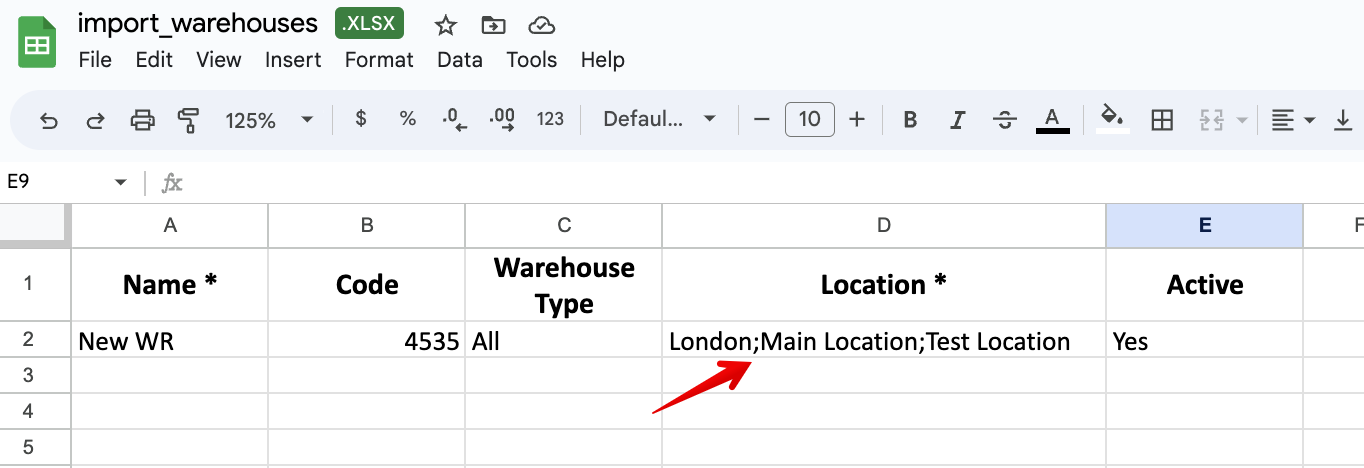
You can also change and manually input another Warehouse Type. By default, this field is set to All.
NetSuite Locations Auto-Update
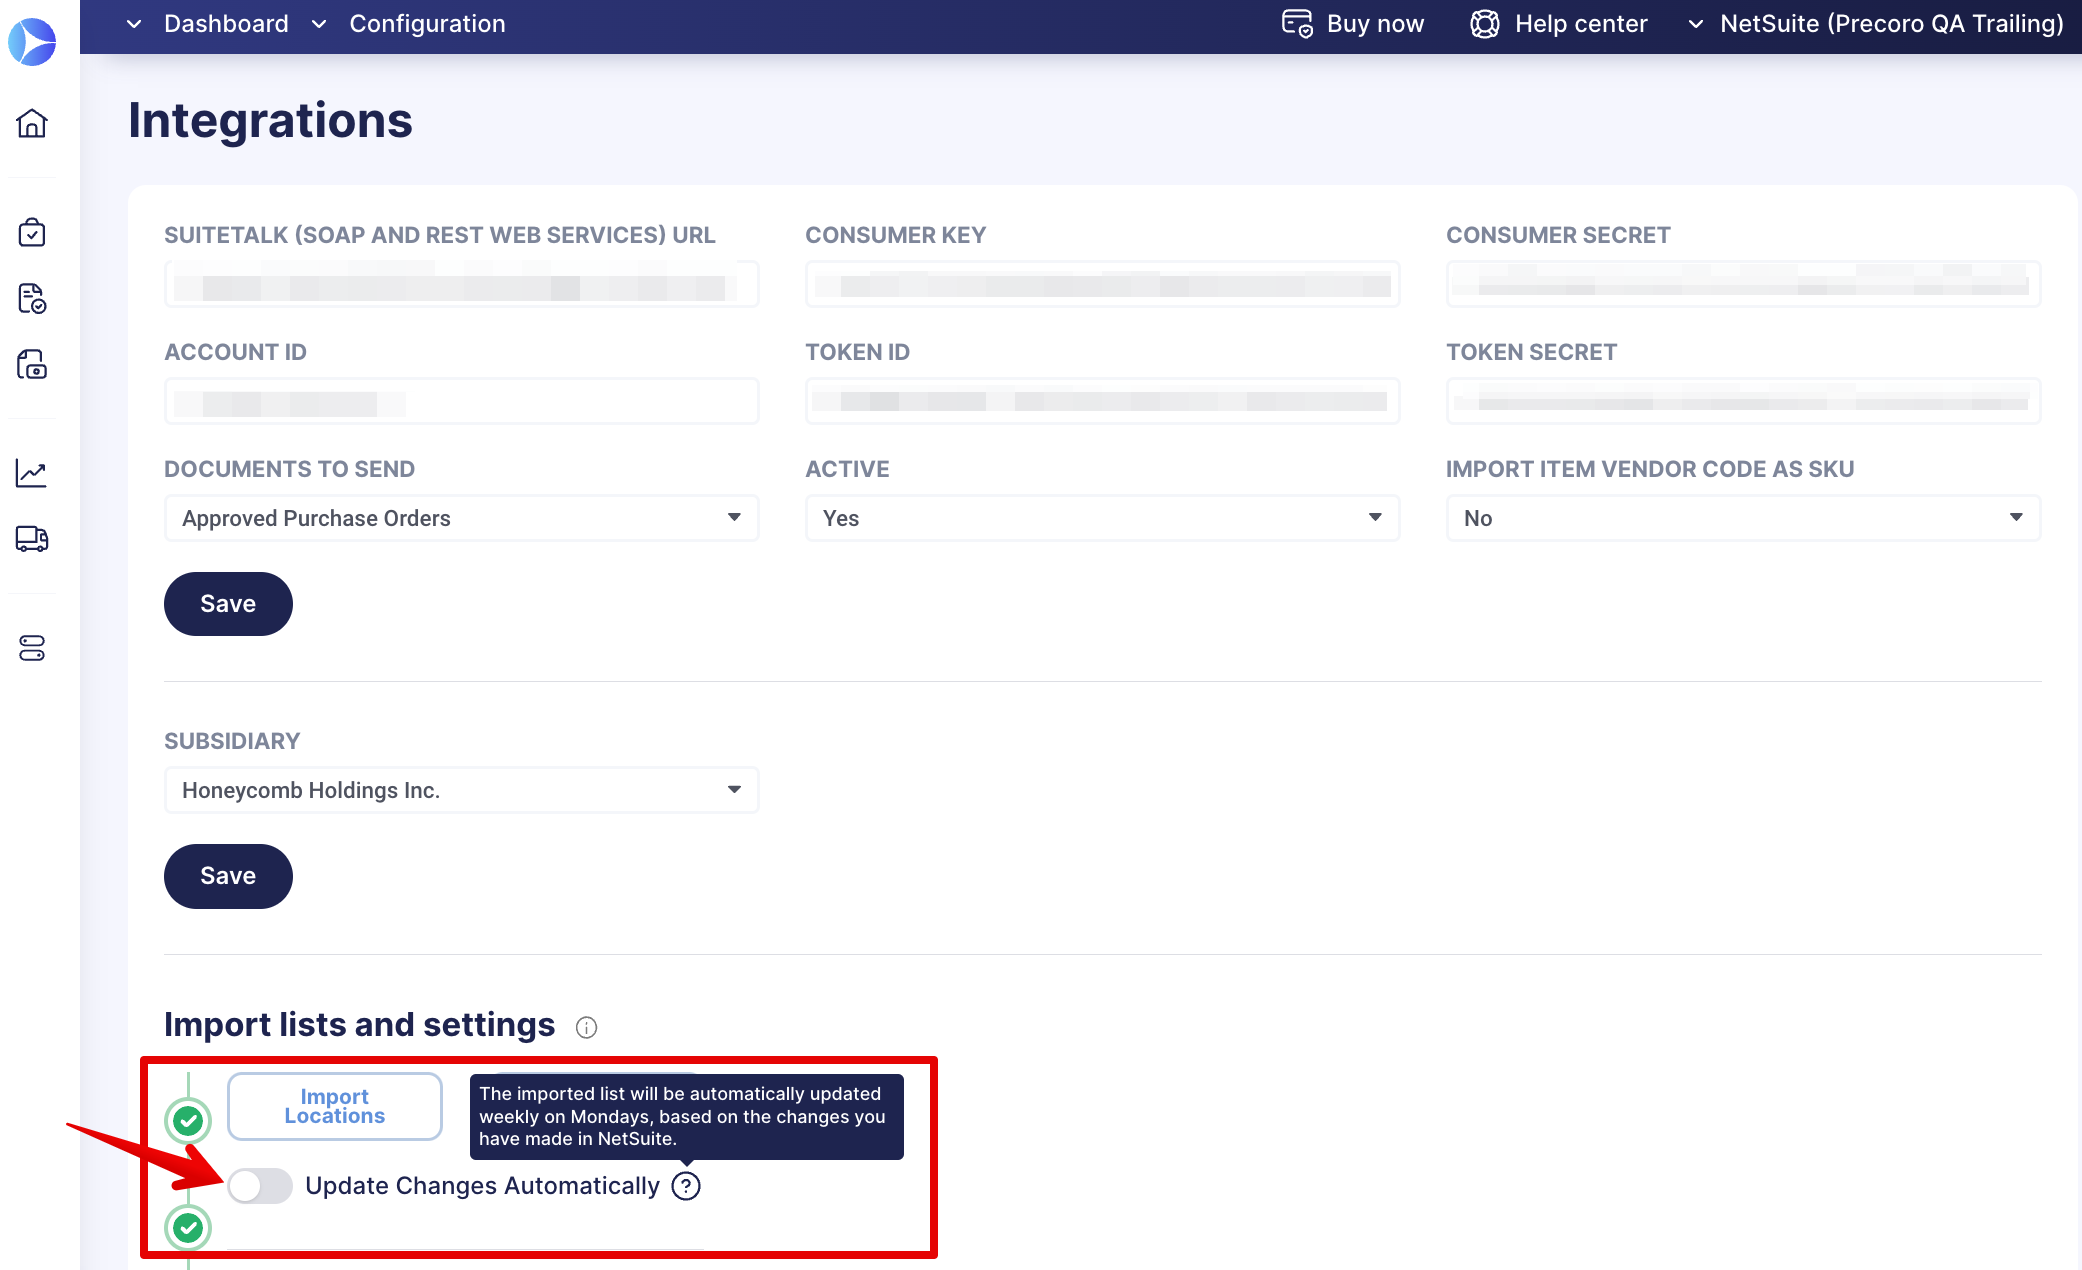
Turn on or off NetSuite Locations auto-updating from the Integration page. This functionality can help you eliminate manual and routine tasks of constant data updates.
Updates occur weekly on Mondays.
To Update Changes Automatically, toggle the corresponding switch to turn it blue. The deactivated toggle is gray, which means that information will only be updated manually.
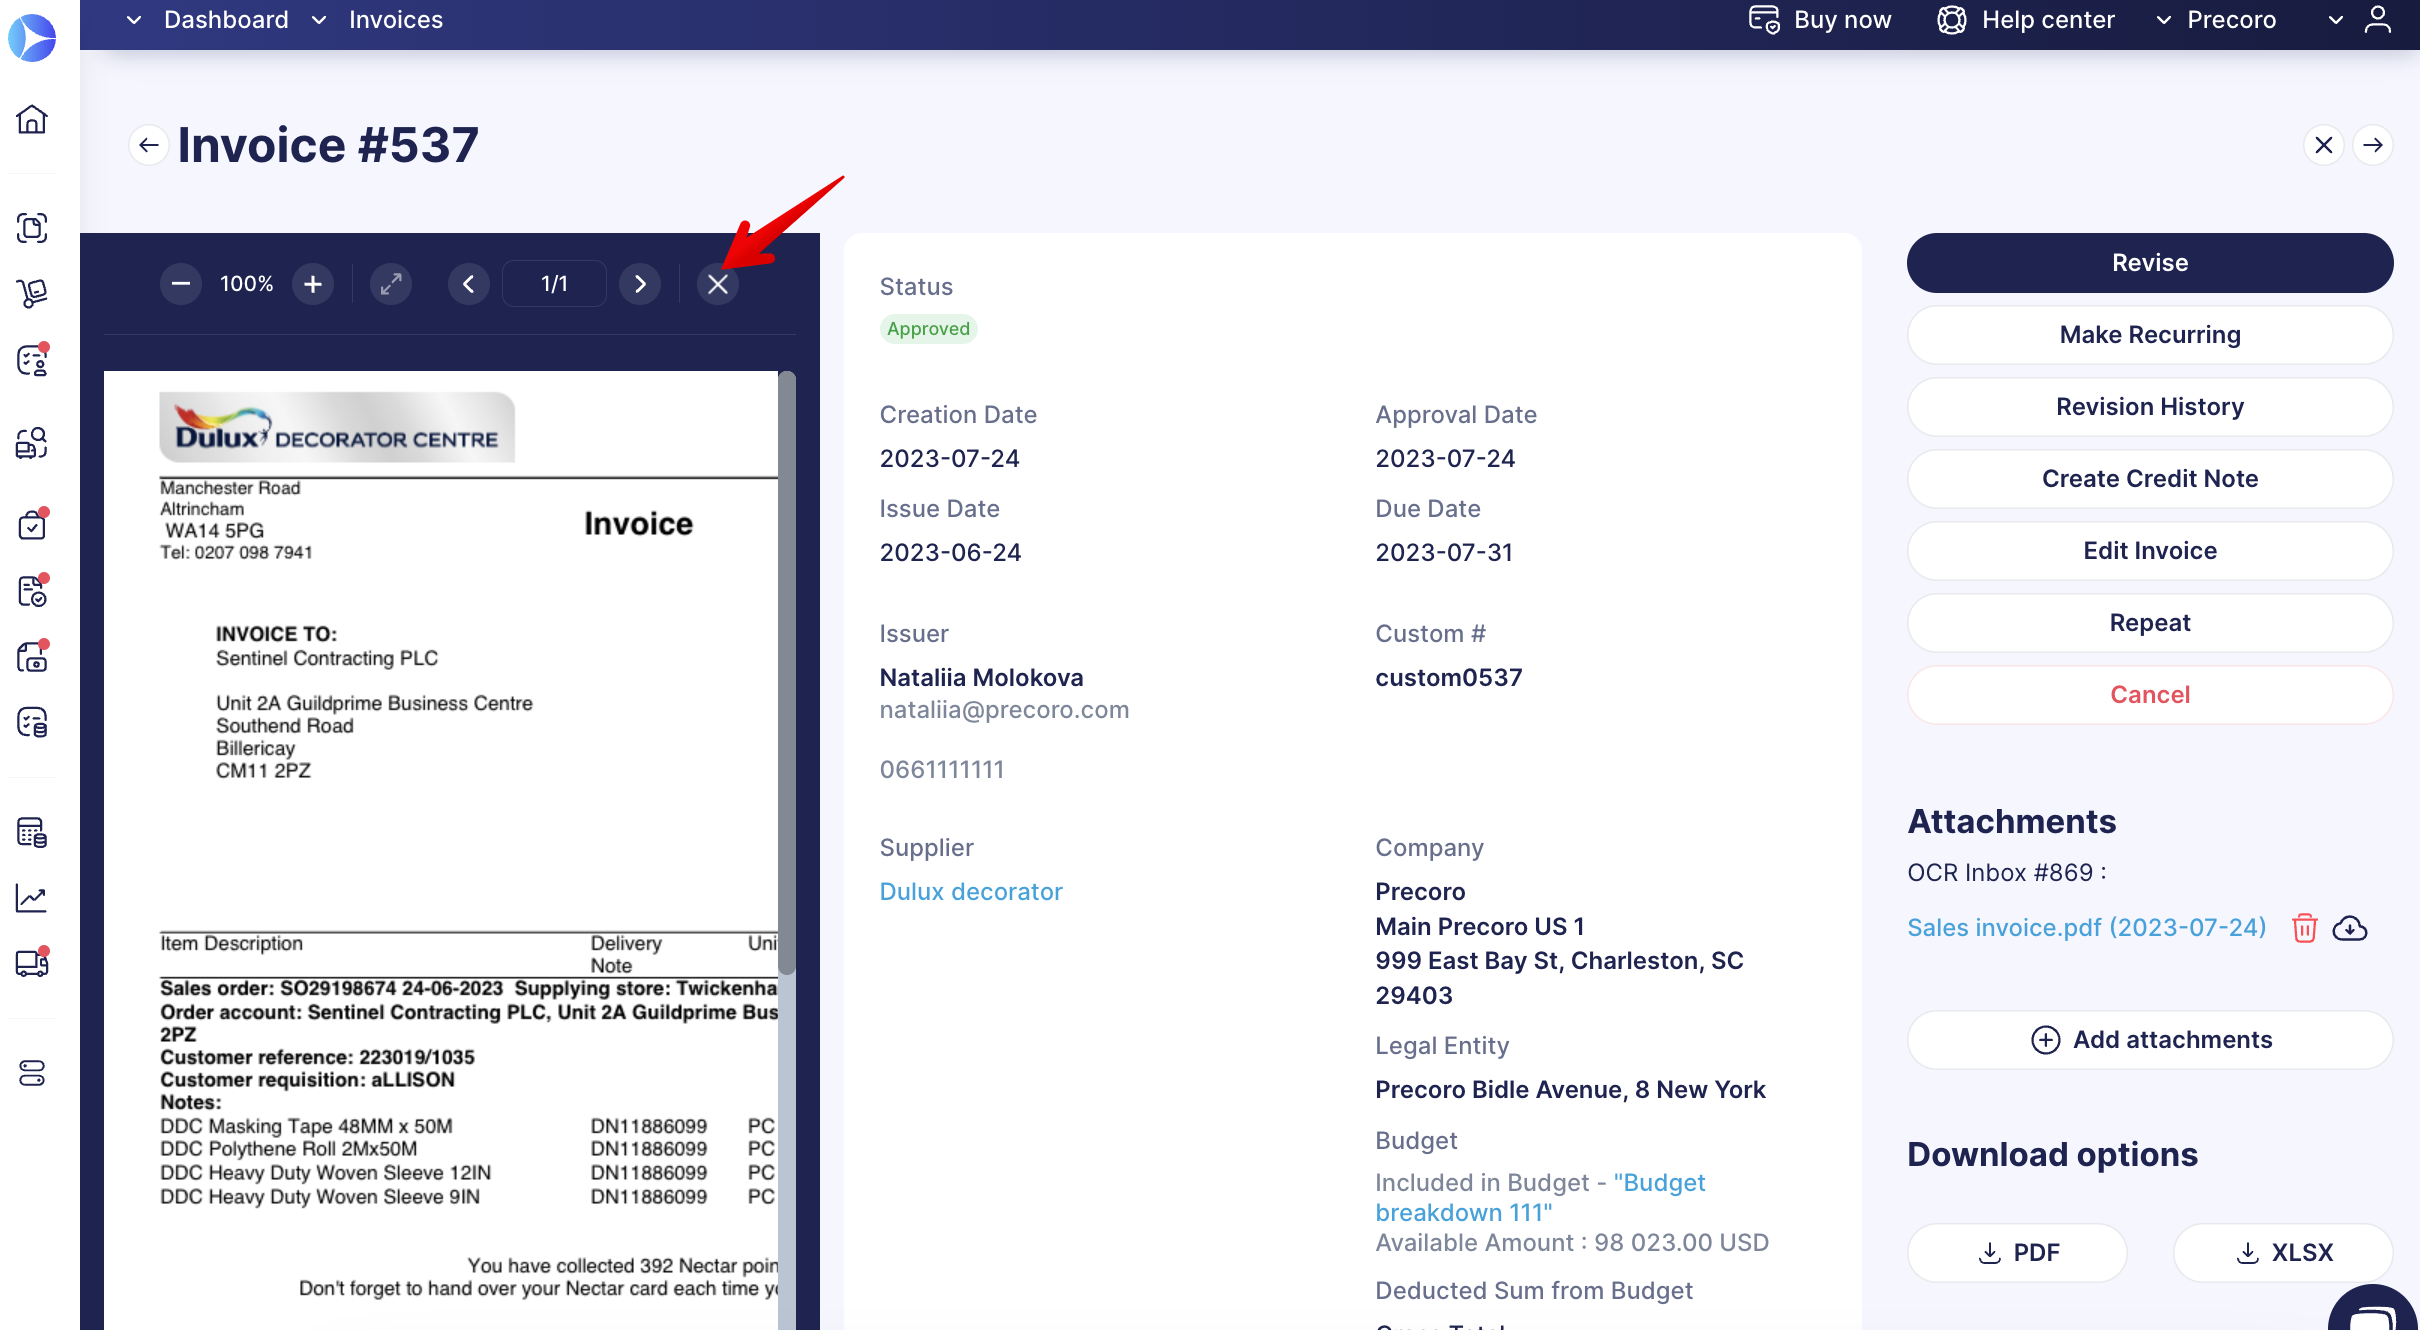
Improved Split Screen View with OCR
Working with OCR attachments becomes even more convenient. As you can now see, the improved attachment display on the:
- Invoice creation page.
- Invoice from PO creation page.
The split-screen view is now activated automatically for all documents created with the help of OCR, so there is no need to activate it manually.
You can still manually turn off the split-screen view by clicking the cross icon on top of the attachment display.