TABLE OF CONTENTS
Filter Items When Adding Them to the Receipt
Update Items in Bulk in Invoices
Use Better Supplier Mapping with Xero
Supplier’s Confirmation on Taking Purchase Order for Processing
Filter Items When Adding Them to the Receipt
When creating a Receipt document from the Purchase Order on the Select items to add to the Receipt page, you can now apply filters to the items.
This function can be useful when you have a lot of items in the Order and need a quick and easy tool to sort all of them.
Find more information on creating and matching a Receipt with a PO here.
You can apply filters to the following:
- Name field, where you can specify the information in the search line.
- Items Custom Fields (available only to those activated for the Receipts). More information on working and activating ICFs for documents can be found here.
Update Items in Bulk in Invoices
Use the Update Items option in Invoice documents if you need to update, for example, the following:
- Item prices have changed.
- You need to assign specific Discounts or Taxes to several items at once.
- You want to delete some items or add new ones.
- You need to update other important information in the Items Custom Fields.
1. Open the document you want to update, make sure you have added items, and click the Update Items button.
2. You will be redirected to the Update Items page. By following the instructions, you can download a template file (with the items from your document), update the necessary information, and upload it back to Precoro.
The file must be in XLSX format and should not contain the tips from rows 2 and 3, which you need to delete before the upload.
3. After Submitting the document, you will receive a system message about the download success, and the changes will be displayed in the edited items.
Use Better Supplier Mapping with Xero
Previously, if you had a Supplier in Xero and then you created a Supplier in Precoro with the same Name value, those Suppliers would automatically match, and all Xero data would get erased and replaced with the information entered in Precoro.
More information on data synchronization between Xero and Precoro can be found here.
Now, when mapping a new Supplier in Precoro with an already existing one in Xero, we would update the information by taking data from Xero and updating it in Precoro.
If there are any differences between the two records, we will now update the information in Precoro based on the data taken from Xero.
Supplier’s Confirmation on Taking Purchase Order for Processing
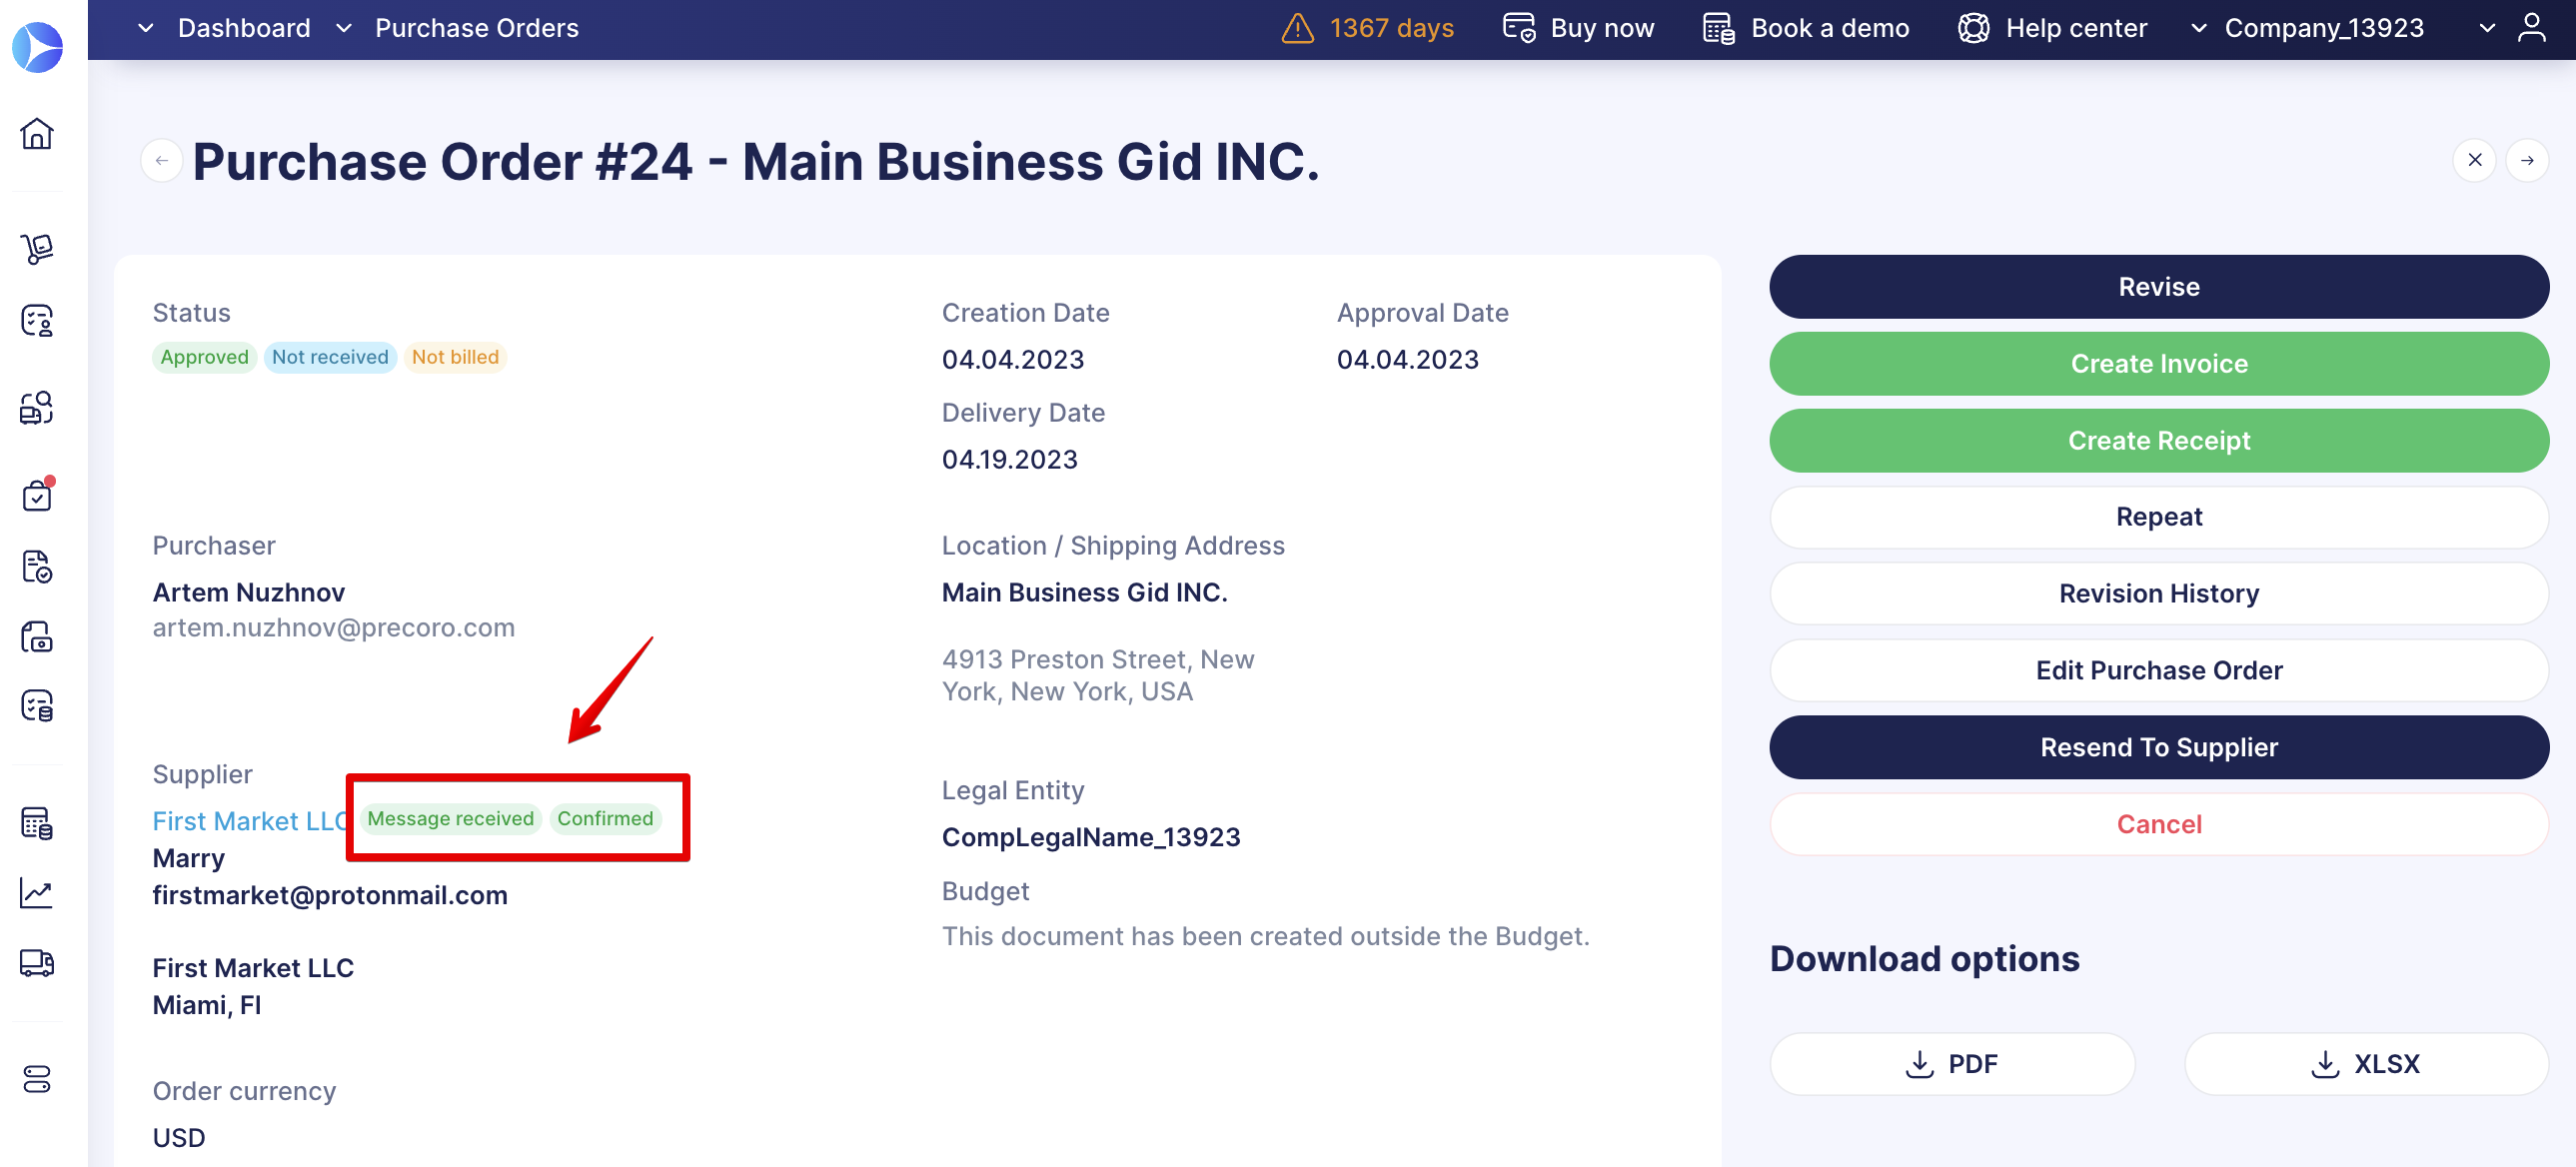
Now, when Suppliers take the Purchase Order for processing, you will see a new Confirmed status in the document. This will help you track the current document status.
1. Make sure you have activated the Send to the Supplier checkbox in Basic Settings → Documents Setup → Purchase Orders. That way, you will be able to send your created PO documents.
2. Create and send your Purchase Order to the Supplier.
3. When the Supplier opens the letter, you will see the Message received status. Once they confirm receiving the letter, you will see the Confirmed status in the PO.