TABLE OF CONTENTS:
- How to Set Up the Power BI Connector for Multiple Companies
- How to Schedule a Data Refresh for Multiple Companies
How to Set Up the Power BI Connector for Multiple Companies
To connect to the first company, follow the steps outlined in the How to Set Up the Power BI Custom Connector guide. Make sure to remember the company name you used during authentication in Step 4.
To add the second company:
- Retrieve the API token.
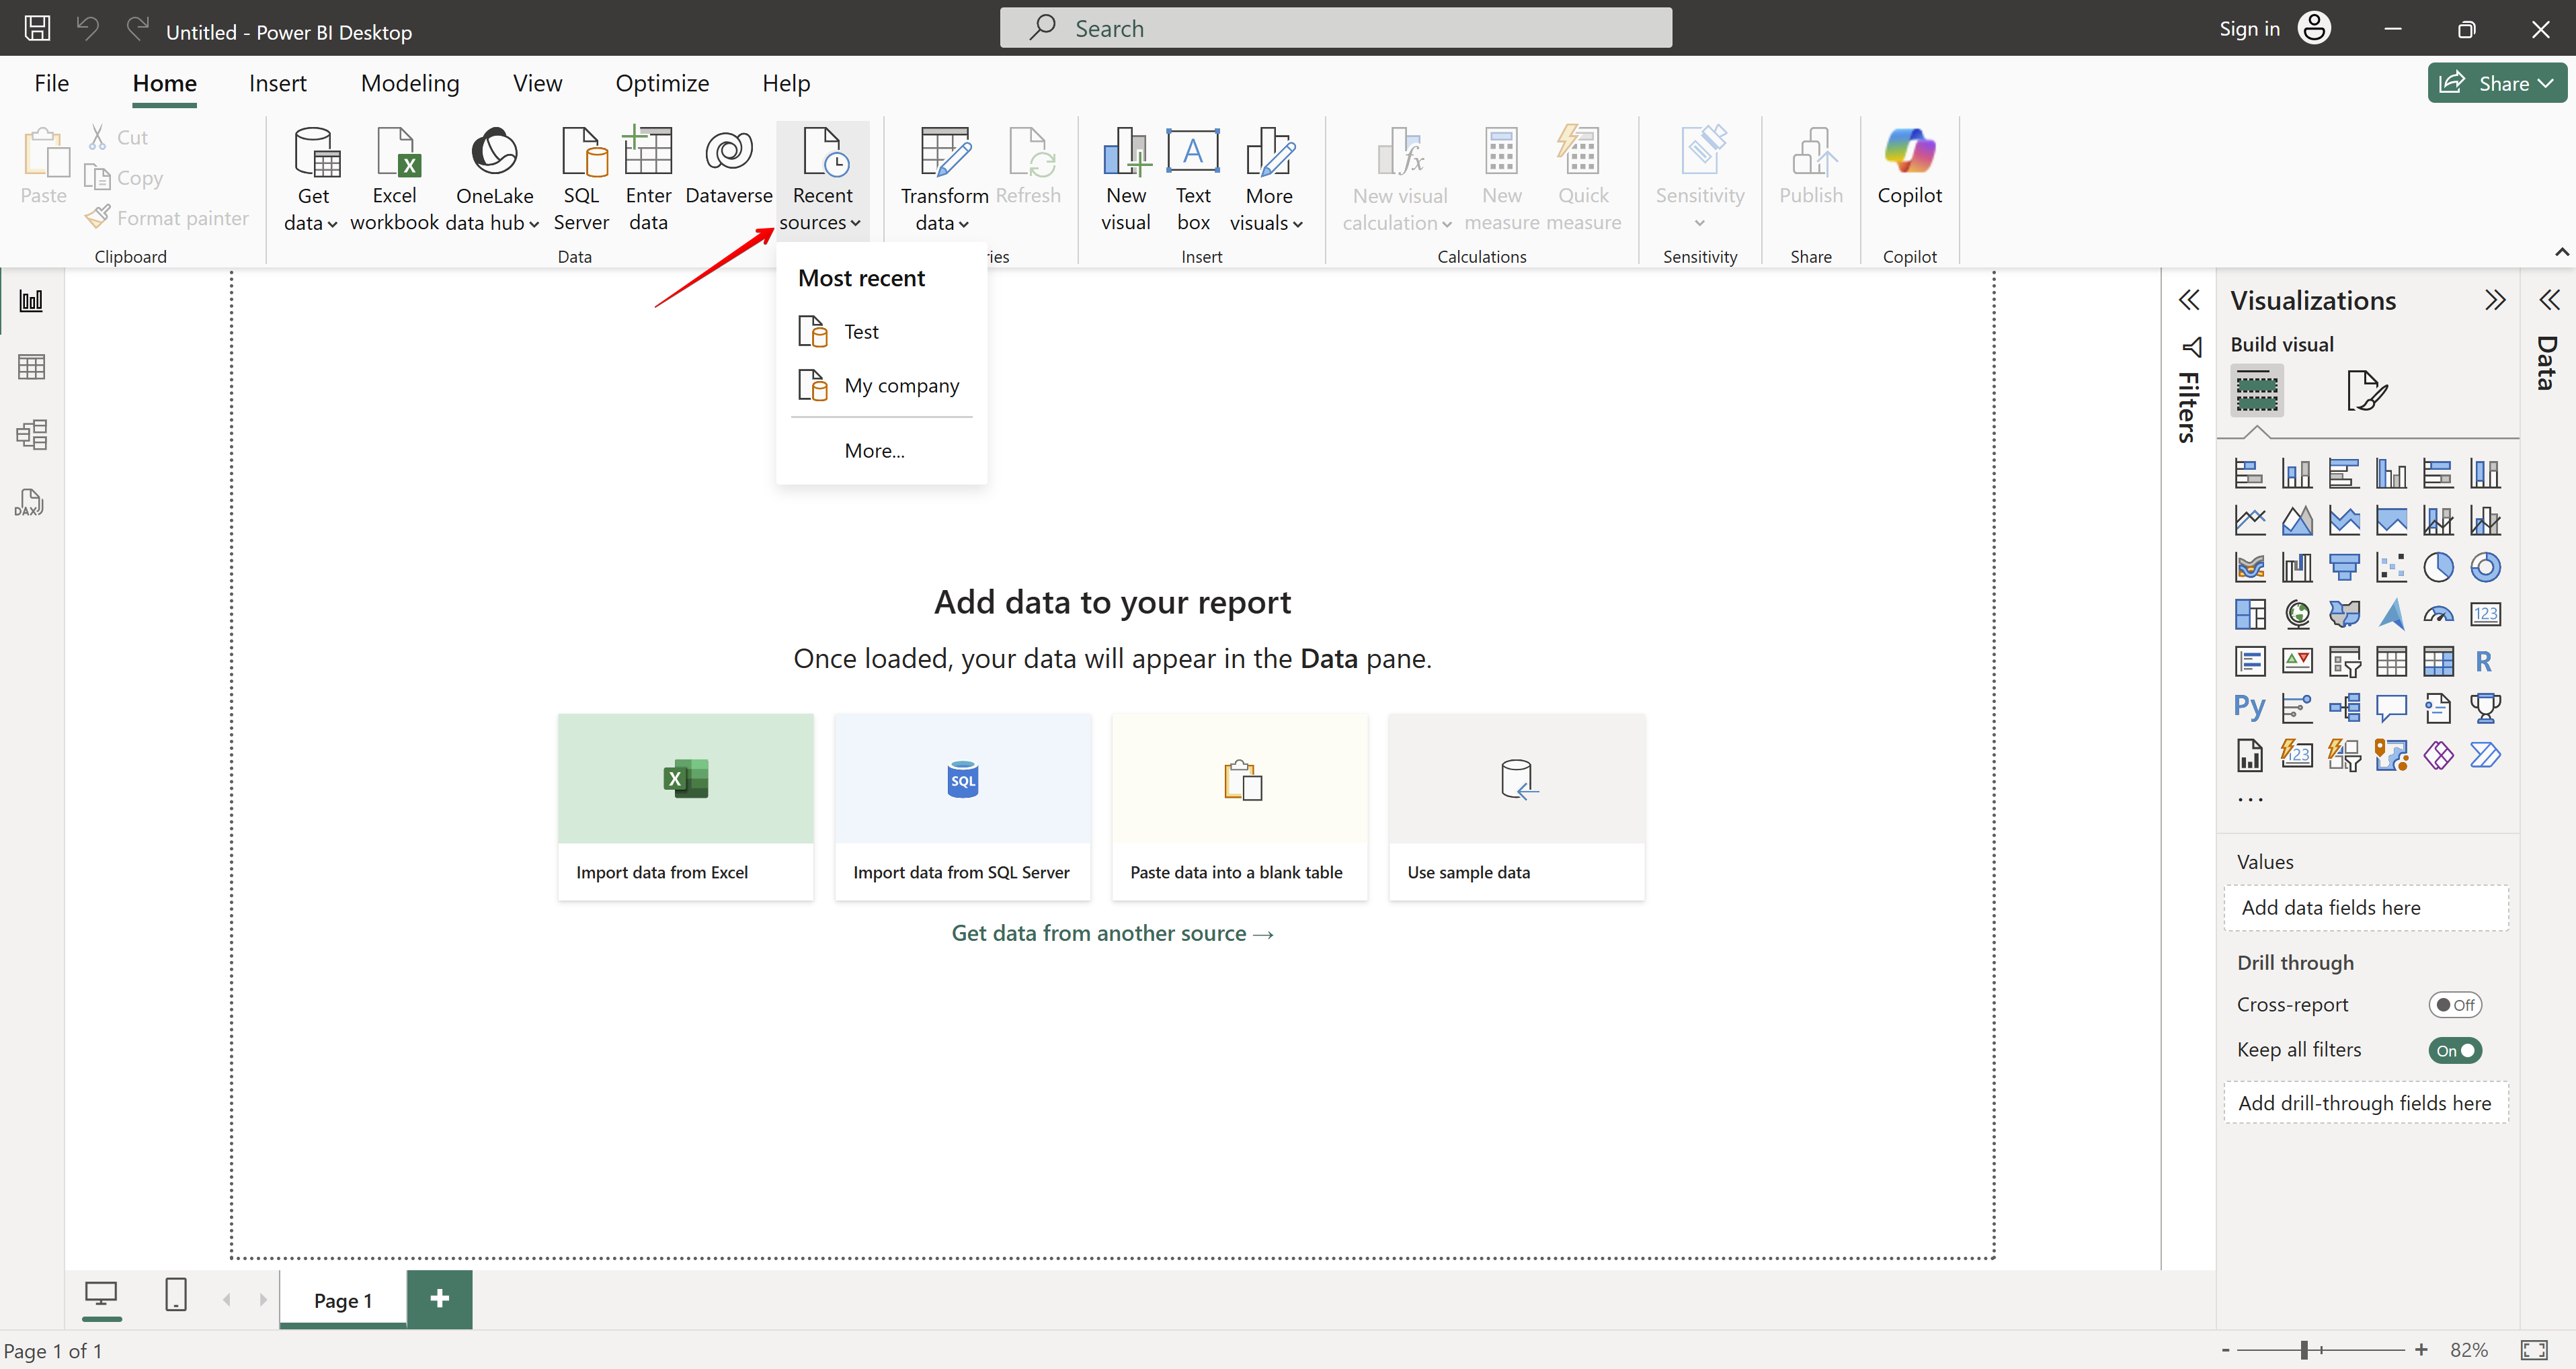
- Go to the Power BI Desktop → Get Data → More (…) → launch the Precoro API connector again.
- In the connector window, enter the new company name. Power BI will save the credentials for the company under the entered name, so save it for future reference.
- Enter the email you use to log in to your company account and the relevant API token to complete the login.
Repeat these steps to connect additional companies.
💡Please note: When working with data loading or transformation in Power BI Desktop, you can switch between companies using the Recent Sources menu.
How to Schedule a Data Refresh for Multiple Companies
Follow the steps in How to Set Up a Scheduled Refresh for Power BI, with the only variation occurring during the credential setup process (Step 3). Below are the details based on your chosen gateway mode.
Option 1: On-premises Data Gateway (Standard Mode)
If using the standard mode, you need to configure a data source for each connected company manually:
- Click the Manually add to gateway link to add data sources for each company.
- Configure each data source following the same process as for a single company.
- Map the data sources → click Apply.
Once completed, proceed to Step 4 to finalize the scheduled refresh setup.
Option 2: On-premises Data Gateway (Personal Mode)
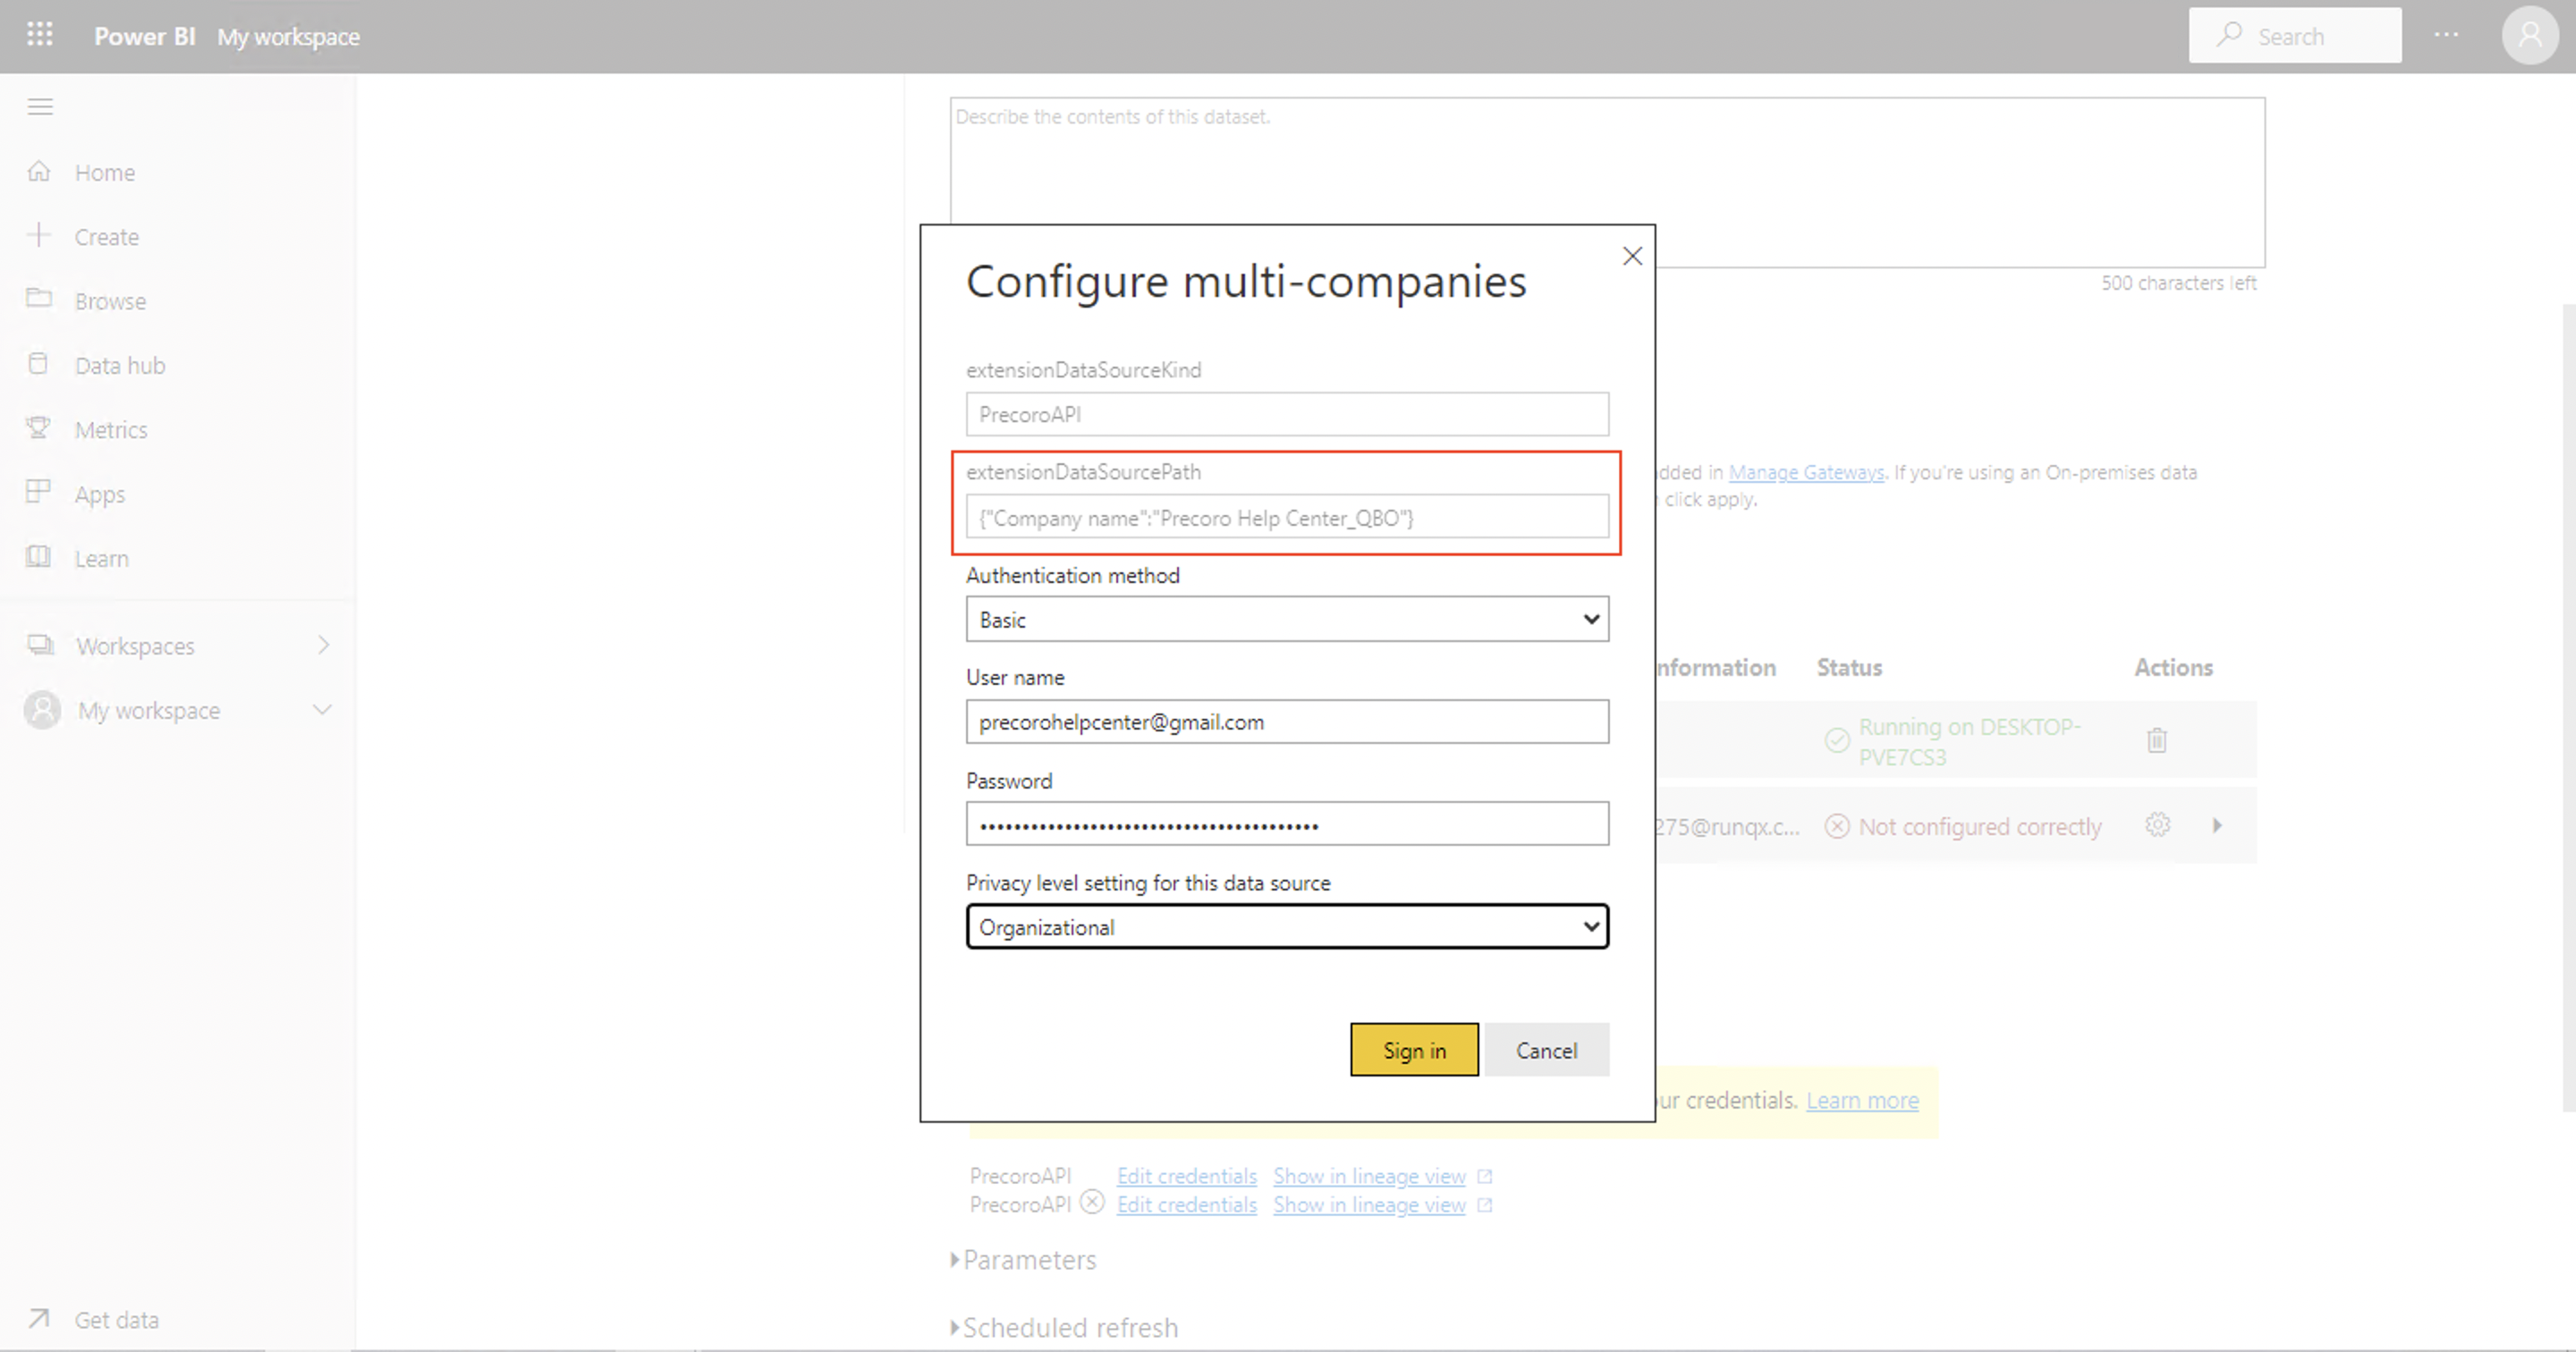
For the personal mode, you should provide credentials for each company in the Data source credentials section:
- When prompted, enter the credentials for the specified company in the pop-up window.
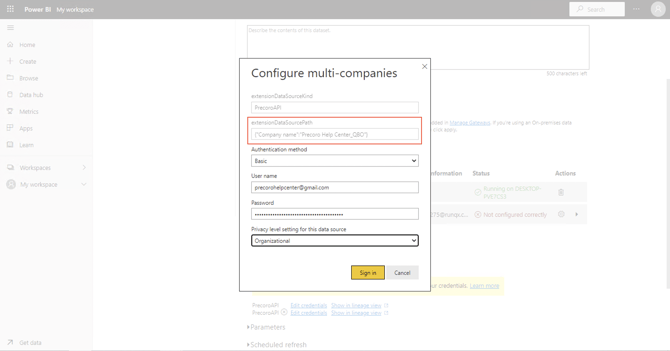
- Repeat this process for all connected companies.
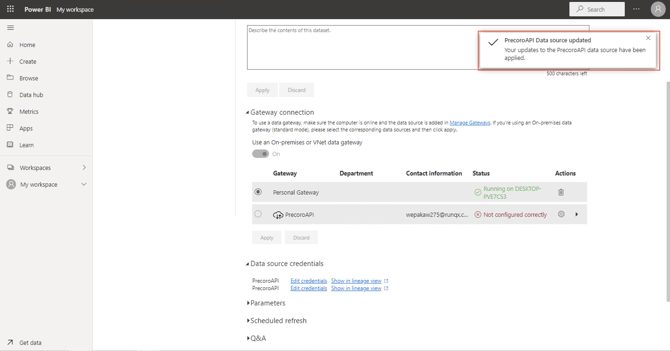
- A success message will appear in the top-right corner once all credentials are entered.

Once done, move to Step 4 to complete the scheduled refresh setup.