TABLE OF CONTENTS
How an Integrated Payment Process Works
- An invoice is created in Precoro.
- After the invoice status changes to Approved, it is automatically sent to Bill.com. Learn more about the invoice integration here.
- The responsible user approves and pays the corresponding bill in Bill.com.
- Initiating import collects payment information from Bill.com and adds it to Precoro.
How to Import Payments
You can import payments from Bill.com from the Payments page or from the BILL Configuration page in Precoro.
From the Payments Page
- Navigate to the Invoices module and press the Payments button at the top of the page.
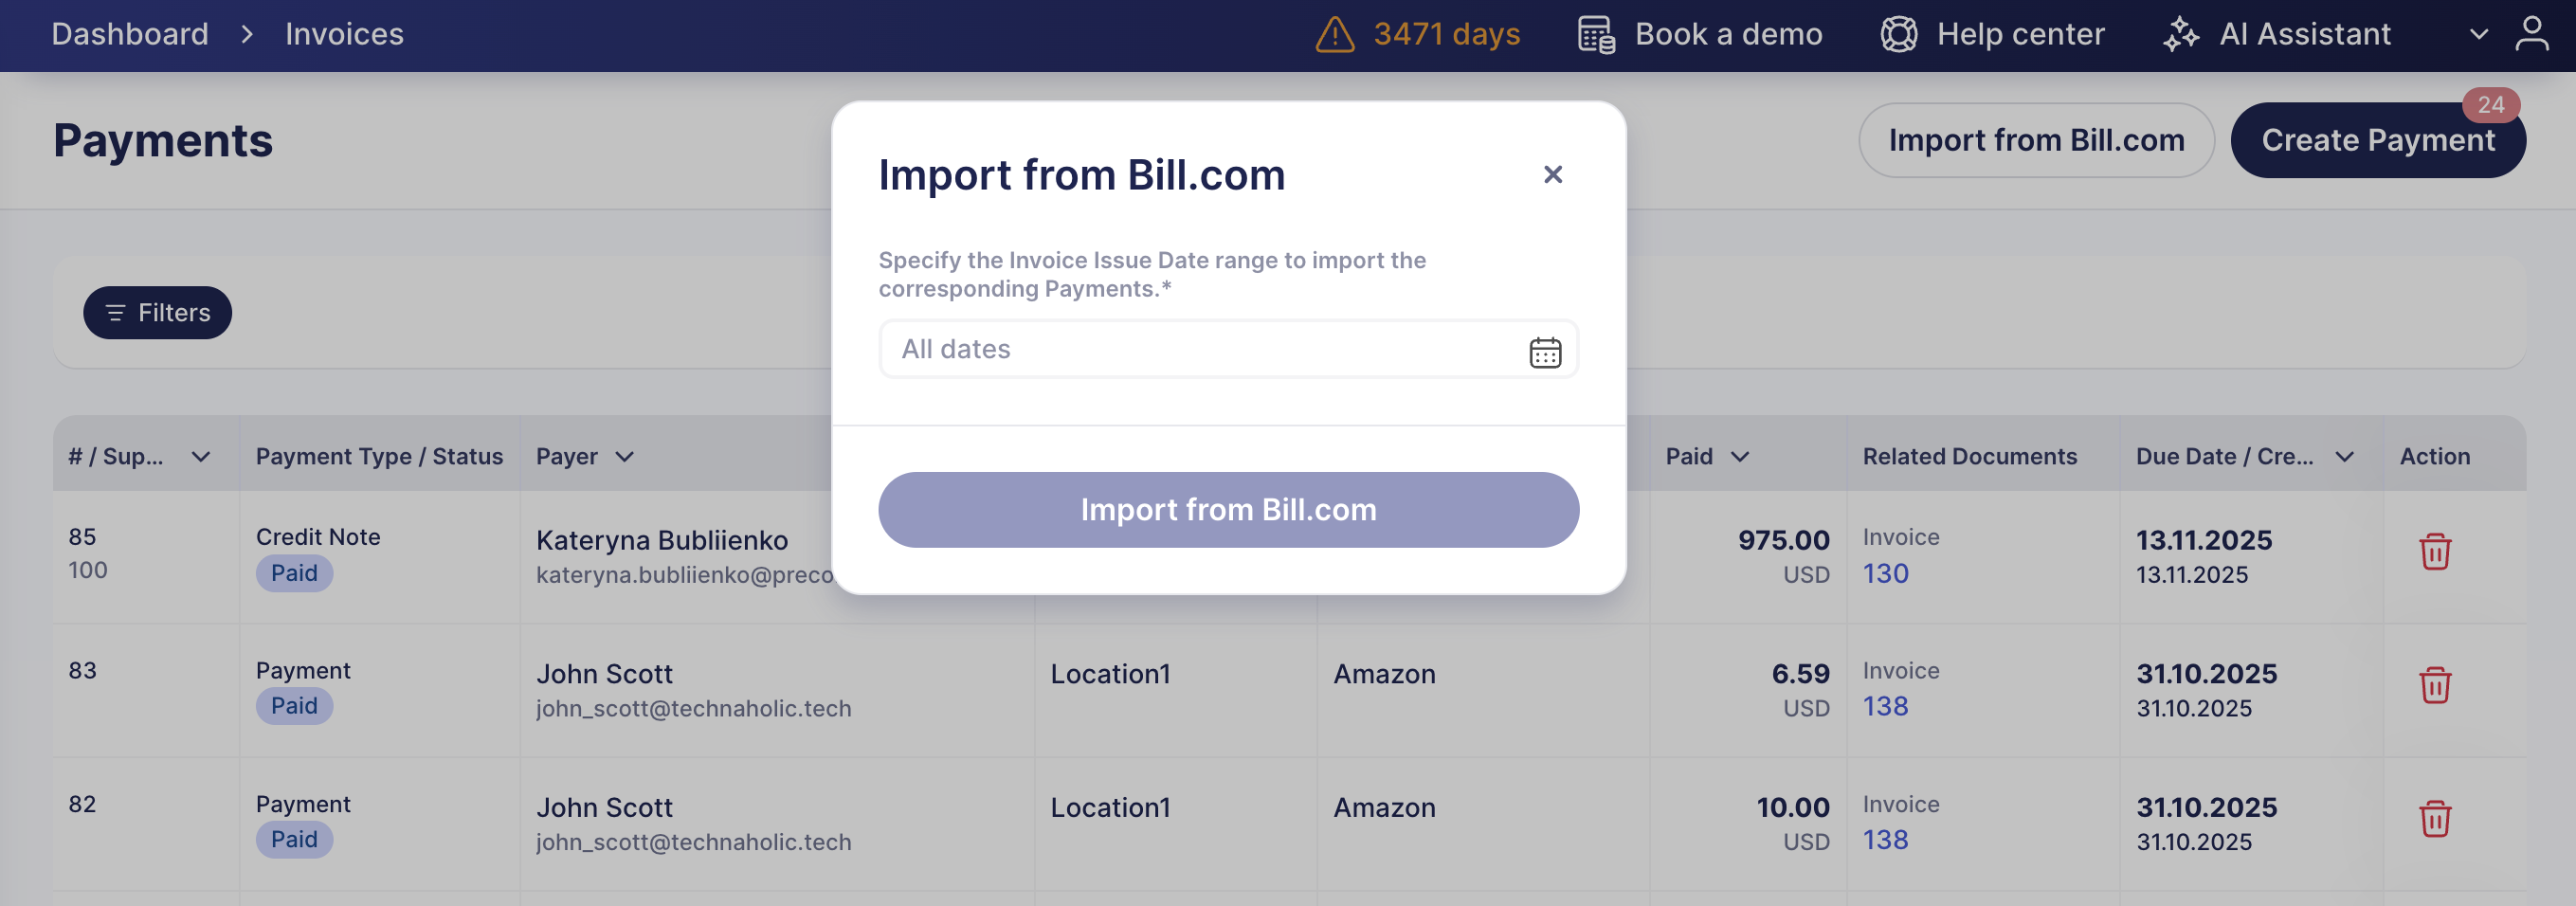
- On the Payment page, press Import from Bill.com.
- In the dialog window, select the Issue Date range for the payments you want to import, then press the Import from Bill.com button.
From the BILL Configuration Page
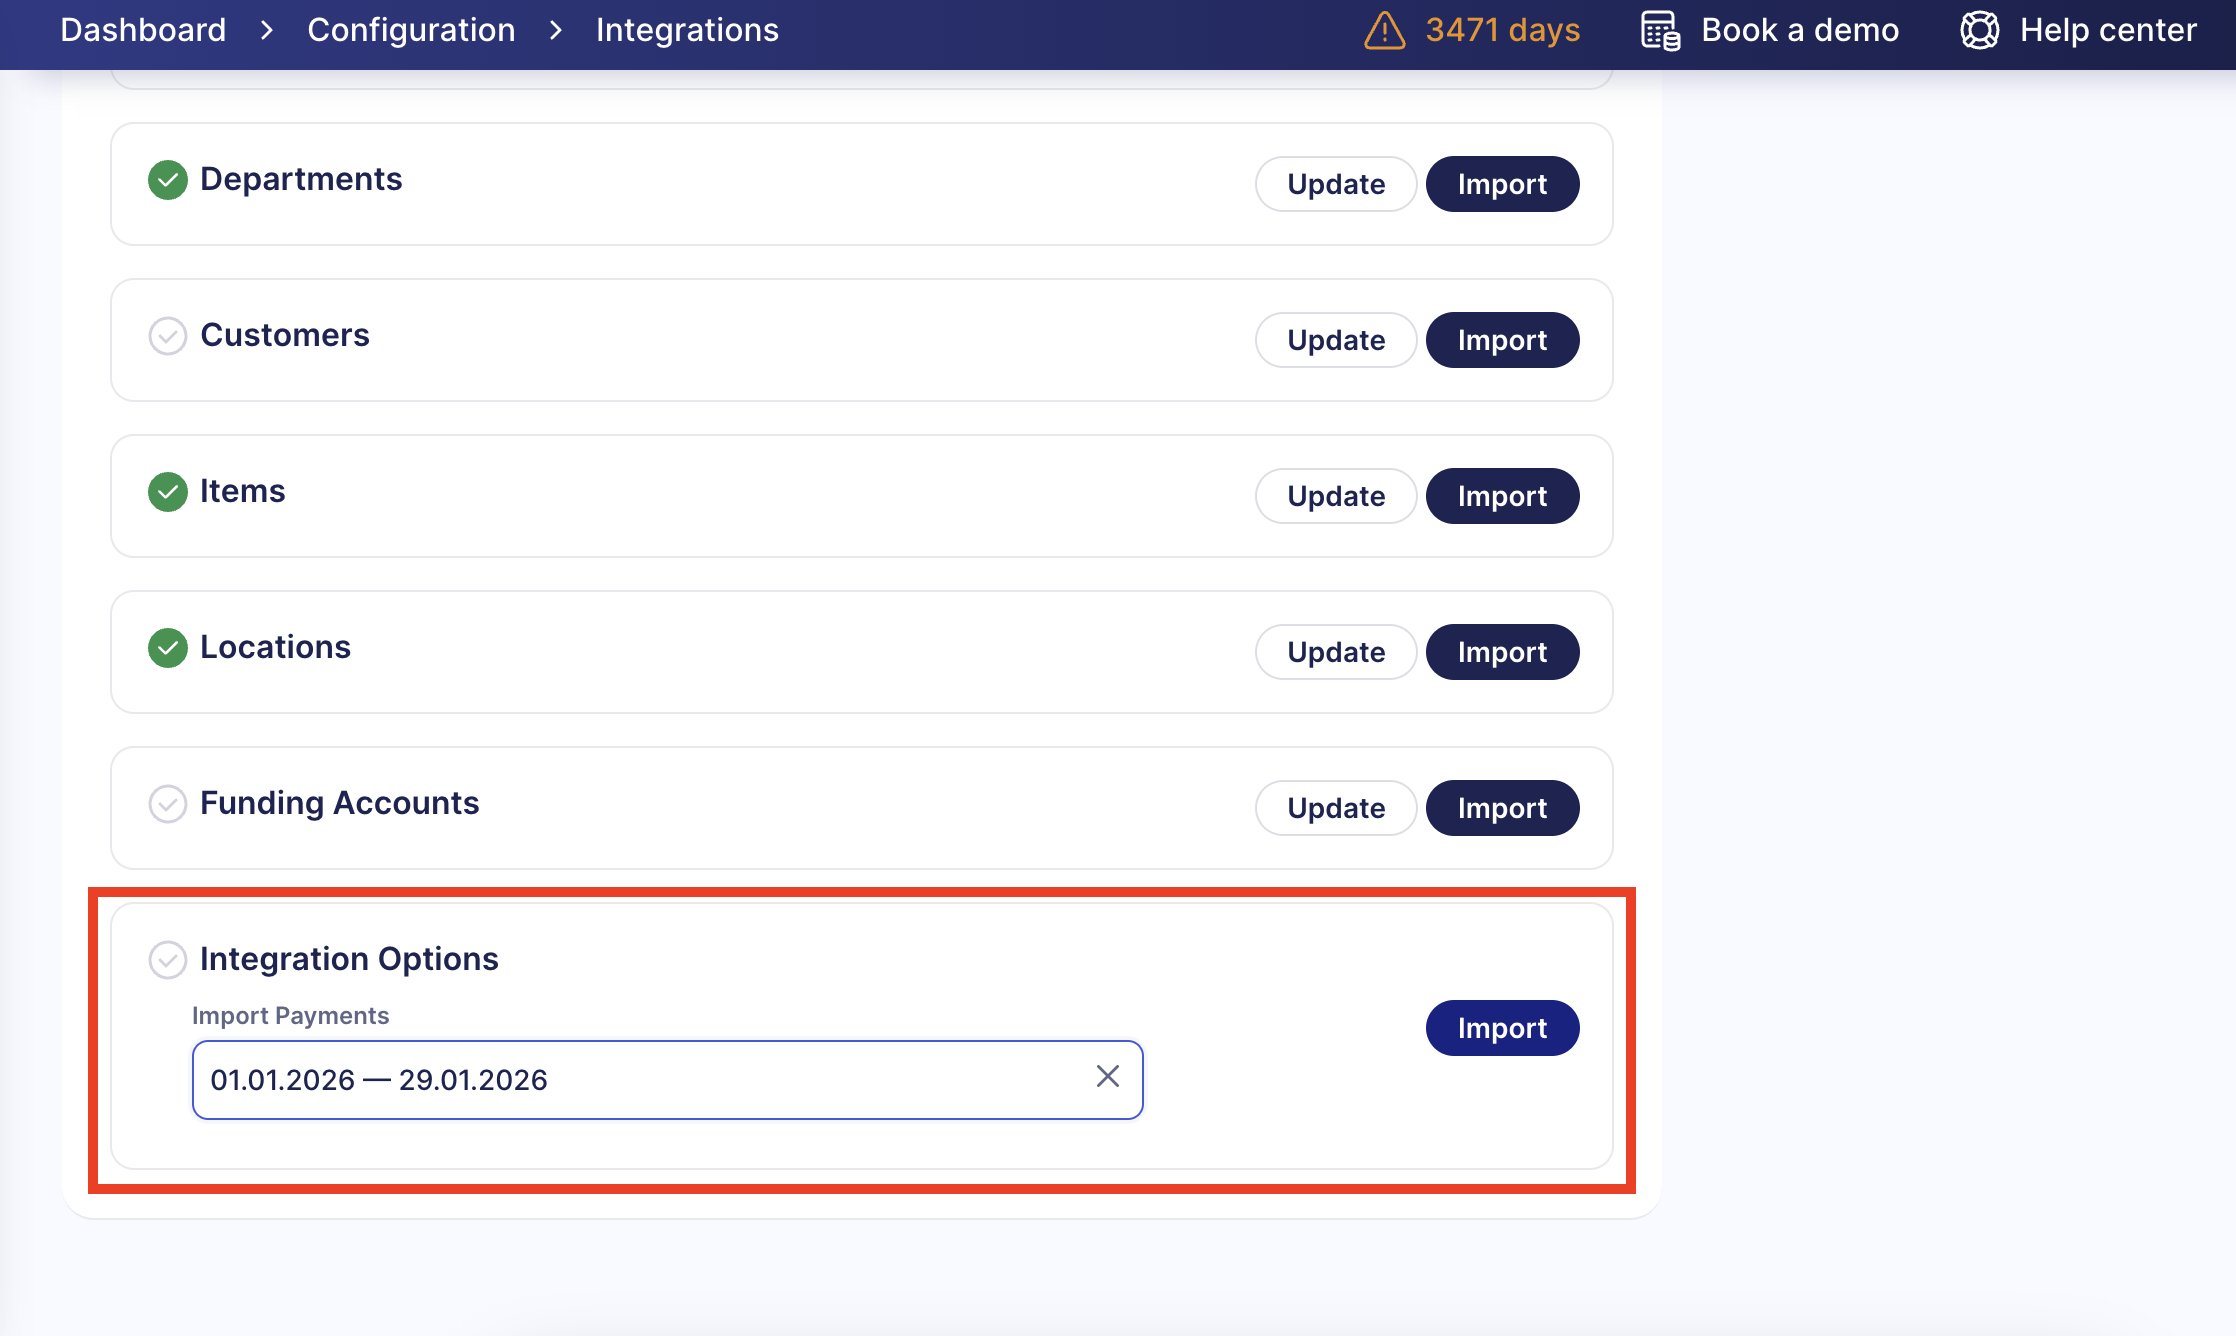
- Navigate to Configuration → Integrations, locate the BILL card, and press Update Settings to open the BILL Configuration page
- Scroll down to the Integration Options section.
- Select the Issue Date range for the payments you want to import in the Import Payments field, then press Import.
All payments for the integrated invoices will be imported, and you’ll see the number of added payments in a flash message.
Payment Cancellation
One-way integration is established for payments, so canceling a payment in Precoro will not affect the payment in Bill.com.
If the payment is deleted in Bill.com, it will still exist in Precoro. You can cancel the imported payment manually using the standard Precoro functionality. Find more on working with payments in Precoro here.