TABLE OF CONTENTS
How to Register and Log in
Registering a New Account
The Supplier Portal functionality will help you efficiently manage all the document workflow between you and your client as well as allow you to exchange important information promptly.
To start working in the Supplier Portal, you must first receive an invitation email:

You should accept the invitation and register in the Supplier Portal by creating your password. After completing the registration, you can set up your profile and start using the Supplier Portal. You can begin by setting up the Configurations or skip right to the Purchase Orders/Invoices management.
Logging in
Once you’ve created an account, you can log in with your credentials or via a link in Precoro emails.
Precoro will send you email notifications about new documents and required actions; clicking a link in those emails will direct you to the relevant page and automatically sign you up within 48 hours. After 48 hours, you’ll have to log in manually with your credentials to access the linked page.
How to Set Up Your Supplier Profile
To manage General Information about your business and the Basic Configuration of your account, go to Supplier Settings → Basic Settings. Here, you can provide/edit your primary business and banking information, as well as other essential data and attachments (e.g., Bank statements, W-9 Forms, tax documents, etc.).
💡 Please note: This data will be available to the company's business account users in Precoro, who invited you to the Supplier Portal.
Some data in General Information will be prefilled by your business partner, who invited you to the Precoro Supplier Portal. You can edit this information if needed and fill out other fields manually.
To set up the number/date format, time zone, exported document language, etc., use the Misc tab: 
How to Add a New User to the Supplier Portal
If you need to add a new user to the Supplier Portal, follow these steps:
1. Open the User Management page.
2. Click Invite User, fill out all the required info, and press Create.
How to Provide Additional Information via Supplier Portal
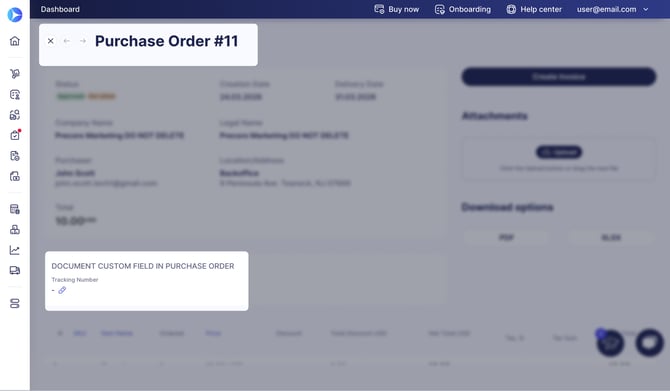
Customers may set up custom fields to show you additional information about the order or request such information from you. You'll see them in the Document Custom Field section.
If you can edit the field, you'll see a pencil icon near it. Press it to enter information for your clients, such as the order tracking number. These fields may also be available in invoices and requests for proposals, depending on your clients' processes.
How to Invoice a Company-Customer for a Purchase Order
When a customer sends you a Purchase Order, you need to invoice them.
💡 Please note: Notifications about new orders are sent to your email.
To create an Invoice, follow the steps below:
1. Open Purchase Order and click Create Invoice (you can see the number of invoices you need to create on it). Open the order.
2. Click Create Invoice and edit the list of items, if necessary.
3. Add your PDF/XLSX version of the Invoice via the Add Attachments button.
4. You can communicate with the client or add any information using the Add Comment button.
5. Review and Confirm the Invoice. Now, the Invoice is sent to the customer.
If you made any edits to the Invoice and/or it differs from the original purchase order, you will see that your Invoice has the status Matching, which means that the customer will need to confirm these changes.
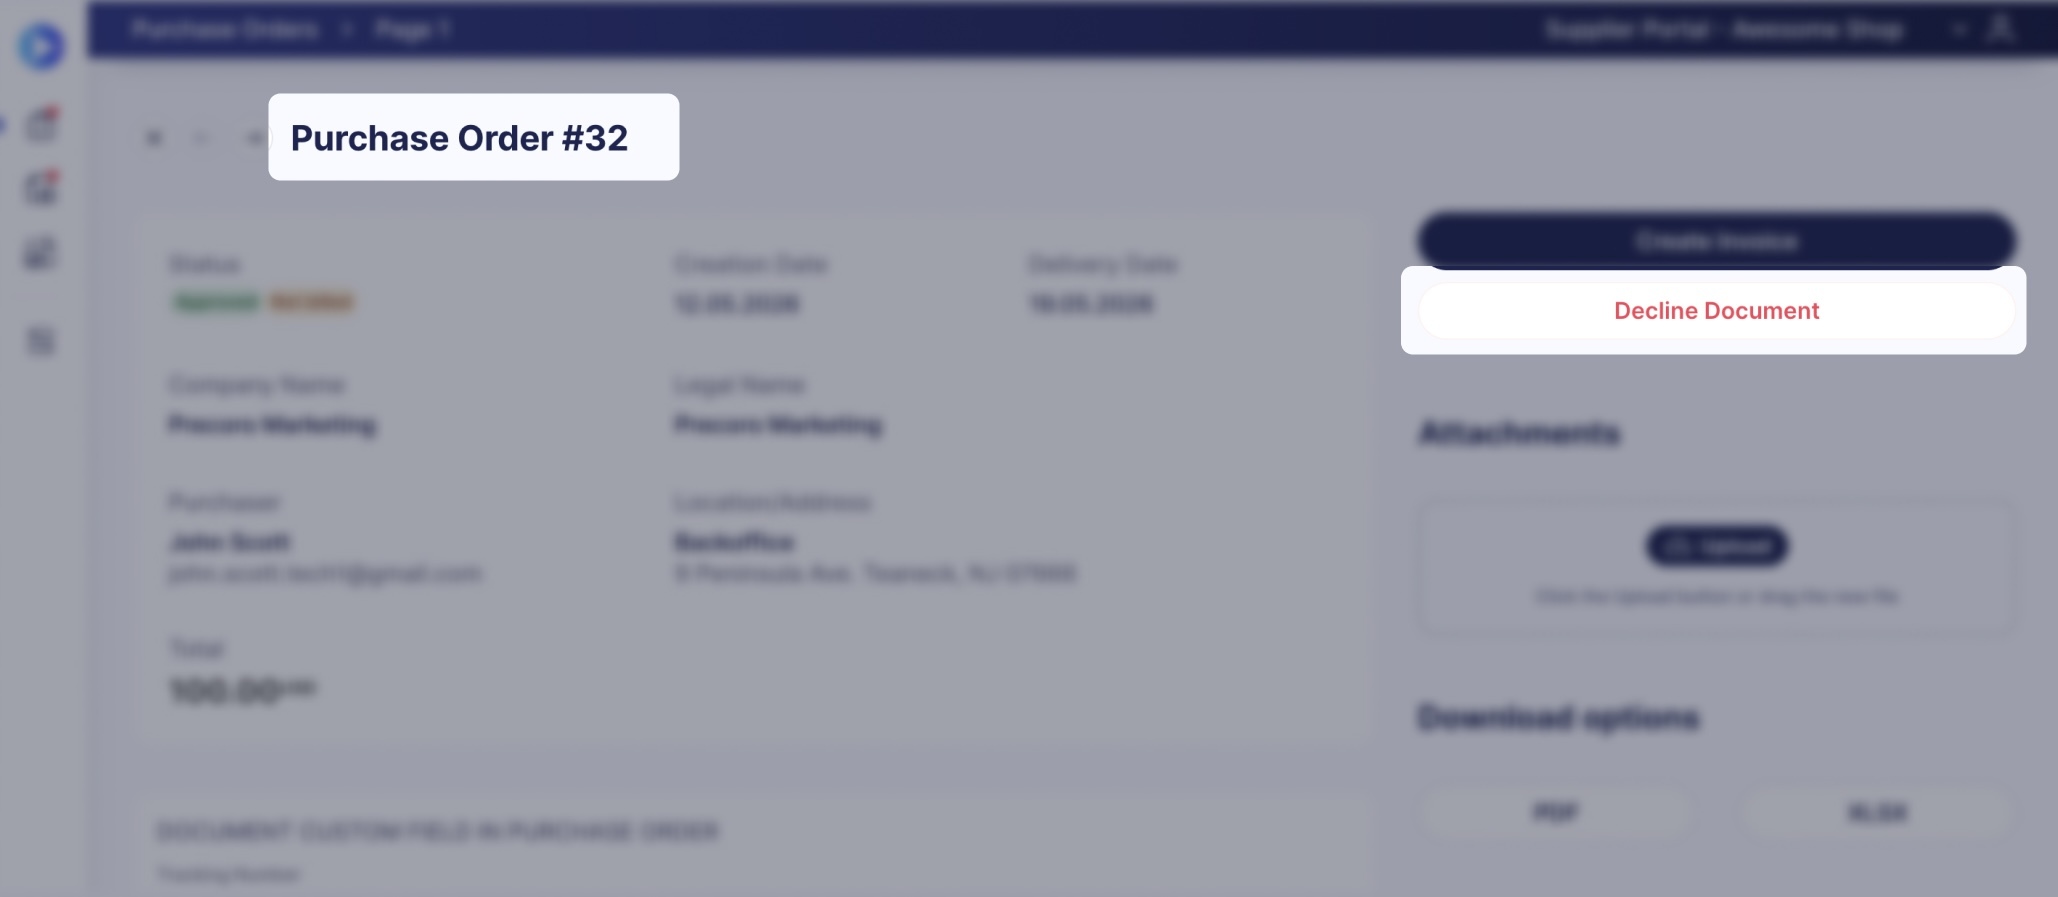
If you cannot fulfill the order, click Decline Document and enter the reason — this is required before the decline is confirmed. The reason will be shared with the customer in the Comments section so they can revise or cancel the order on their end.
How to Track the Invoices
You can track the Invoice status in the top right corner of the Invoice page.
-
If your customer approves the changes, the status will change to Approved.

-
If the customer rejects the changes, the status will change to Rejected.
-
If the customer wants you to adjust your Invoice, they can send it for your revision.

You will also receive a letter notifying you of the needed actions with the documents:
-png.png?width=346&height=376&name=image%20(38)-png.png)
Managing Request for Proposals in the Supplier Portal
You can receive, reject, and submit the Requests for Proposals and exchange documents/attachments to clients. The process of working with them is as follows:
1. You will receive an email asking for the quotes on the list of items sent by the client. Click on the Submit Proposal button to start the process. You will be redirected to Precoro, where you will see a form with Detailed information and the list of goods.
2. Enter the Estimated delivery date and press the green button next to it to save the date.
3. Click the Edit Action to enter the prices for each item individually. You can also Reject items on the list if needed.
💡 Please note: If you reject all items in the proposal, the document’s status will automatically change to Rejected.
4. Check the form and attach any necessary files or add Notes.
5. Submit the document by clicking the Confirm button on the right, or click Reject to dismiss the whole proposal.
Ways to Communicate With Your Clients
Clear and transparent communication is key to effective and successful work with your client. In Precoro you can efficiently talk to your client and resolve any questions by directly leaving Notes in the documents. Your client will receive the Note and will be able to leave you an answer in the document as well:
-gif.gif?hsLang=en)
You can also lead your internal communication with Comments.
