TABLE OF CONTENTS
- How to Apply Filters
- How to Set Default Filters
- How to Save Filters
- How to Reset Filters
- How to Edit and Delete Saved Filters
- Multi-Select Filters
- Filter the Documents by Items or Documents Custom Fields
- Filter Documents by Numbers with Even Partial Matches
- Approval Date Filter
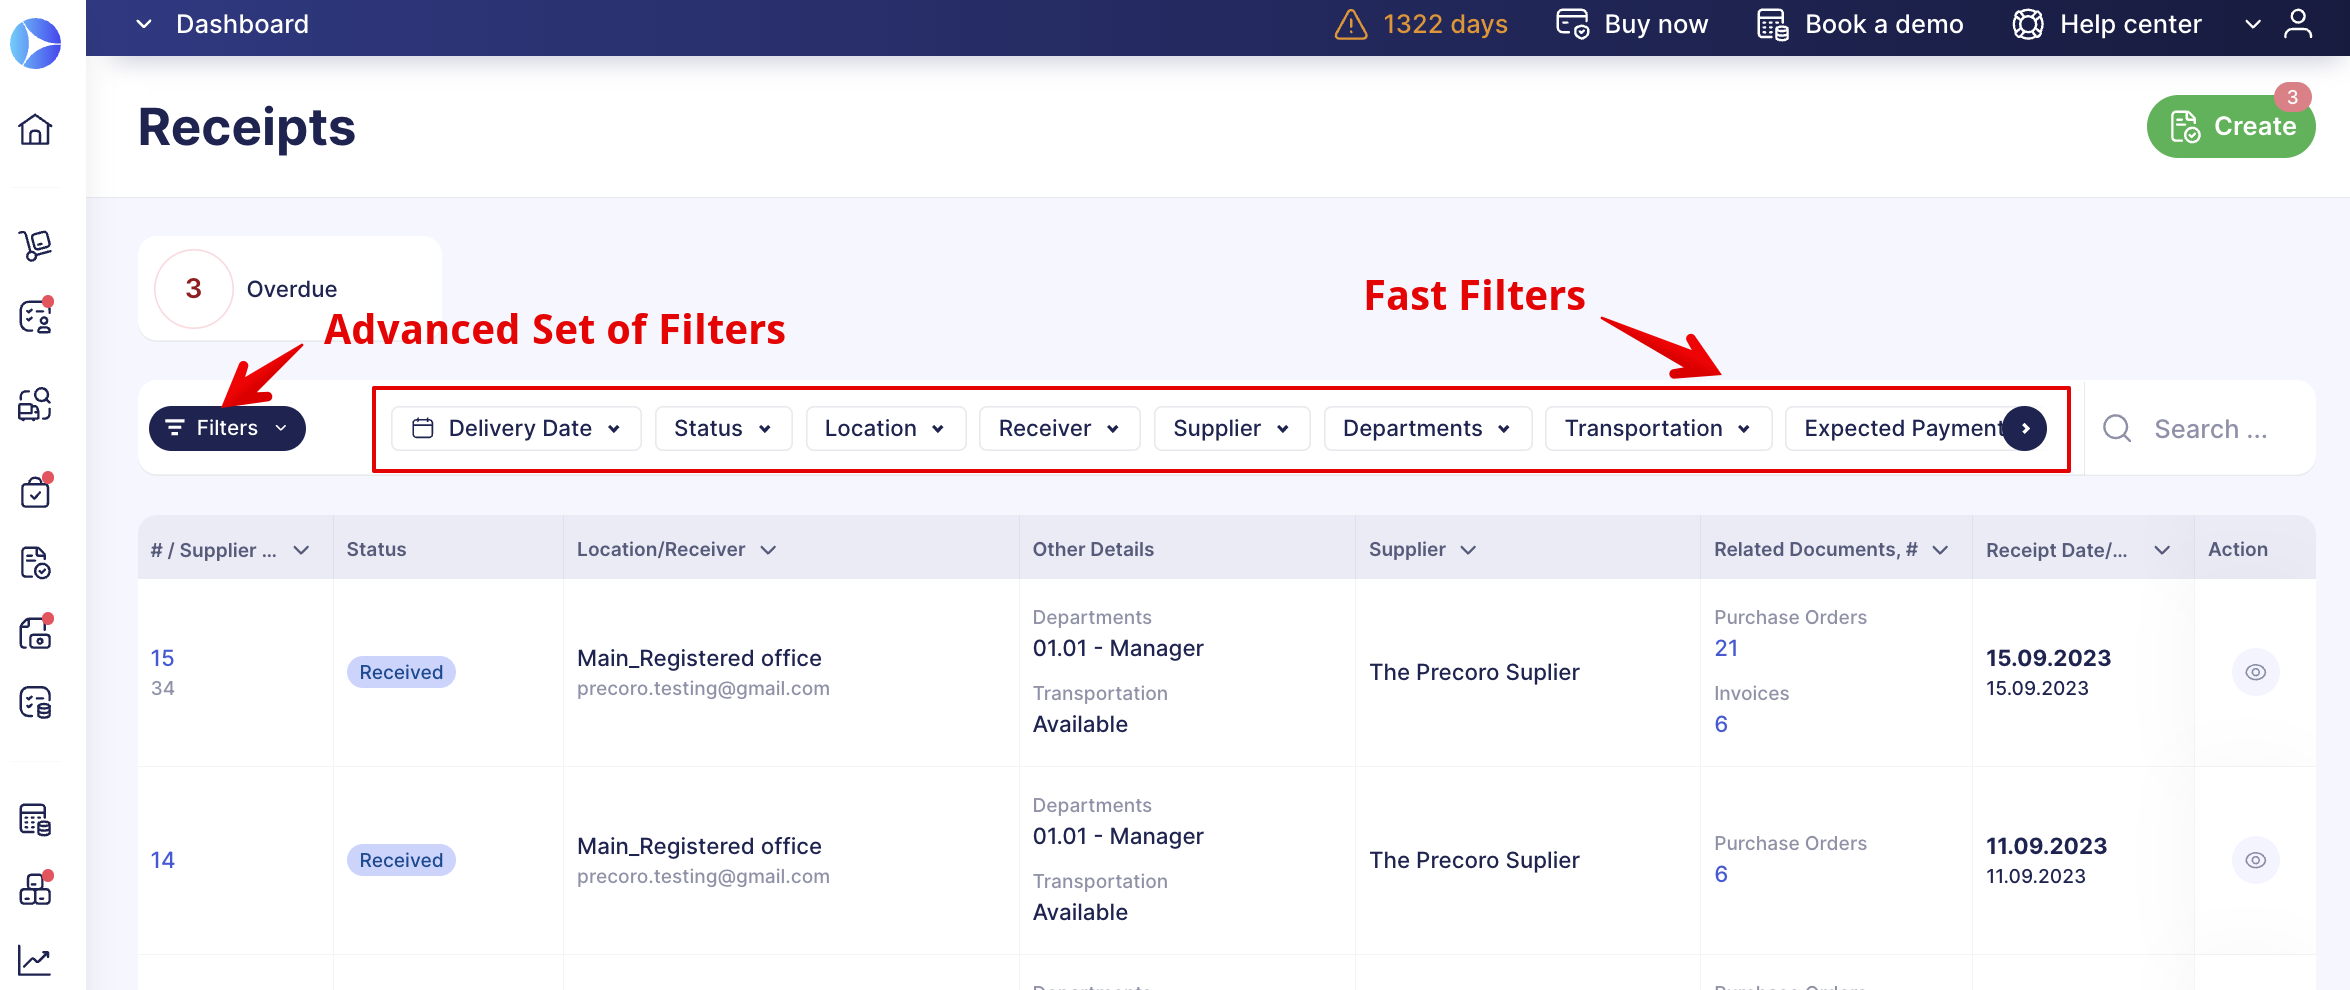
There are two types of filters in Precoro:
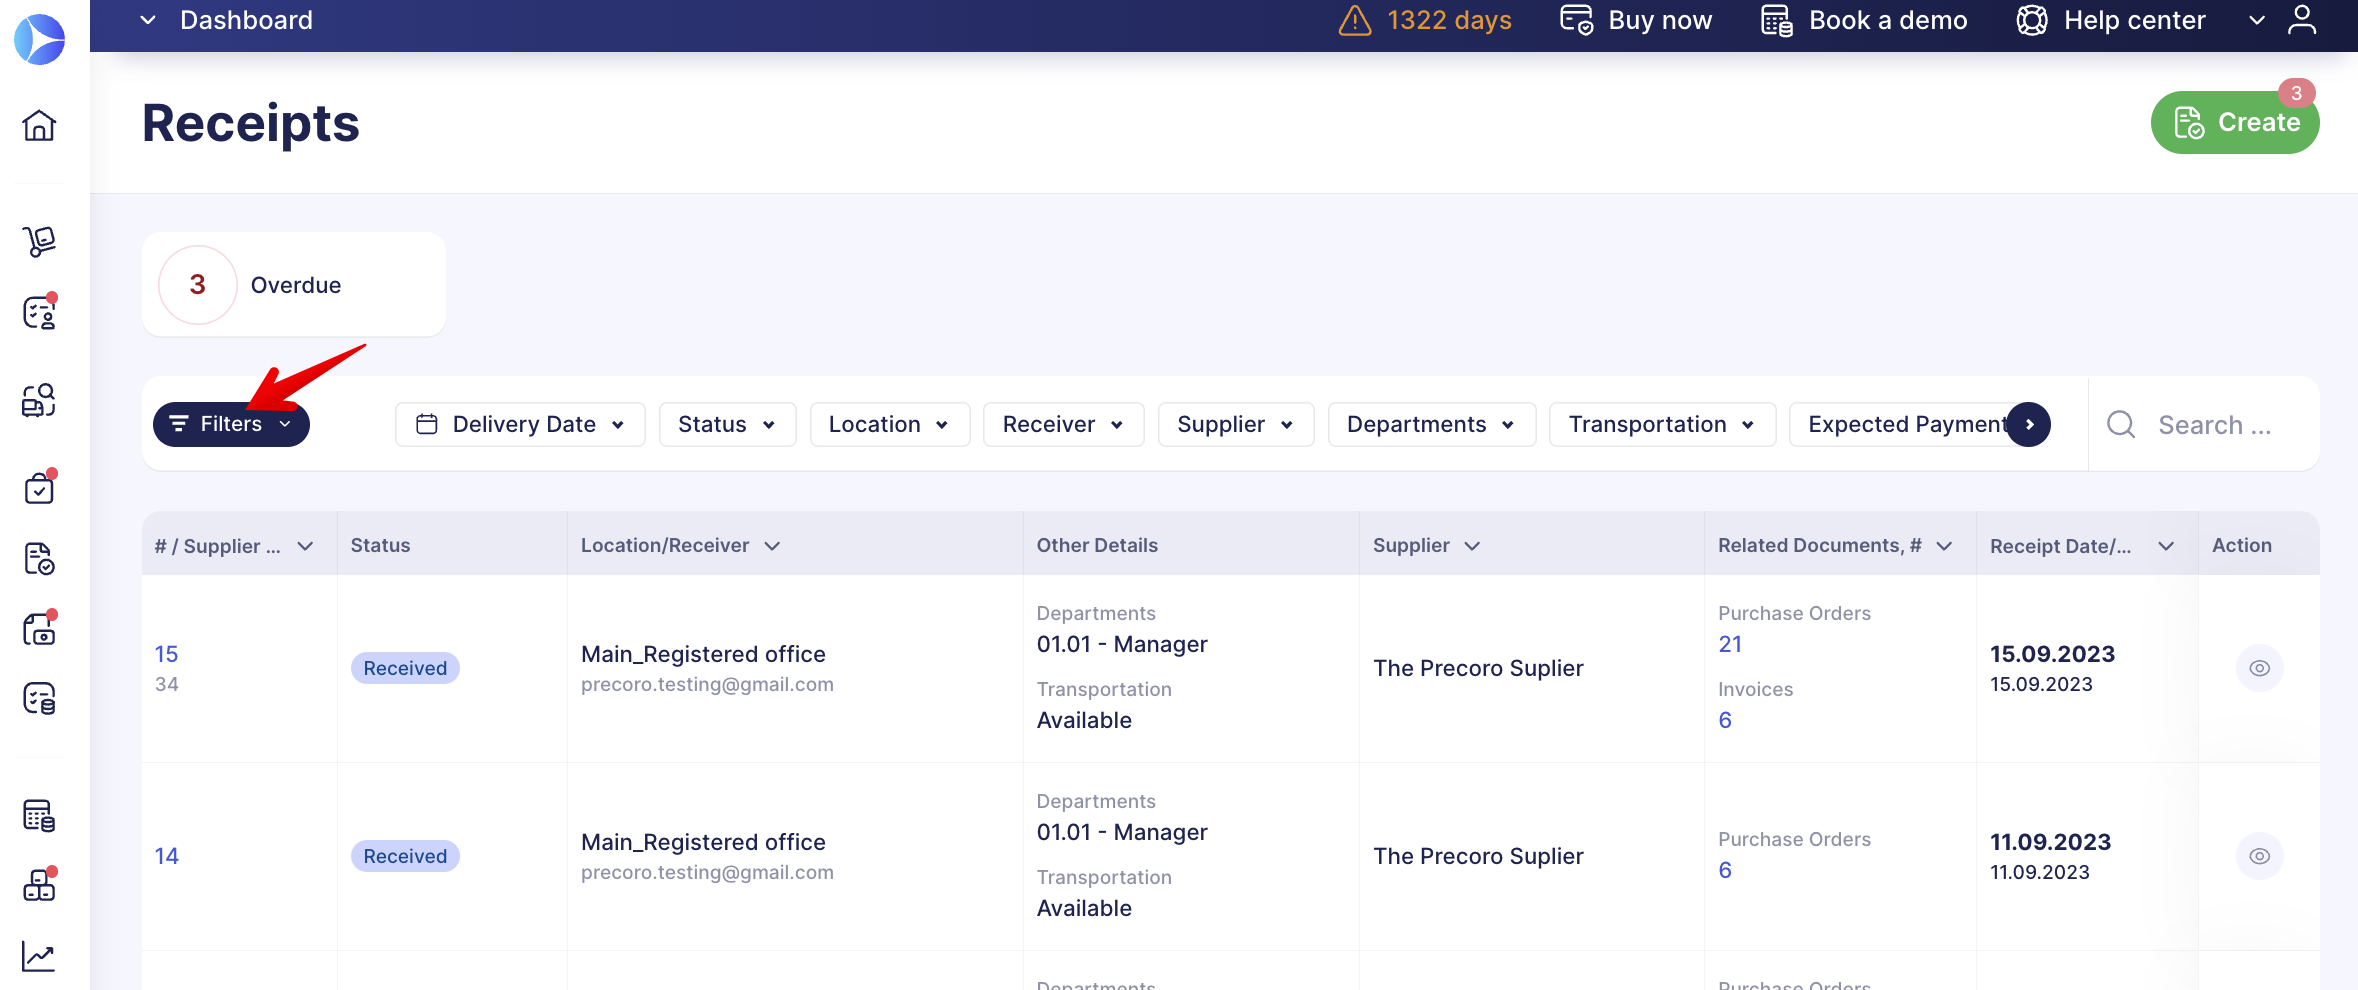
- The Advanced, allows you to set various conditions for all the available fields. This filter can be opened by clicking the Filters button:
- The Fast, allows you to promptly apply filters on the document management page without having to open additional settings.
How to Apply Filters
On the necessary documents page, press the Filters button to access the advanced or enter the data into the fast filters and select the required parameters.
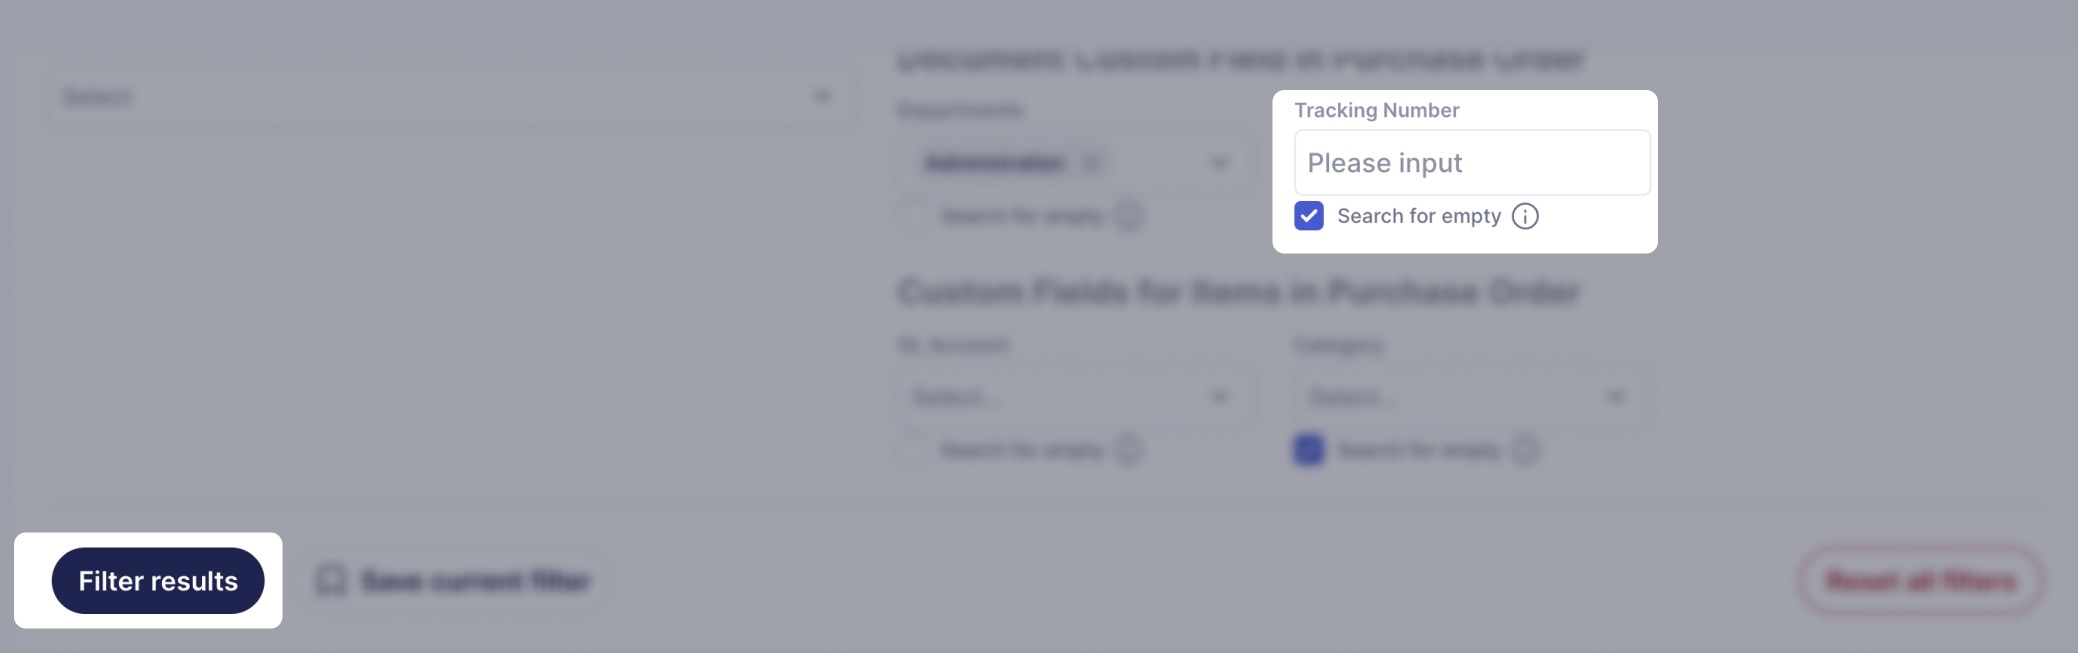
When using Advanced filters, at the bottom of the pop-up these actions are available:
- Filter results — applies the selected filtering parameters.
- Save current filter — allows saving the selected filtering instantly.
- Reset all filters — resets the selected filtering parameters.
After the filtering, you can use the instant Save and Reset options on the top panel:
-
Save Filter — allows you to instantly save the filtered results without going to another page.
-
Reset all — resets both the search query and selected filtering parameters.
💡 Please note: These two options on the top panel are only available after you have set the filtering.
How to Set Default Filters
You can set the default filter on all the document management pages with filters. This will allow you to refresh the page or work on other pages, and when you return, the set default filter will still be running.
💡 Please note: You cannot have more than one default filter set on a page.
You can click Apply filter for another filter, and it will be applied, but after refreshing the page or switching to other pages, the default filter will be re-applied until you click the Reset Filters button.
You can set the default filter by choosing the necessary options and clicking the Save Filter button.
💡 Please note: The functionality is available for both advanced and fast sets of filters.
And how to set the default filter using advanced options:
How to Save Filters
To accelerate the working process, you can save and use the filtering parameters whenever needed.
You can save filters by employing the following options:
- Immediately in the pop-up, click the Save current filter button.
-
On the top panel of the filtered results, click the Save Filter button.
You can find all Saved filters in the corresponding tab in Advanced Filters: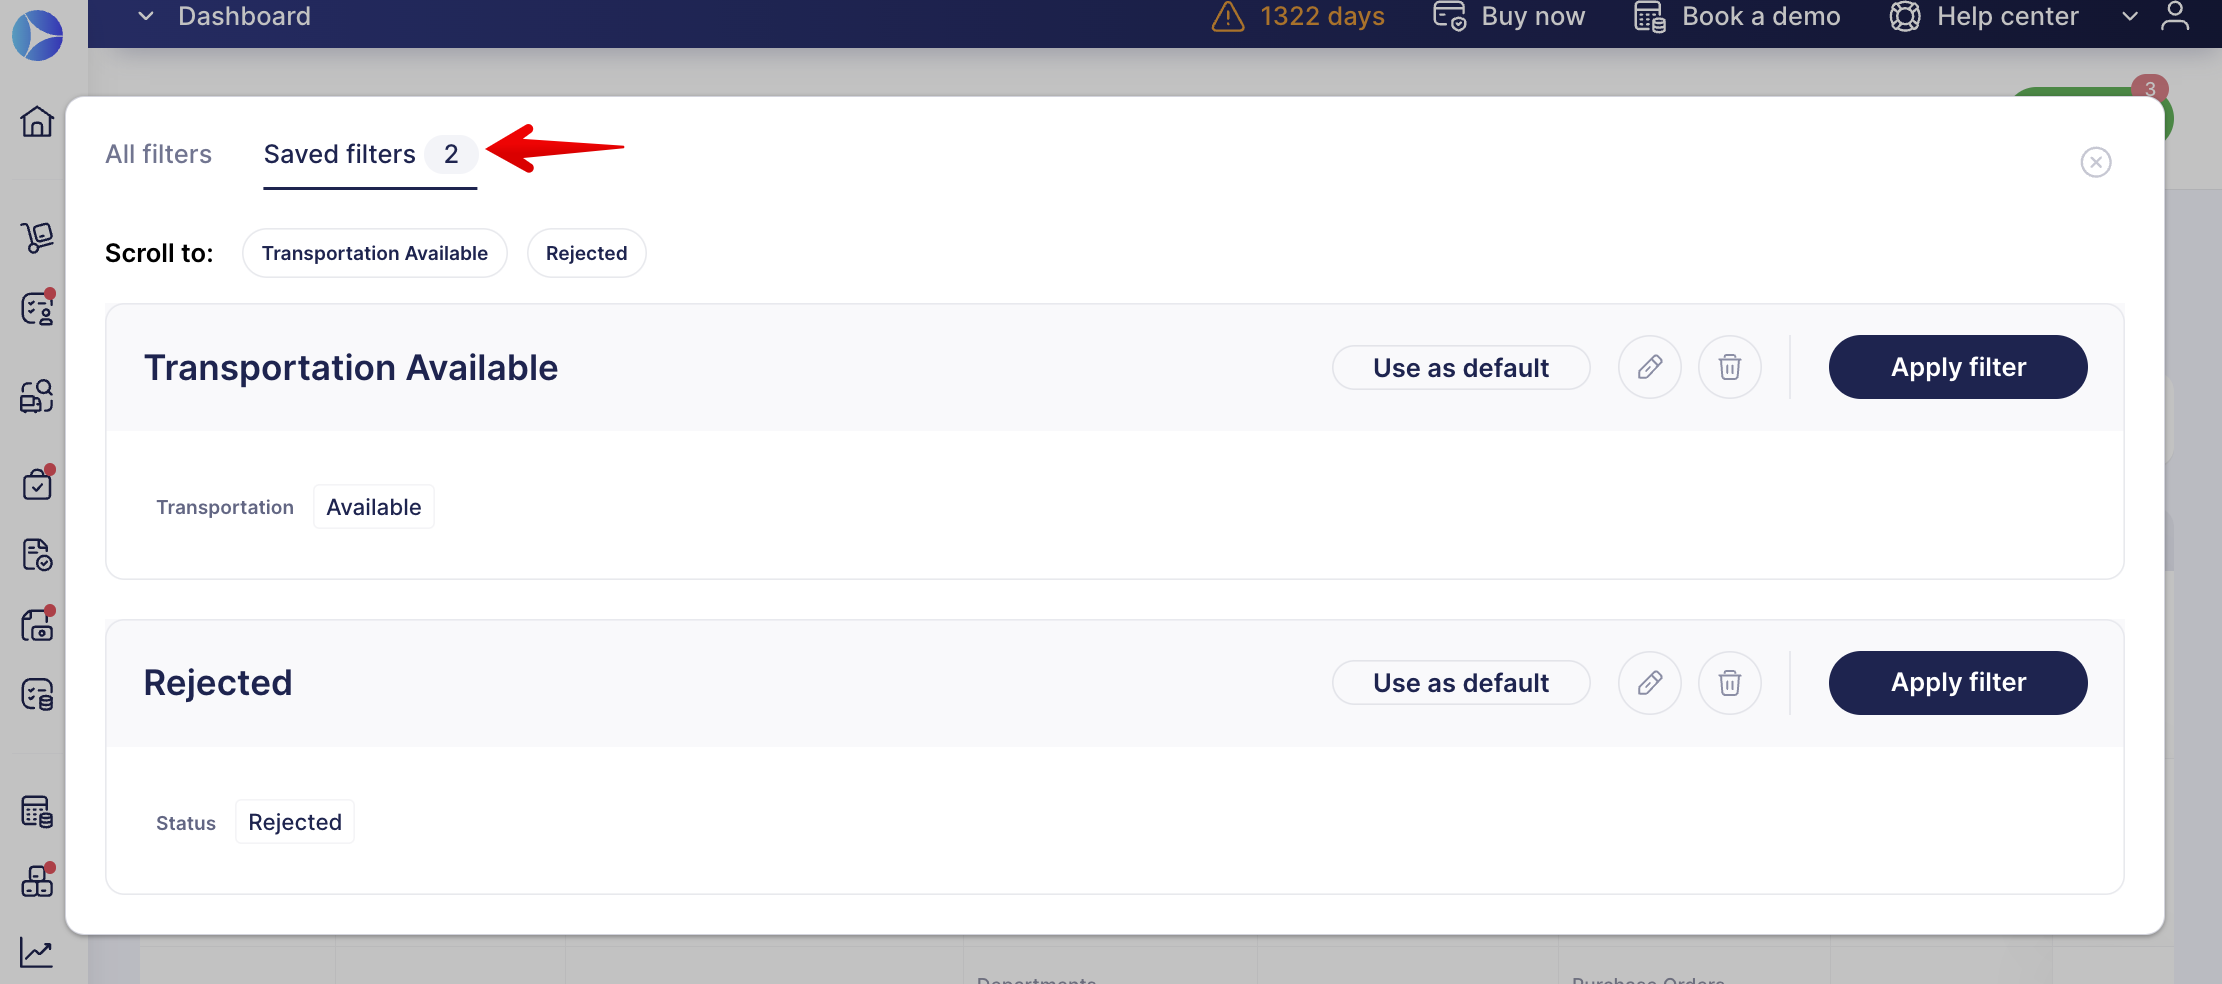
How to Reset Filters
You can reset filters by employing the following options:
- Immediately in the pop-up, click the Reset all filters button to clear the previously selected filtering parameters.
- On the top panel of the filtered results, click the Reset all button to reset both the search query and selected filtering parameters.
How to Edit and Delete Saved Filters
To Edit the saved filter:
1. Open the Saved Filters tab and select the filter that needs to be altered.
2. Press the corresponding Edit button.
3. Input changes and save the new filter.
💡 Please note: If the save buttons are unresponsive, please try altering the name of your edited filter.
To permanently Delete the saved filter:
1. Open the Saved Filters tab and select the filter that needs to be deleted.
2. Press the corresponding Delete button.
💡 Please note: You cannot restore the deleted filters.
Multi-Select Filters
Multi-Select the Suppliers
Add as many Suppliers as you need into the filter to get the information promptly.
To utilize the multi-select function in the Supplier field, tick the necessary Suppliers to add them into filtration:
This function is available for use on the following pages:
- The general filter on the pages of Purchase Order, Invoice, Request for Proposals, Receipt, and Create Receipt documents.
- The Add Item page in the Purchase Requisition, Request for Proposals, Warehouse Request, and Inventory Consumption documents.
- The default visual charts on Purchase Orders and Invoice documents.
- The default reports on Purchase Order Export by Items and Documents, Invoice Export by Items, and Credit Note Export by Items.
- The custom reports on Purchase Order, Invoice, Request for Proposals, Receipt, Credit Note, and Payment.

Filter Items by Several Categories
Multi-select and filter Items by several Categories on your Warehouses, Item Management, and Add Item to the document pages.
To apply filters, go to:
- Warehouse Management page, press the Show Filters button and select the needed Categories.

- Item Management page, press the Show Filters button and select the needed Categories.

- Add Item on the document creation page, press the Show Filters button, and select the needed Categories.

Filter the Documents by Items or Documents Custom Fields
You can filter the documents by the Items or Documents Custom Fields. To do that, follow the steps below:
1. Make sure you have activated the necessary Items Custom Fields or Documents Custom Fields.
2. On the document management page, open the advanced filters and select the needed information in the previously activated Custom Fields options.
You can use filters to find documents that are missing information in custom fields for documents or items.
To do this, open the filters, scroll to the Custom Fields section, and enable the Search for Empty option for the required field. Then click Filter results. You will see all documents in the current list where the selected field is not filled in.
You can also use the fast filters panel above the document’s list to get quick results without having to open the advanced ones.
You can quickly identify inactive Items and Documents Custom Fields by their statuses. Also, the deactivated options will always be displayed at the bottom of the filter.
💡 Please note: These statuses are available in both fast and advanced sets of filters.
If you have deactivated the main option, all the sub-options will also obtain inactive statuses.

Filter Documents by Numbers with Even Partial Matches
You can use filters that recognize even partial matches of the requested Number fields.
💡 Please note: The functionality will work for all the search filters by number fields in documents.

Use merged Document # and Custom # filters in the following list of documents: Warehouse Requests, Purchase Requisitions, Requests for Proposals, Purchase Orders, Receipts, and Invoices.
The merged filter can be found in the advanced set of filters, for example, on the Purchase Requisitions management page: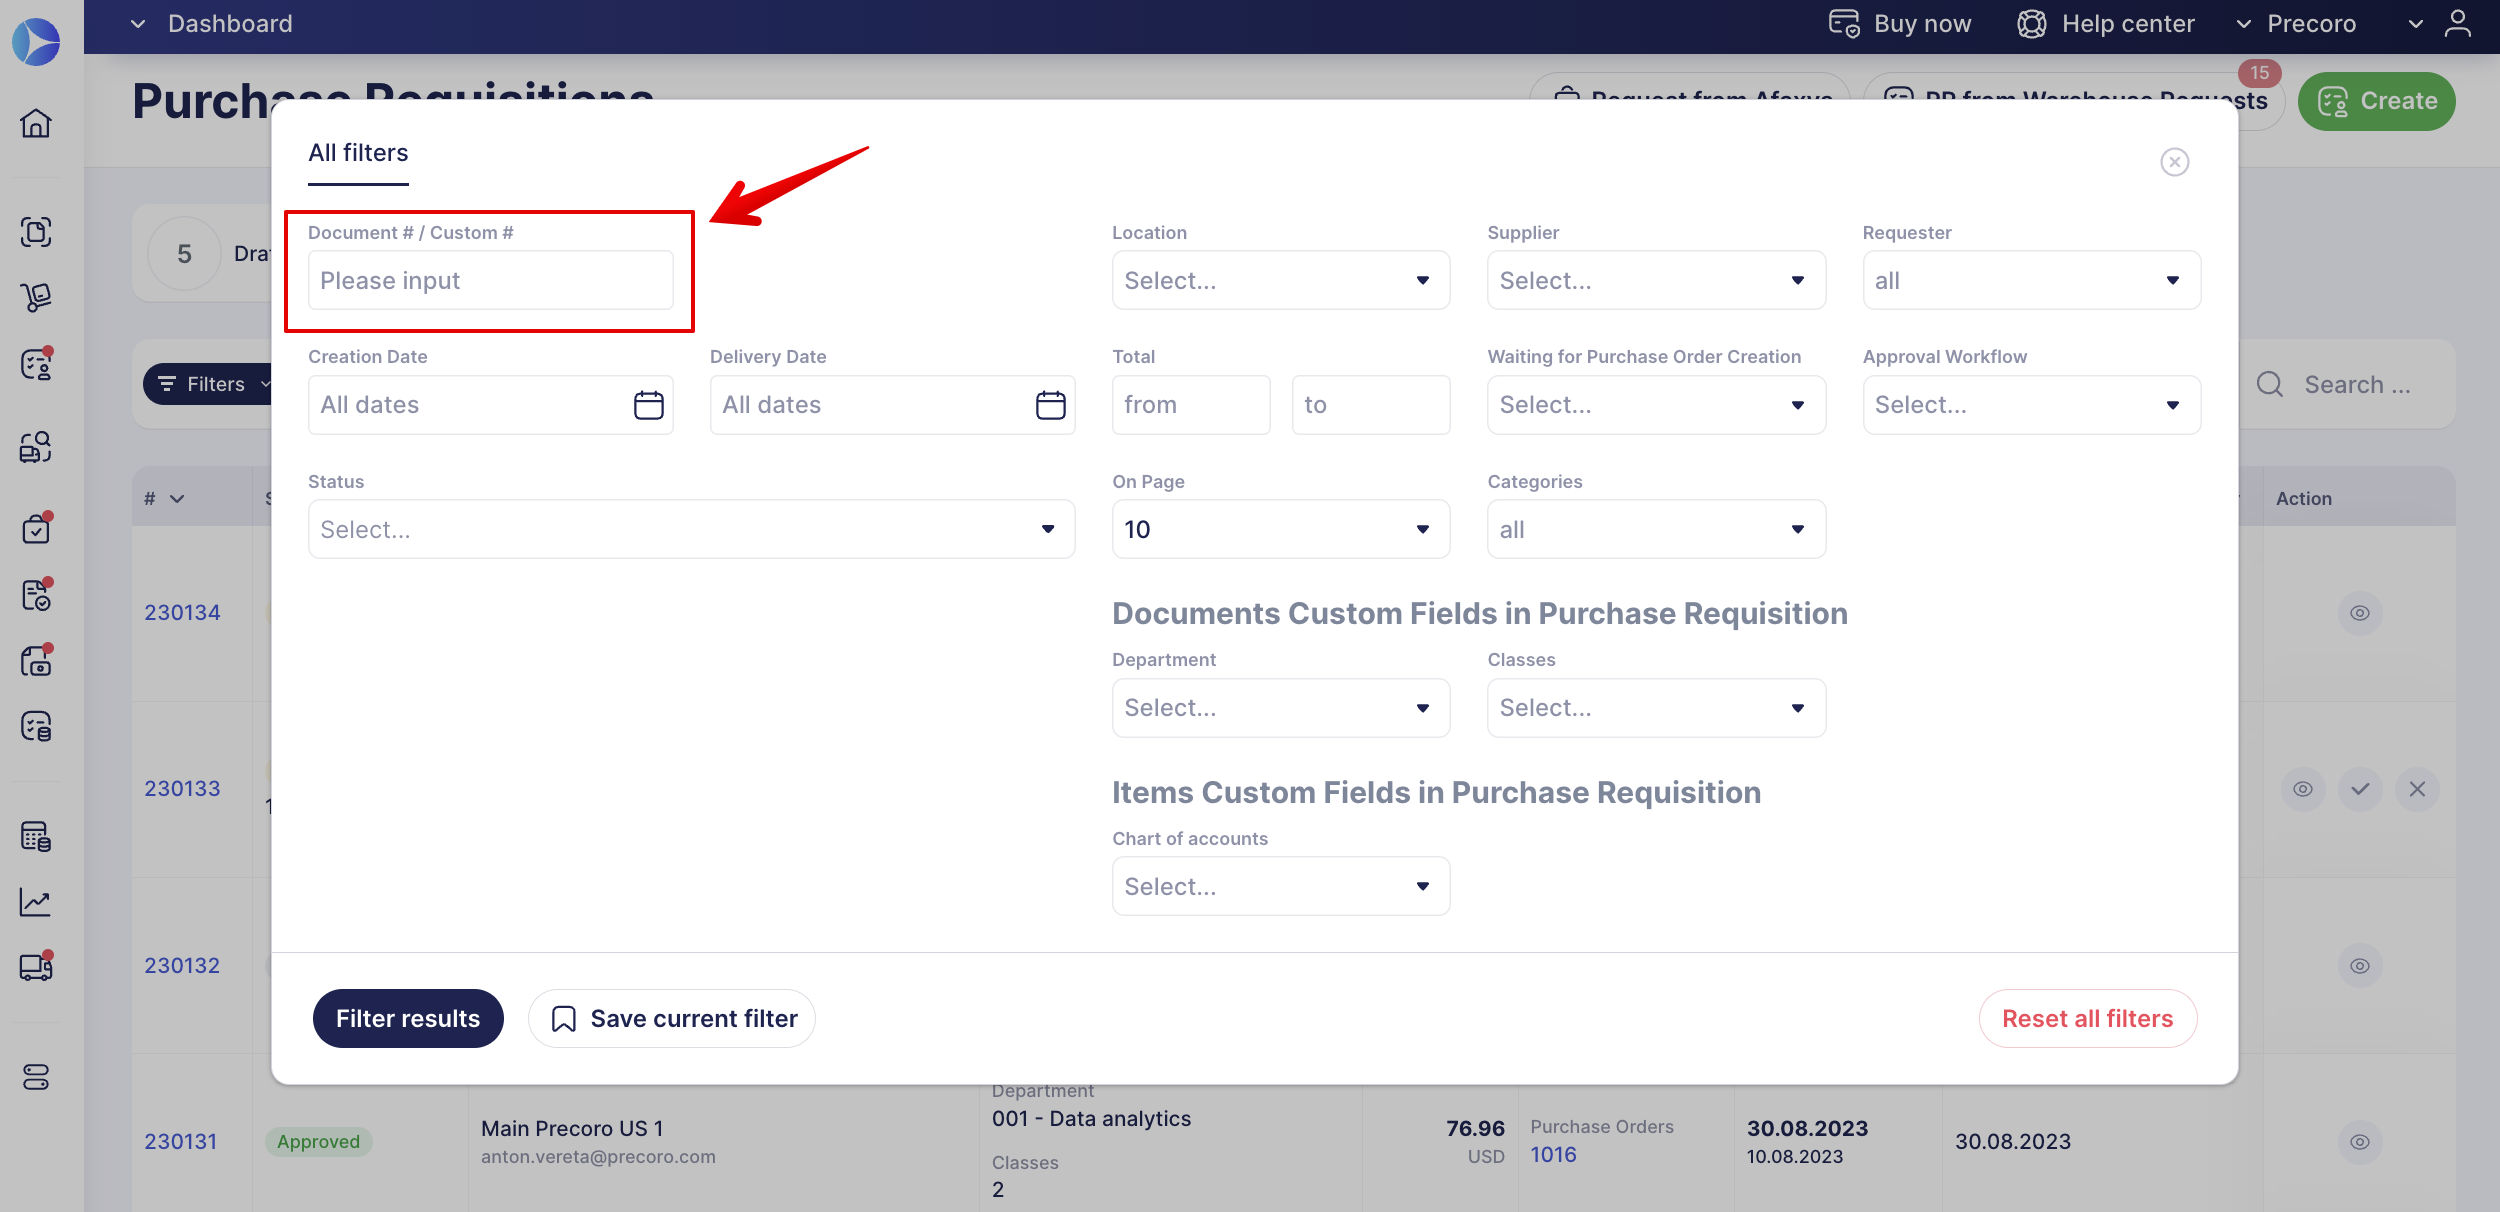
You can also use the Supplier Receipt # and Supplier Invoice # fields in the fast filters on the corresponding document pages to optimize your search process. For example, when entering a number in the Search field on the Receipt page, you will get the following result.
The result on the Invoice page will be displayed in the same way.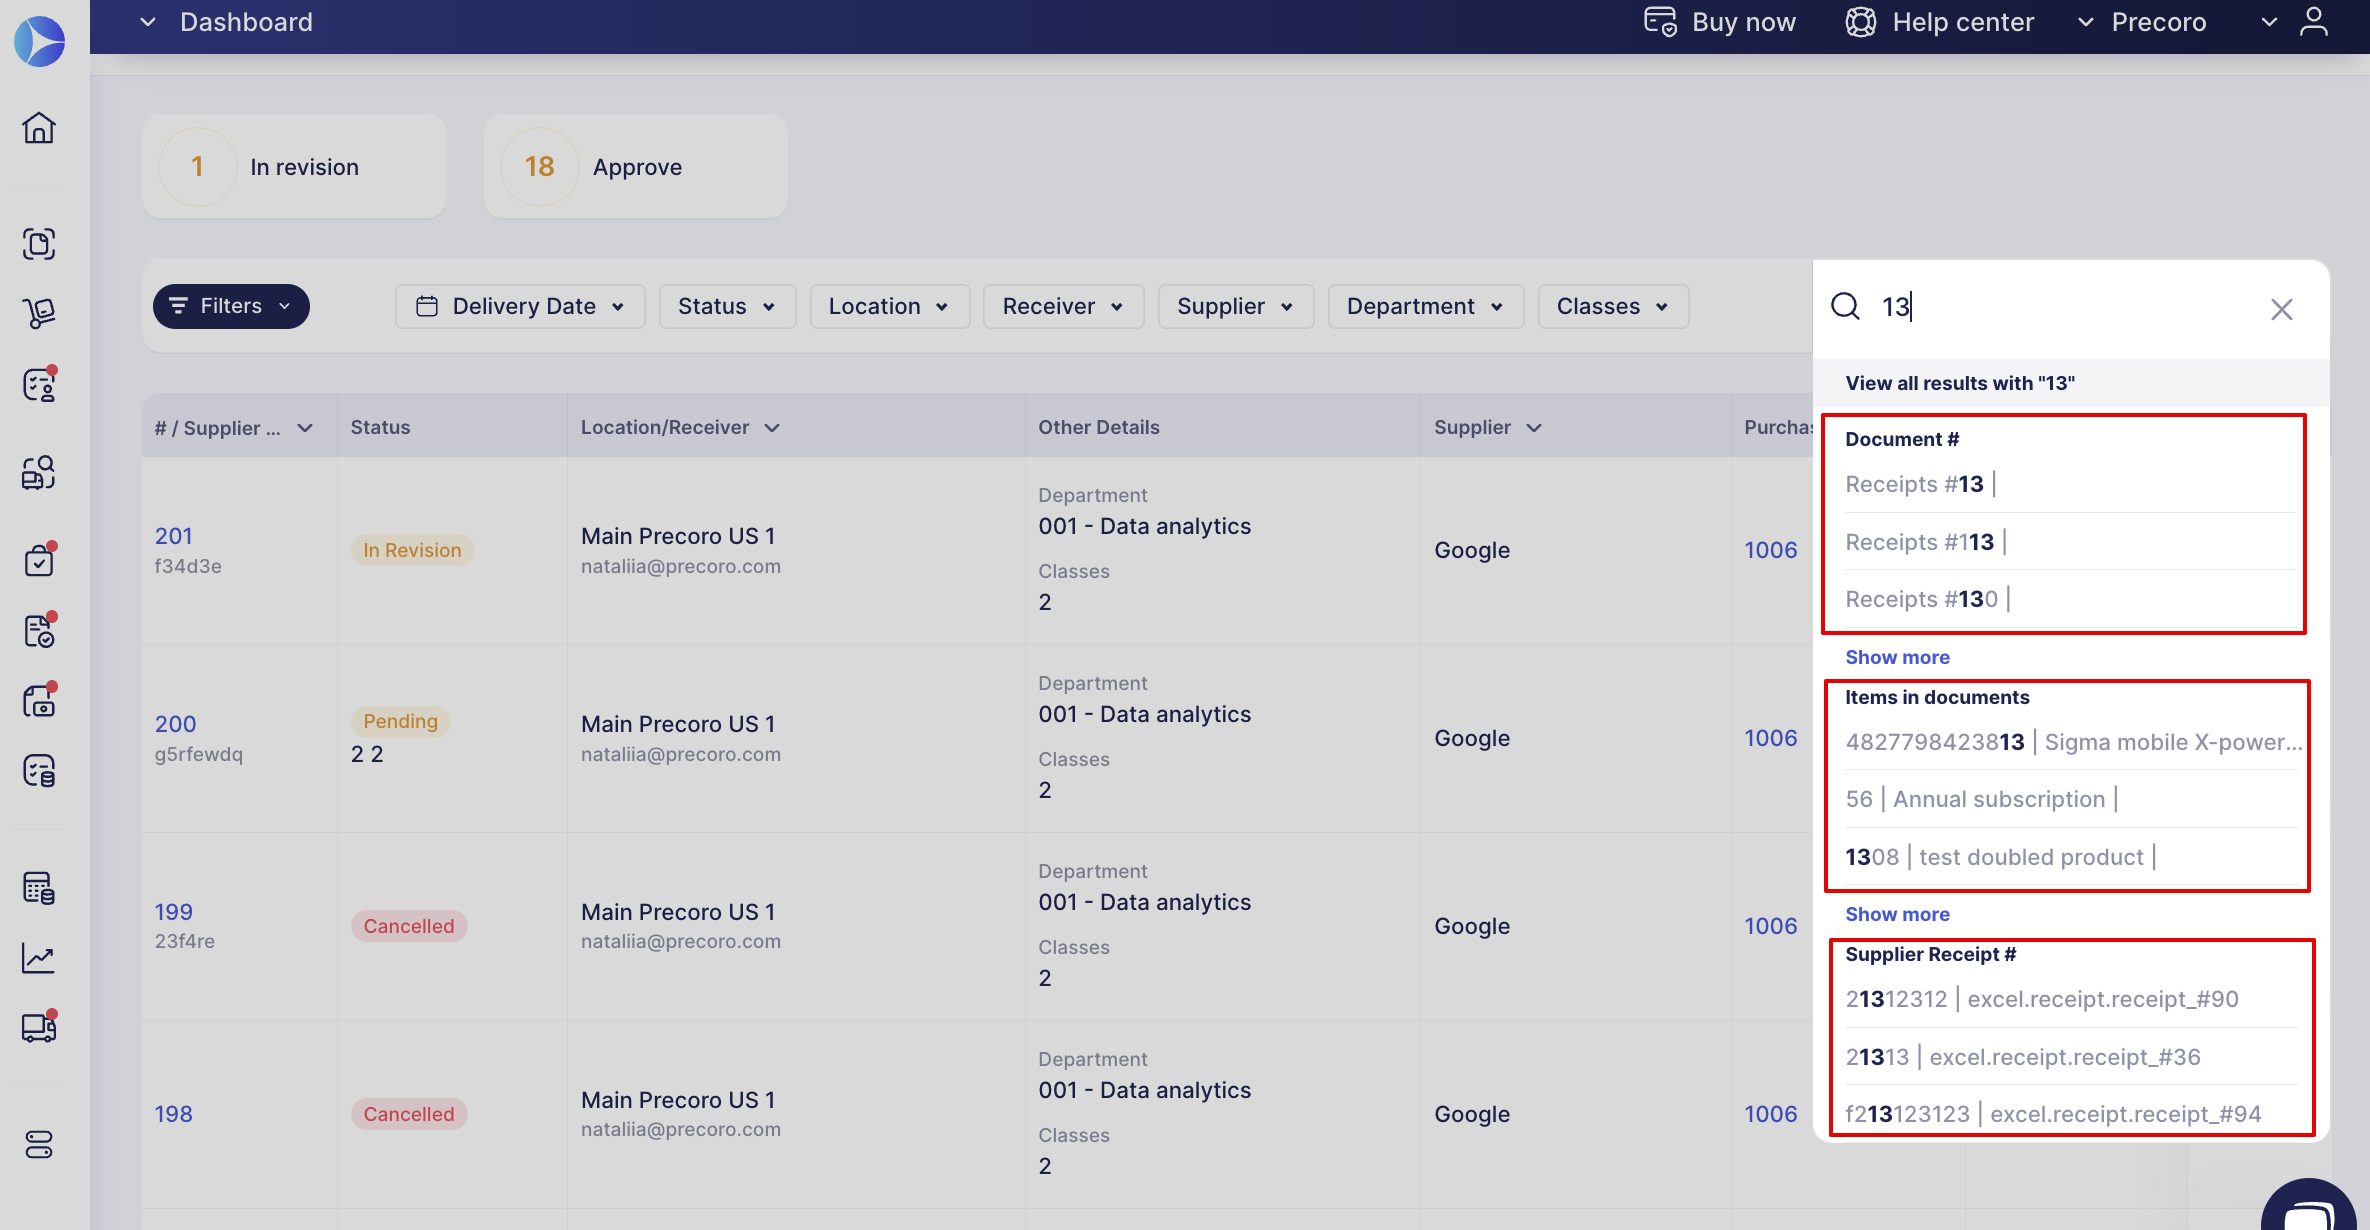
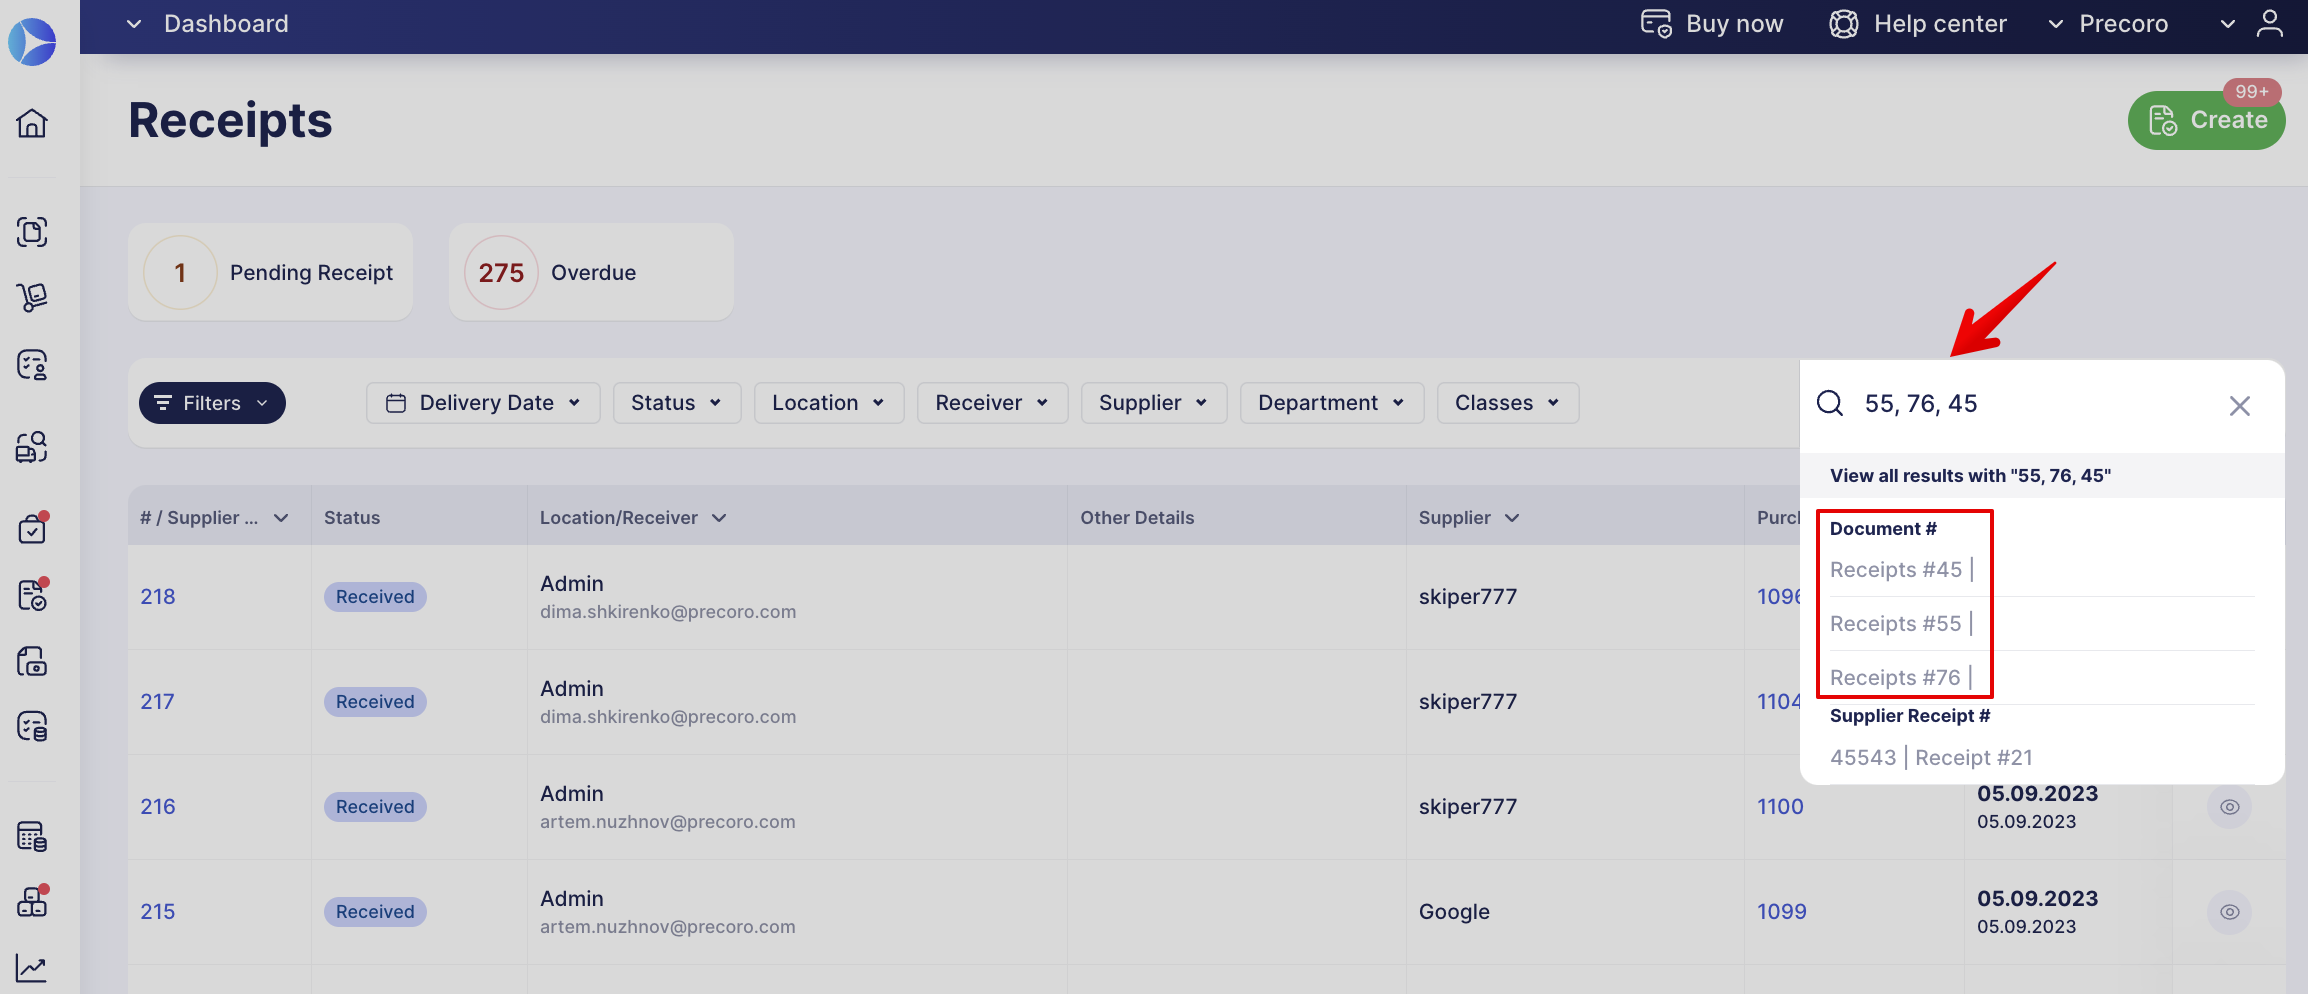
You can also search multiple documents by their full number using the comma sign ',' as a divider. This search process works for Document and Custom # fields in the Warehouse Requests, Purchase Requisitions, Requests for Proposals, Purchase Orders, Invoices, Payments, Receipts, and Expenses.
💡 Please note: The functionality is available for both fast and advanced sets of filters for all Precoro users.
Approval Date Filter
Use an Approval Date Filter that shows the final approval date (when the latest approver made a last document confirmation). Using this filter, you can quickly obtain information on current documents that have been Approved and ready for further action.
The filter will get you a list of documents with the following statuses: Approved, In Revision, and Completed, for Invoices only, the statuses also include Paid and Partly Paid.
The filter can be found:
- In Custom Reports for the Purchase Order, Warehouse Request, Purchase Requisition, Receipt, Expense, Invoice, and Payment document types.
- In preset Purchase Order, Purchase Requisitions, Invoice Export by Items, and Purchase Order Export by Items reports.
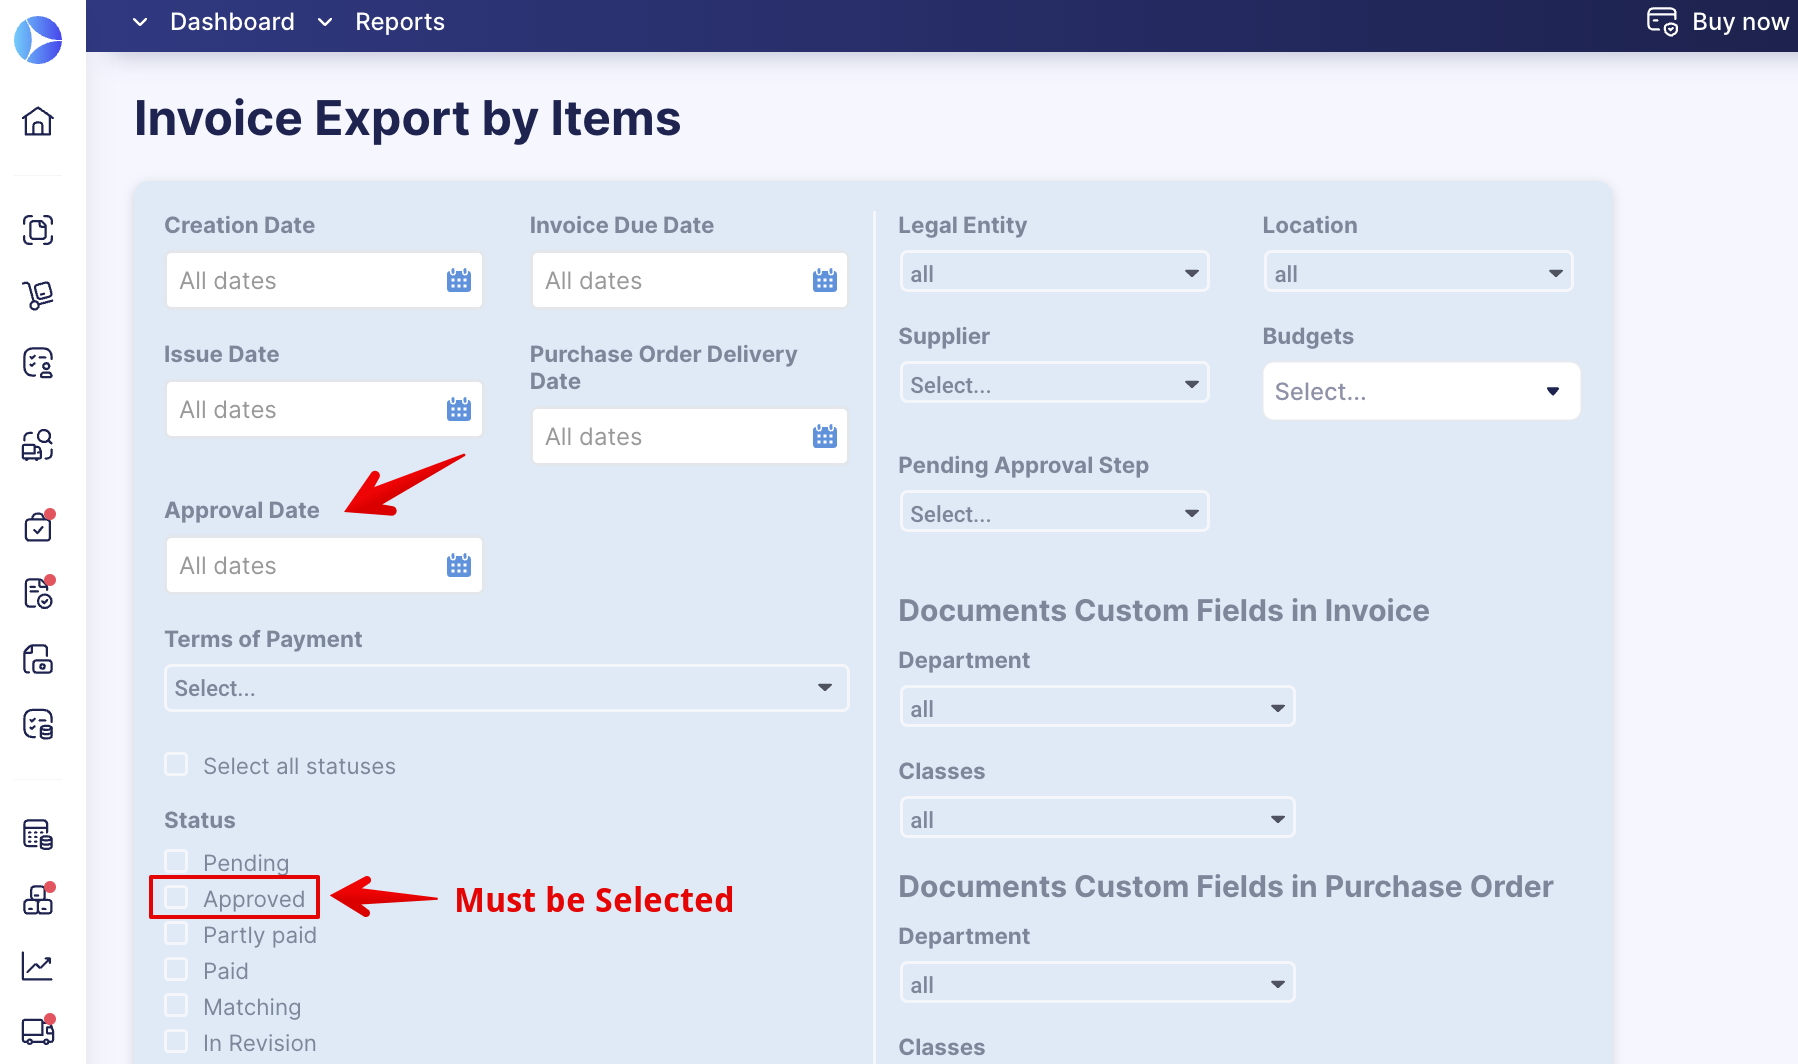
💡 Please note: For custom and preset reports you will still need to select the statuses.
- In filters on the Create Payment page.
- In filters on the Purchase Order, Warehouse Request, Purchase Requisition, Receipt, Expense, and Invoice management pages.