TABLE OF CONTENTS
Establishing the Integration Between Power BI and Precoro
Procurement data is sent to Power BI via a custom connector that uses Precoro’s API. To learn more about connectors and understand how your data is transferred, please refer to this article.
These API request limits apply to the Power BI connector:
-
300 requests per minute;
-
1500 requests per hour;
-
3000 requests per day.
💡 Please note: For your integration to run smoothly and for data to be loaded into Power BI, the requests must stay within these limits. Before setting up the integration, please review the best practices explained here.
How to Set Up the Power BI Custom Connector
Follow the steps below to integrate Precoro data into Power BI and use advanced dashboards, reports, and datasets for accurate analysis.
Step 1: Get the Precoro Power BI Custom Connector File
Contact your Customer Success Manager to gain access to the Precoro Power BI custom connector. They will provide you with the file and additional guidance.
Step 2: Install the Connector
To perform the installation:
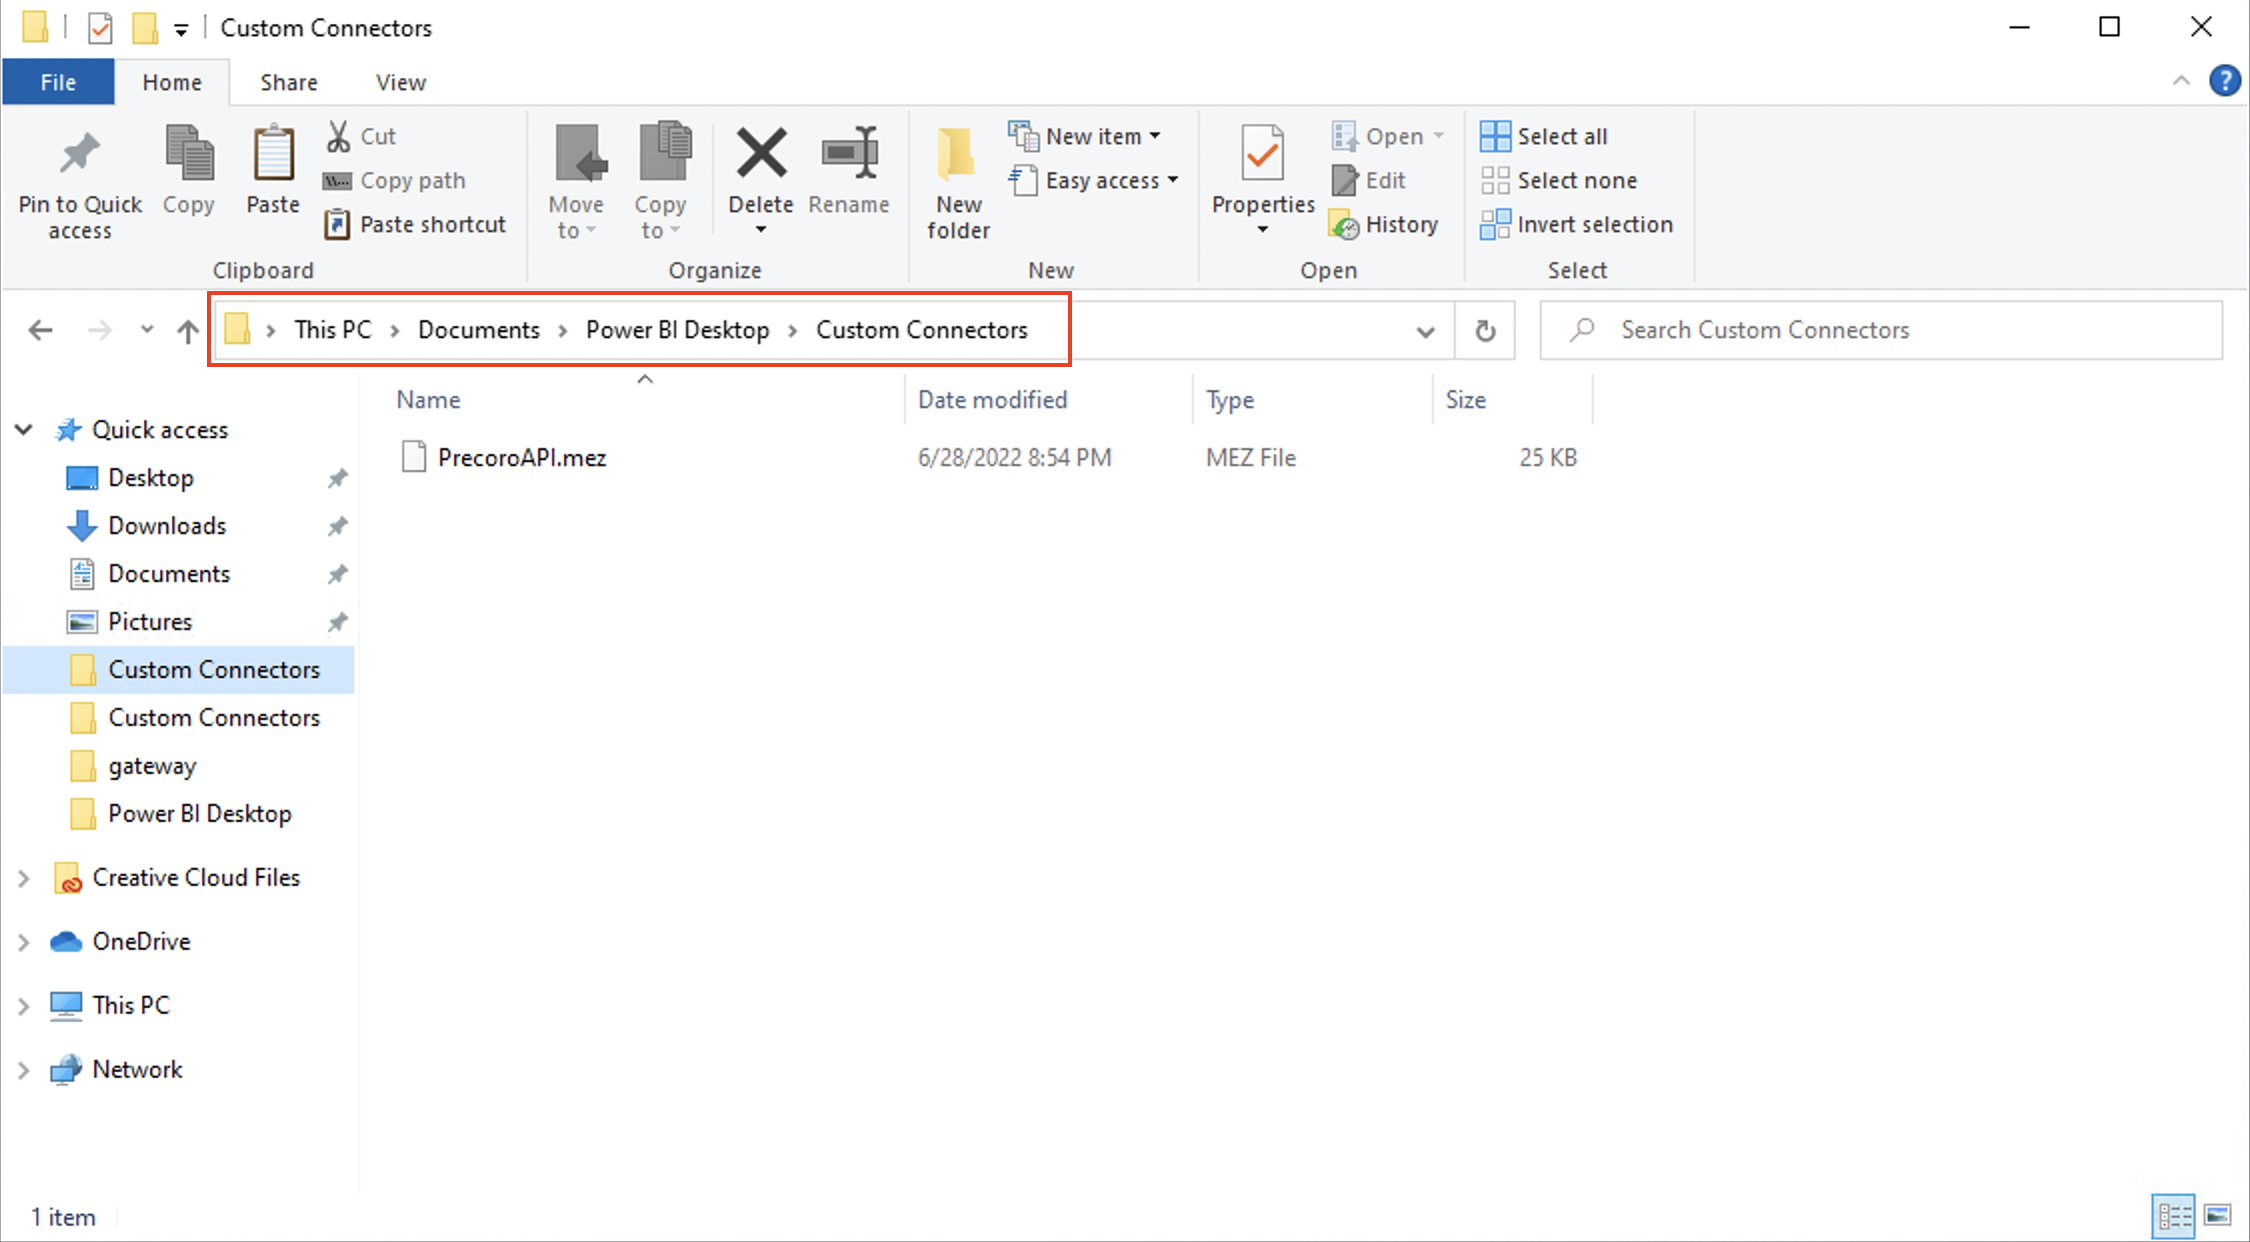
- Save the PrecoroAPI.mez ((for app.precoro.com) or PrecoroAPI_us.mez (for app.precoro.us) file to the following location on your Windows PC: C:\Users\username\Documents\Power BI Desktop\Custom Connectors\.
If this folder does not exist, create the required folders.

💡Please note: If you already have other connectors and an on-premises data gateway installed, place the connector in the folder where your other connectors are stored. Usually, it is C:\Windows\ServiceProfiles\PBIEgwService\Documents\Power BI Desktop\Custom Connectors.
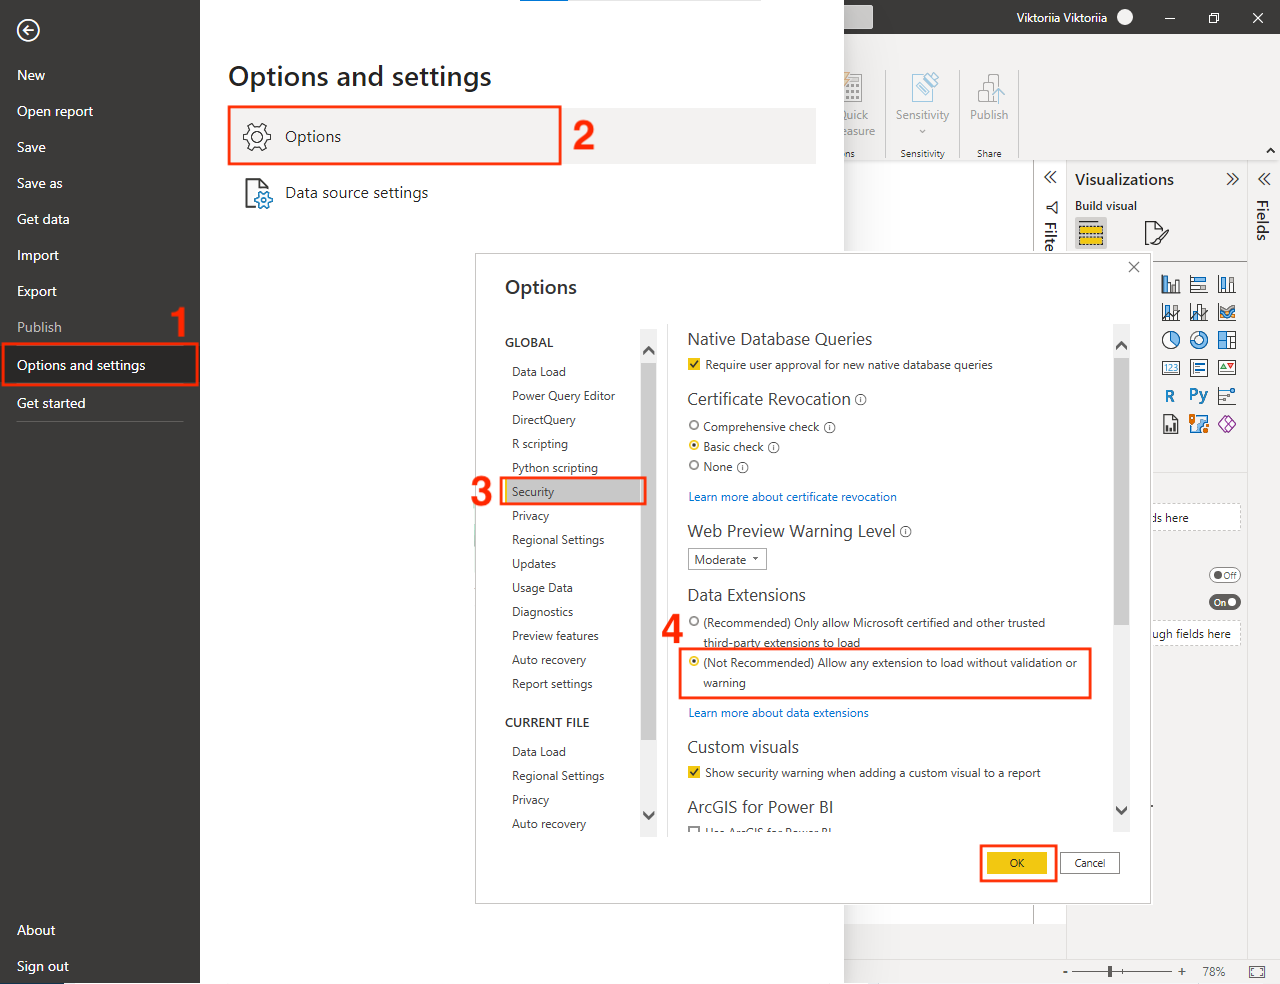
2. Adjust Power BI Security Settings:
- Open Power BI Desktop and navigate to File → Options and settings → Options → Security;
- Under Data Extensions, select (Not Recommended) Allow any extension to load without validation or warning;
- Restart Power BI Desktop to apply the changes.

Learn more about custom connector installation here.
Step 3: Generate Credentials
💡Please note: The API key is linked to a specific user and company, so it cannot be used to connect to another company’s account.
Since the key carries the user’s permissions, we recommend generating it by the user who has full access to the necessary documents. If you don’t have access to a specific module (e.g., Purchase Orders), you won’t be able to retrieve that data via API or Power BI. Also, if your permissions change after generating the key, the token may become invalid.
To generate credentials:
- Navigate to the Configuration → Integrations page in your Precoro account.
- Locate the API Key section → click the Go to page button.
- Click Generate API Key and save the generated token. The token is visible only during the generation. Please save and store it securely, as it cannot be viewed again in Precoro.
Learn more about API Keys in Precoro here.
Step 4: Log in to the Connector
To link the connector with Power BI:
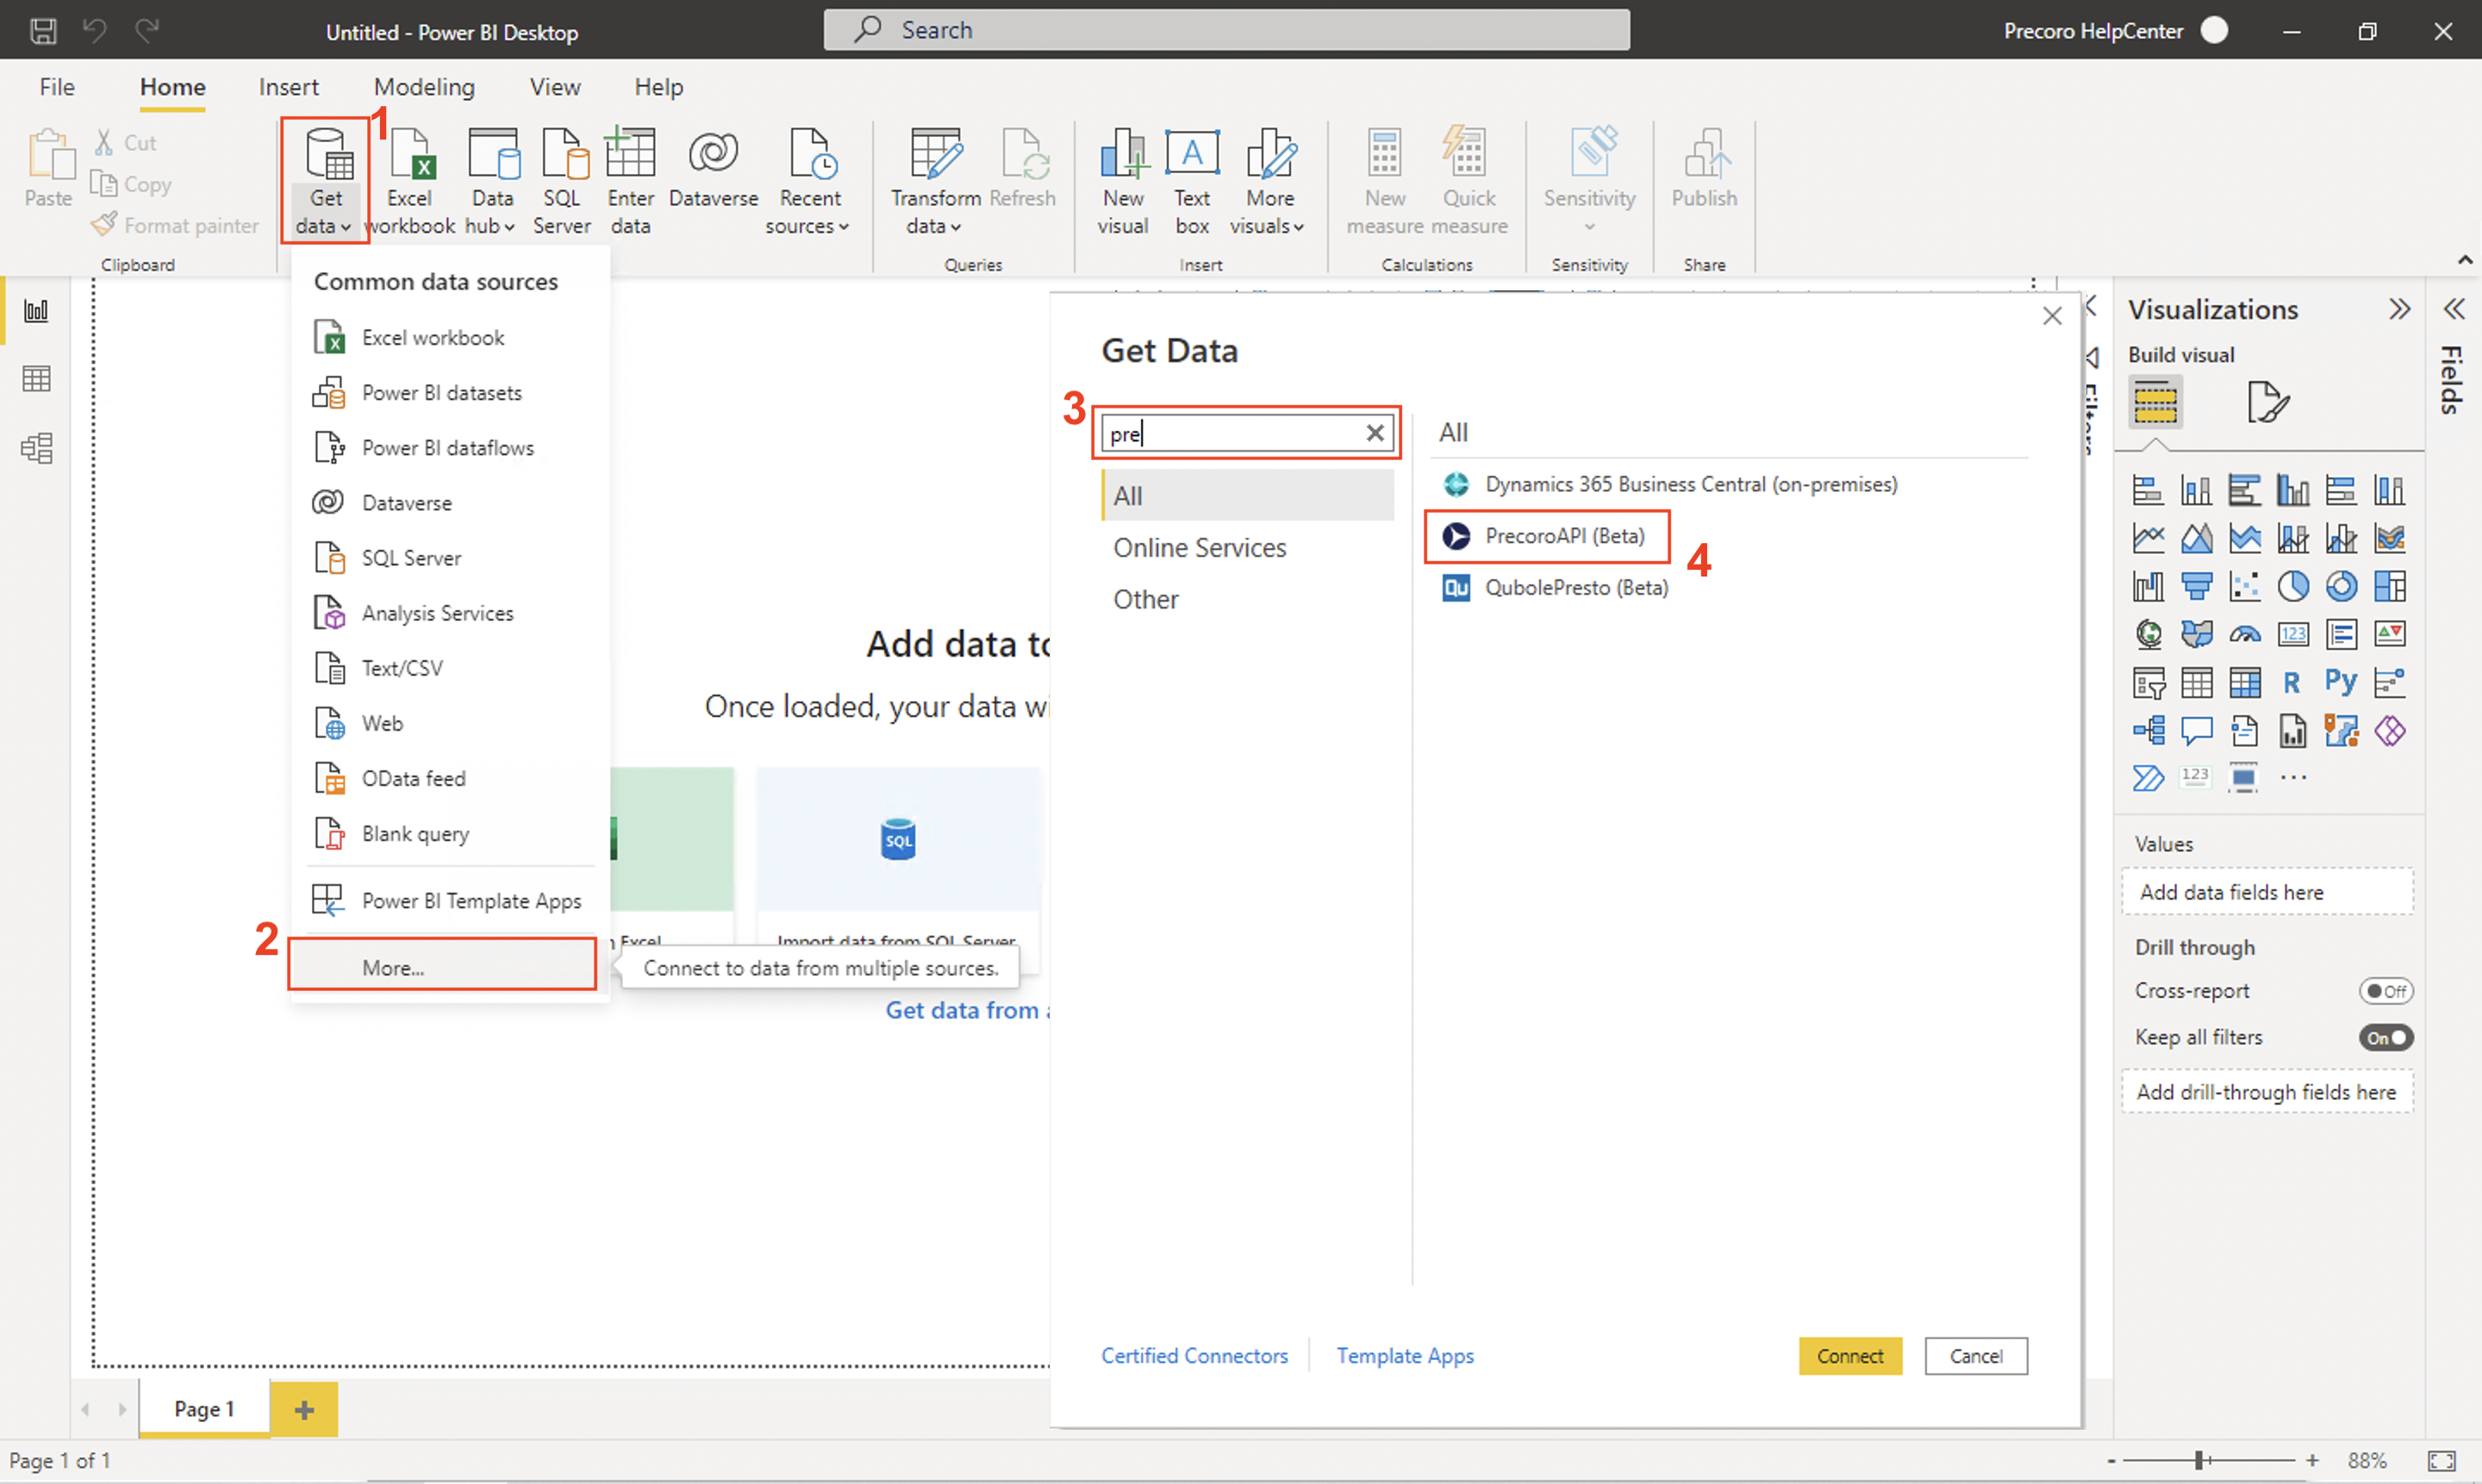
- Open Power BI Desktop → click Get Data.
- Choose More... from the drop-down list.
- Use the search field to locate the PrecoroAPI (Beta) connector.
- Select the connector → click Connect.

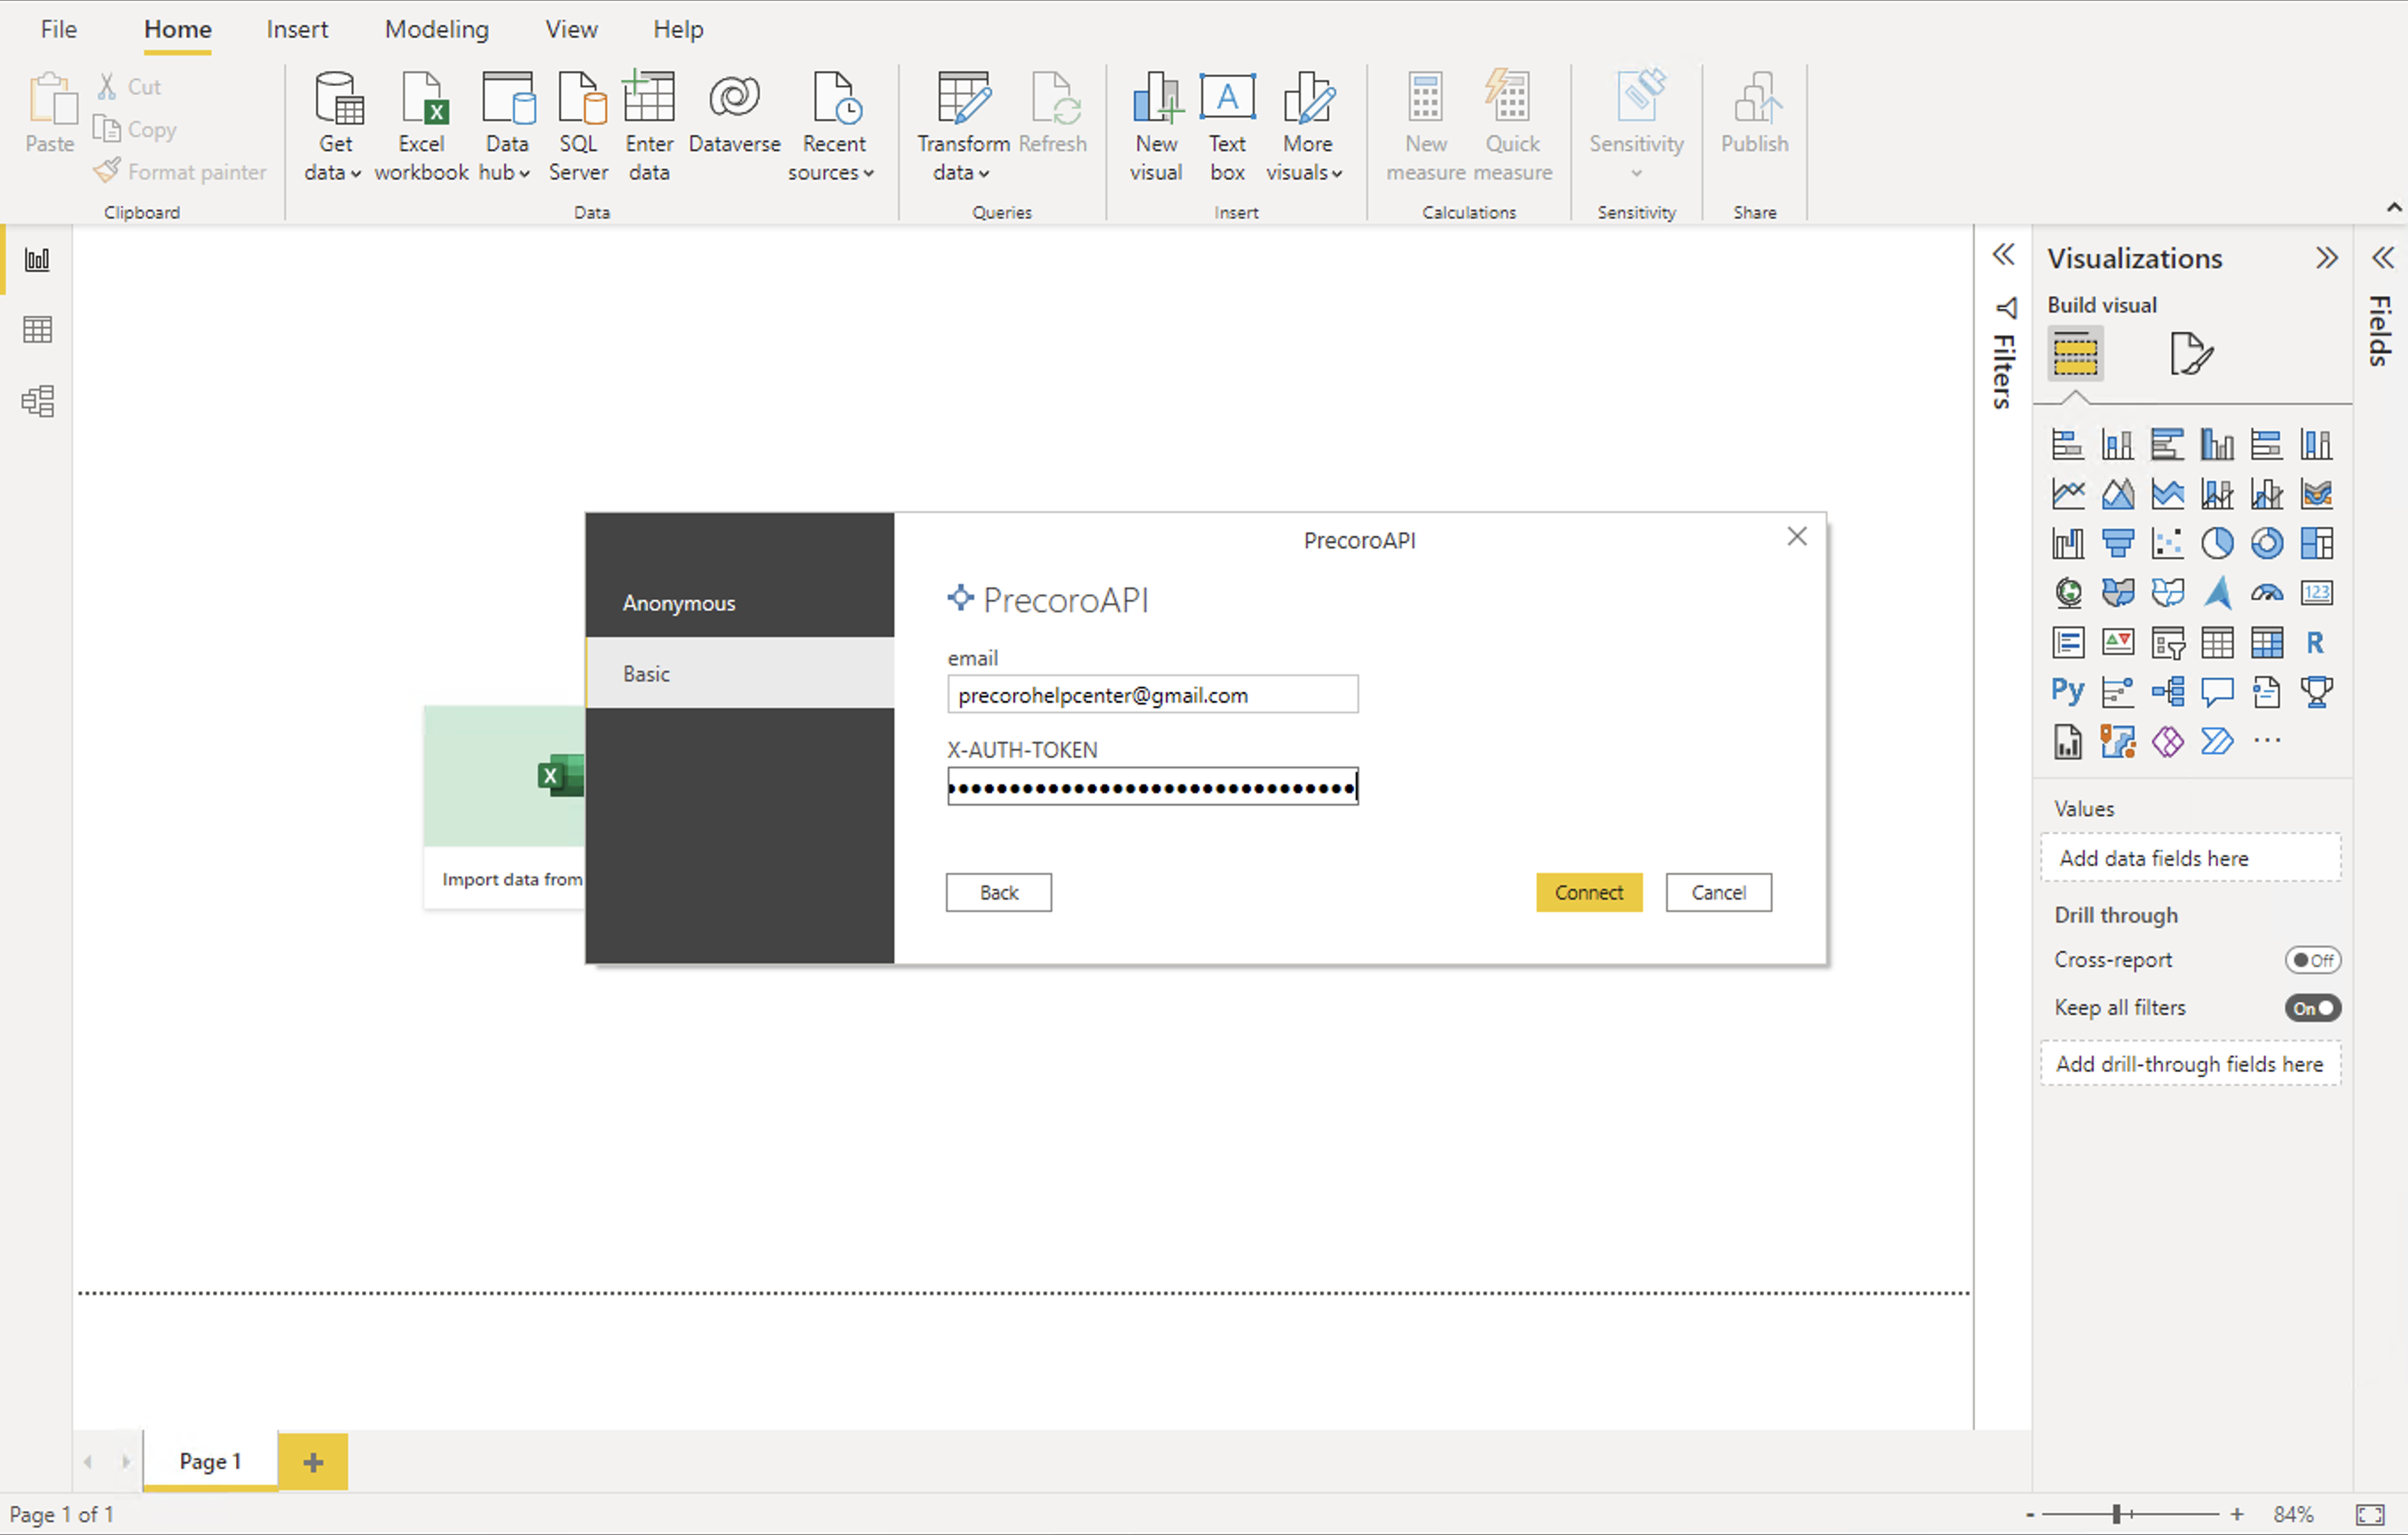
- Enter your Precoro account email and the X-AUTH-TOKEN (the API token generated in Step 3) → Connect.

- Assign a name for this connection → click OK to complete the process.

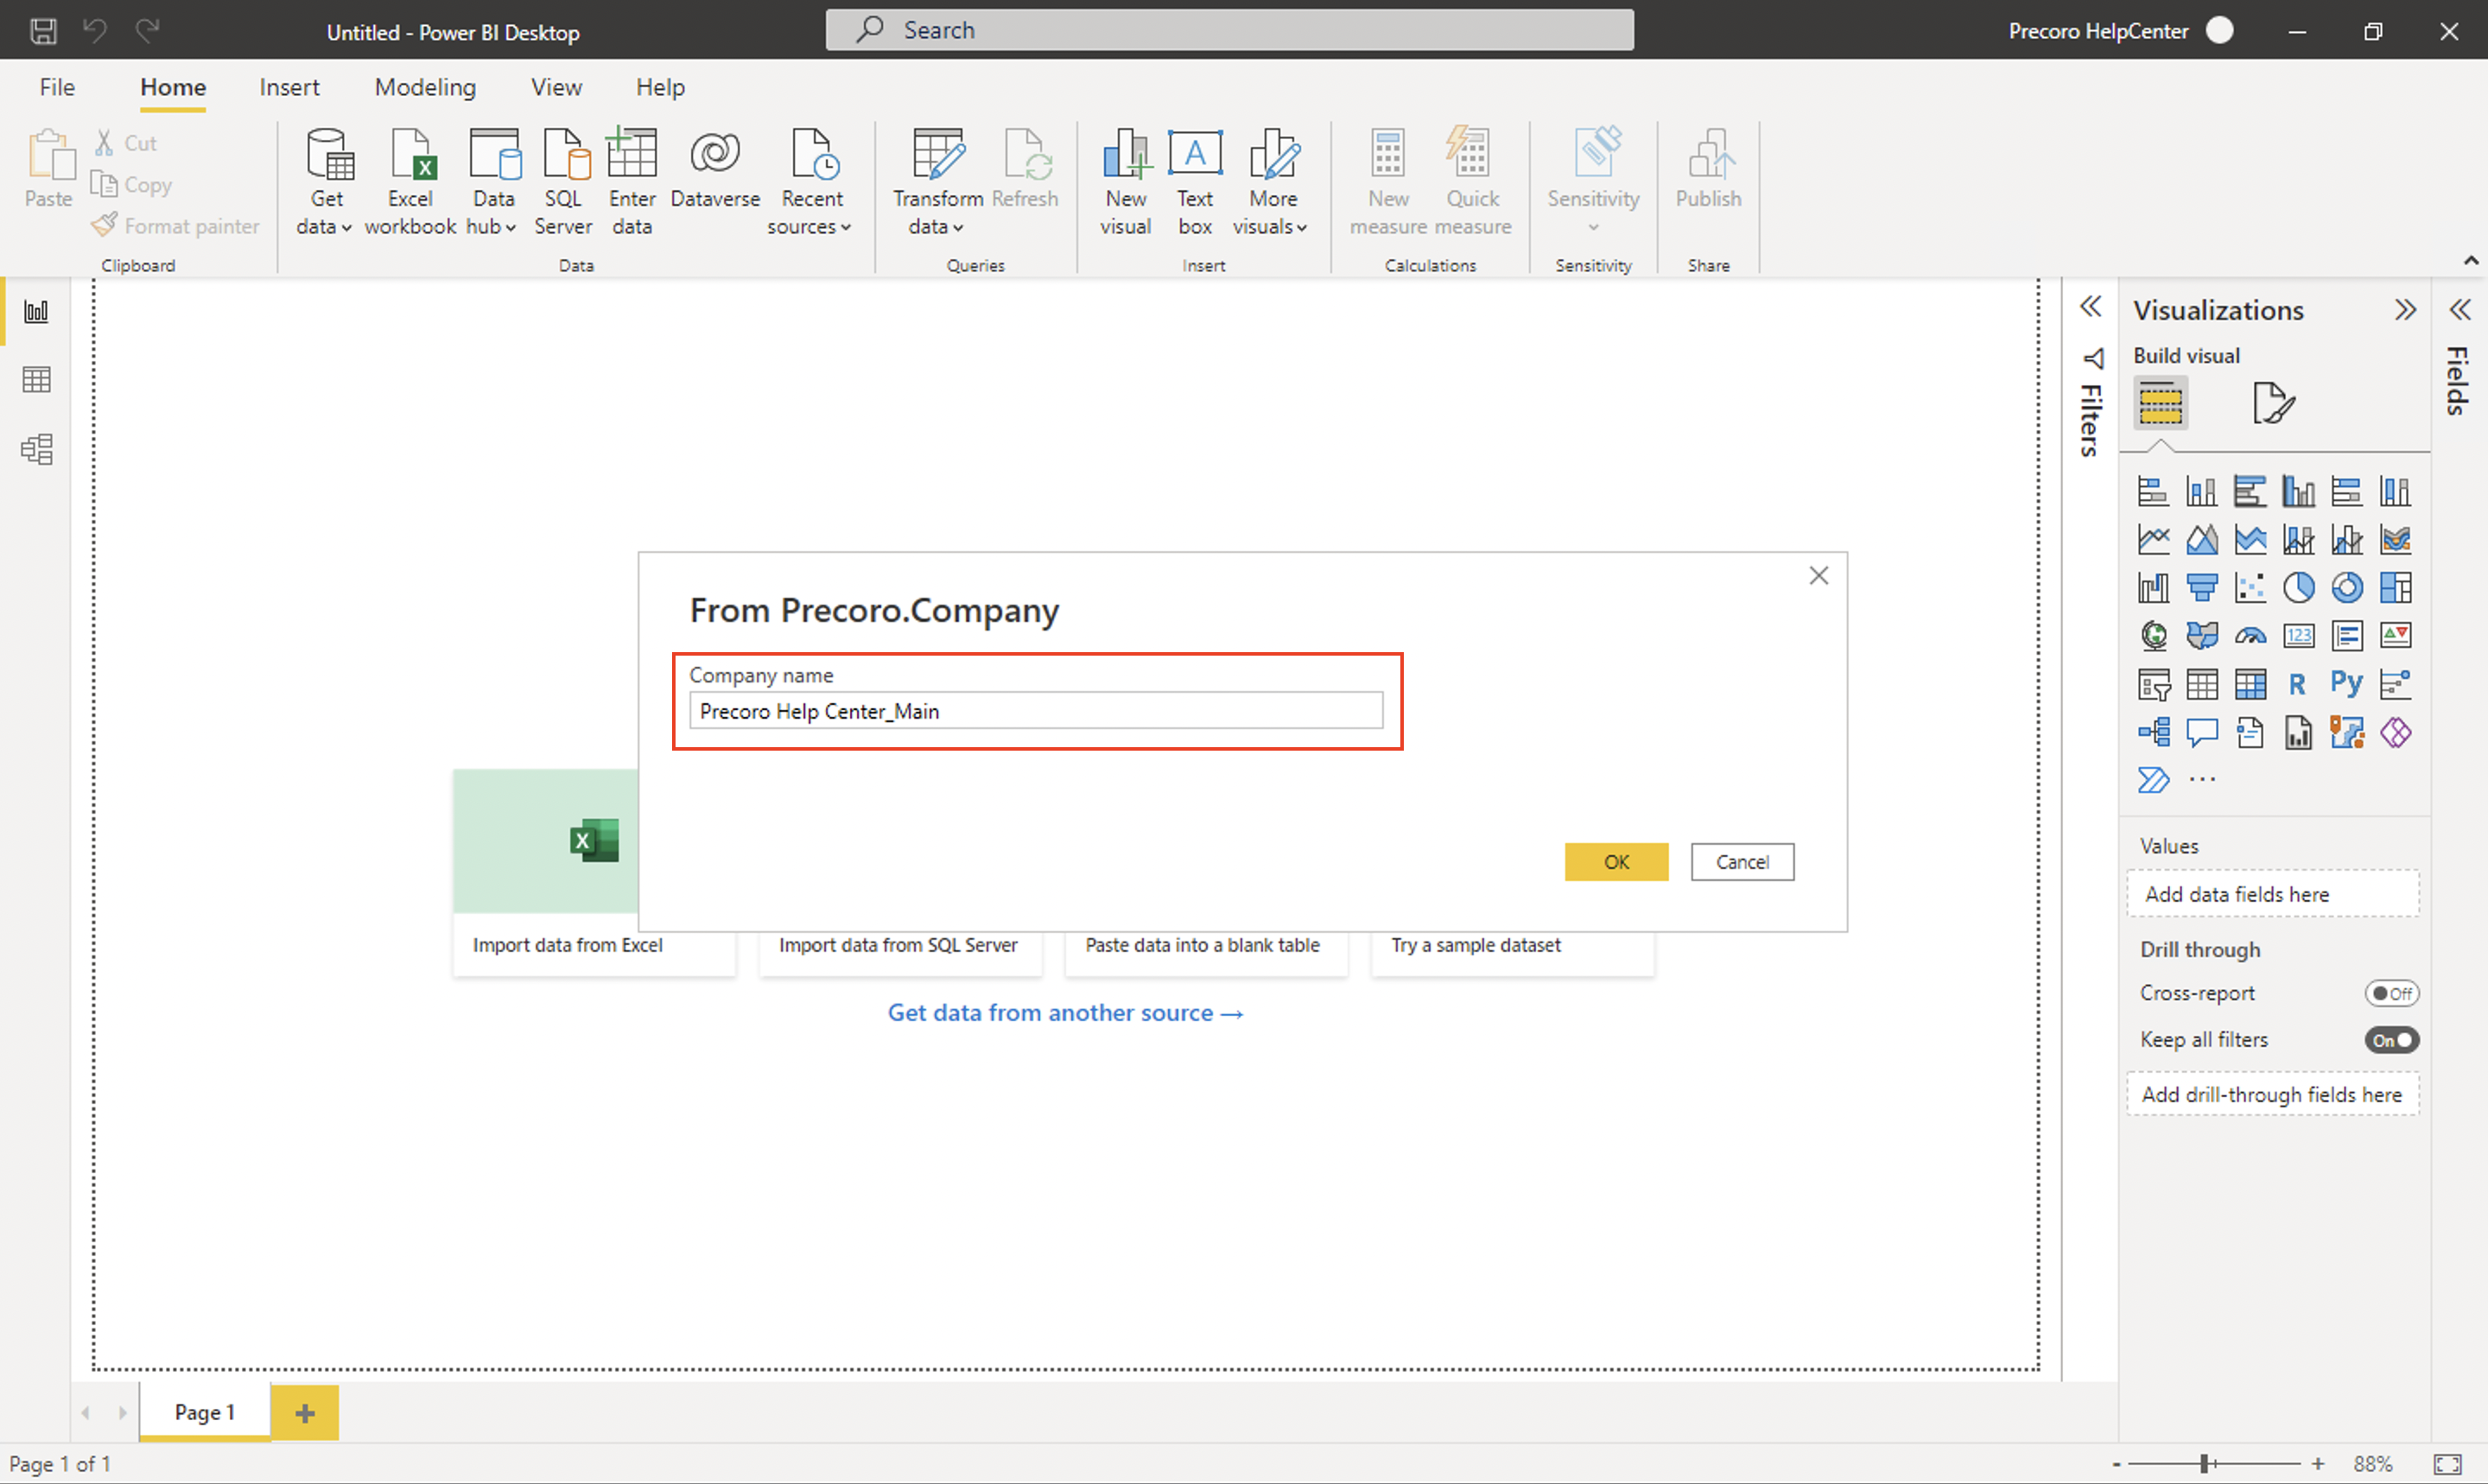
💡Please note: We recommend using an easy-to-remember name (e.g., your company’s name in Precoro). Power BI will store your credentials under this name, so you will not need to provide them every time when connecting to Precoro.
If you manage multiple companies/accounts in Precoro, you can create separate connections and store credentials for each company under different connection names. Refer to the Specifics of Using Precoro PowerBI Connector for Multi-Companies article to find out more.
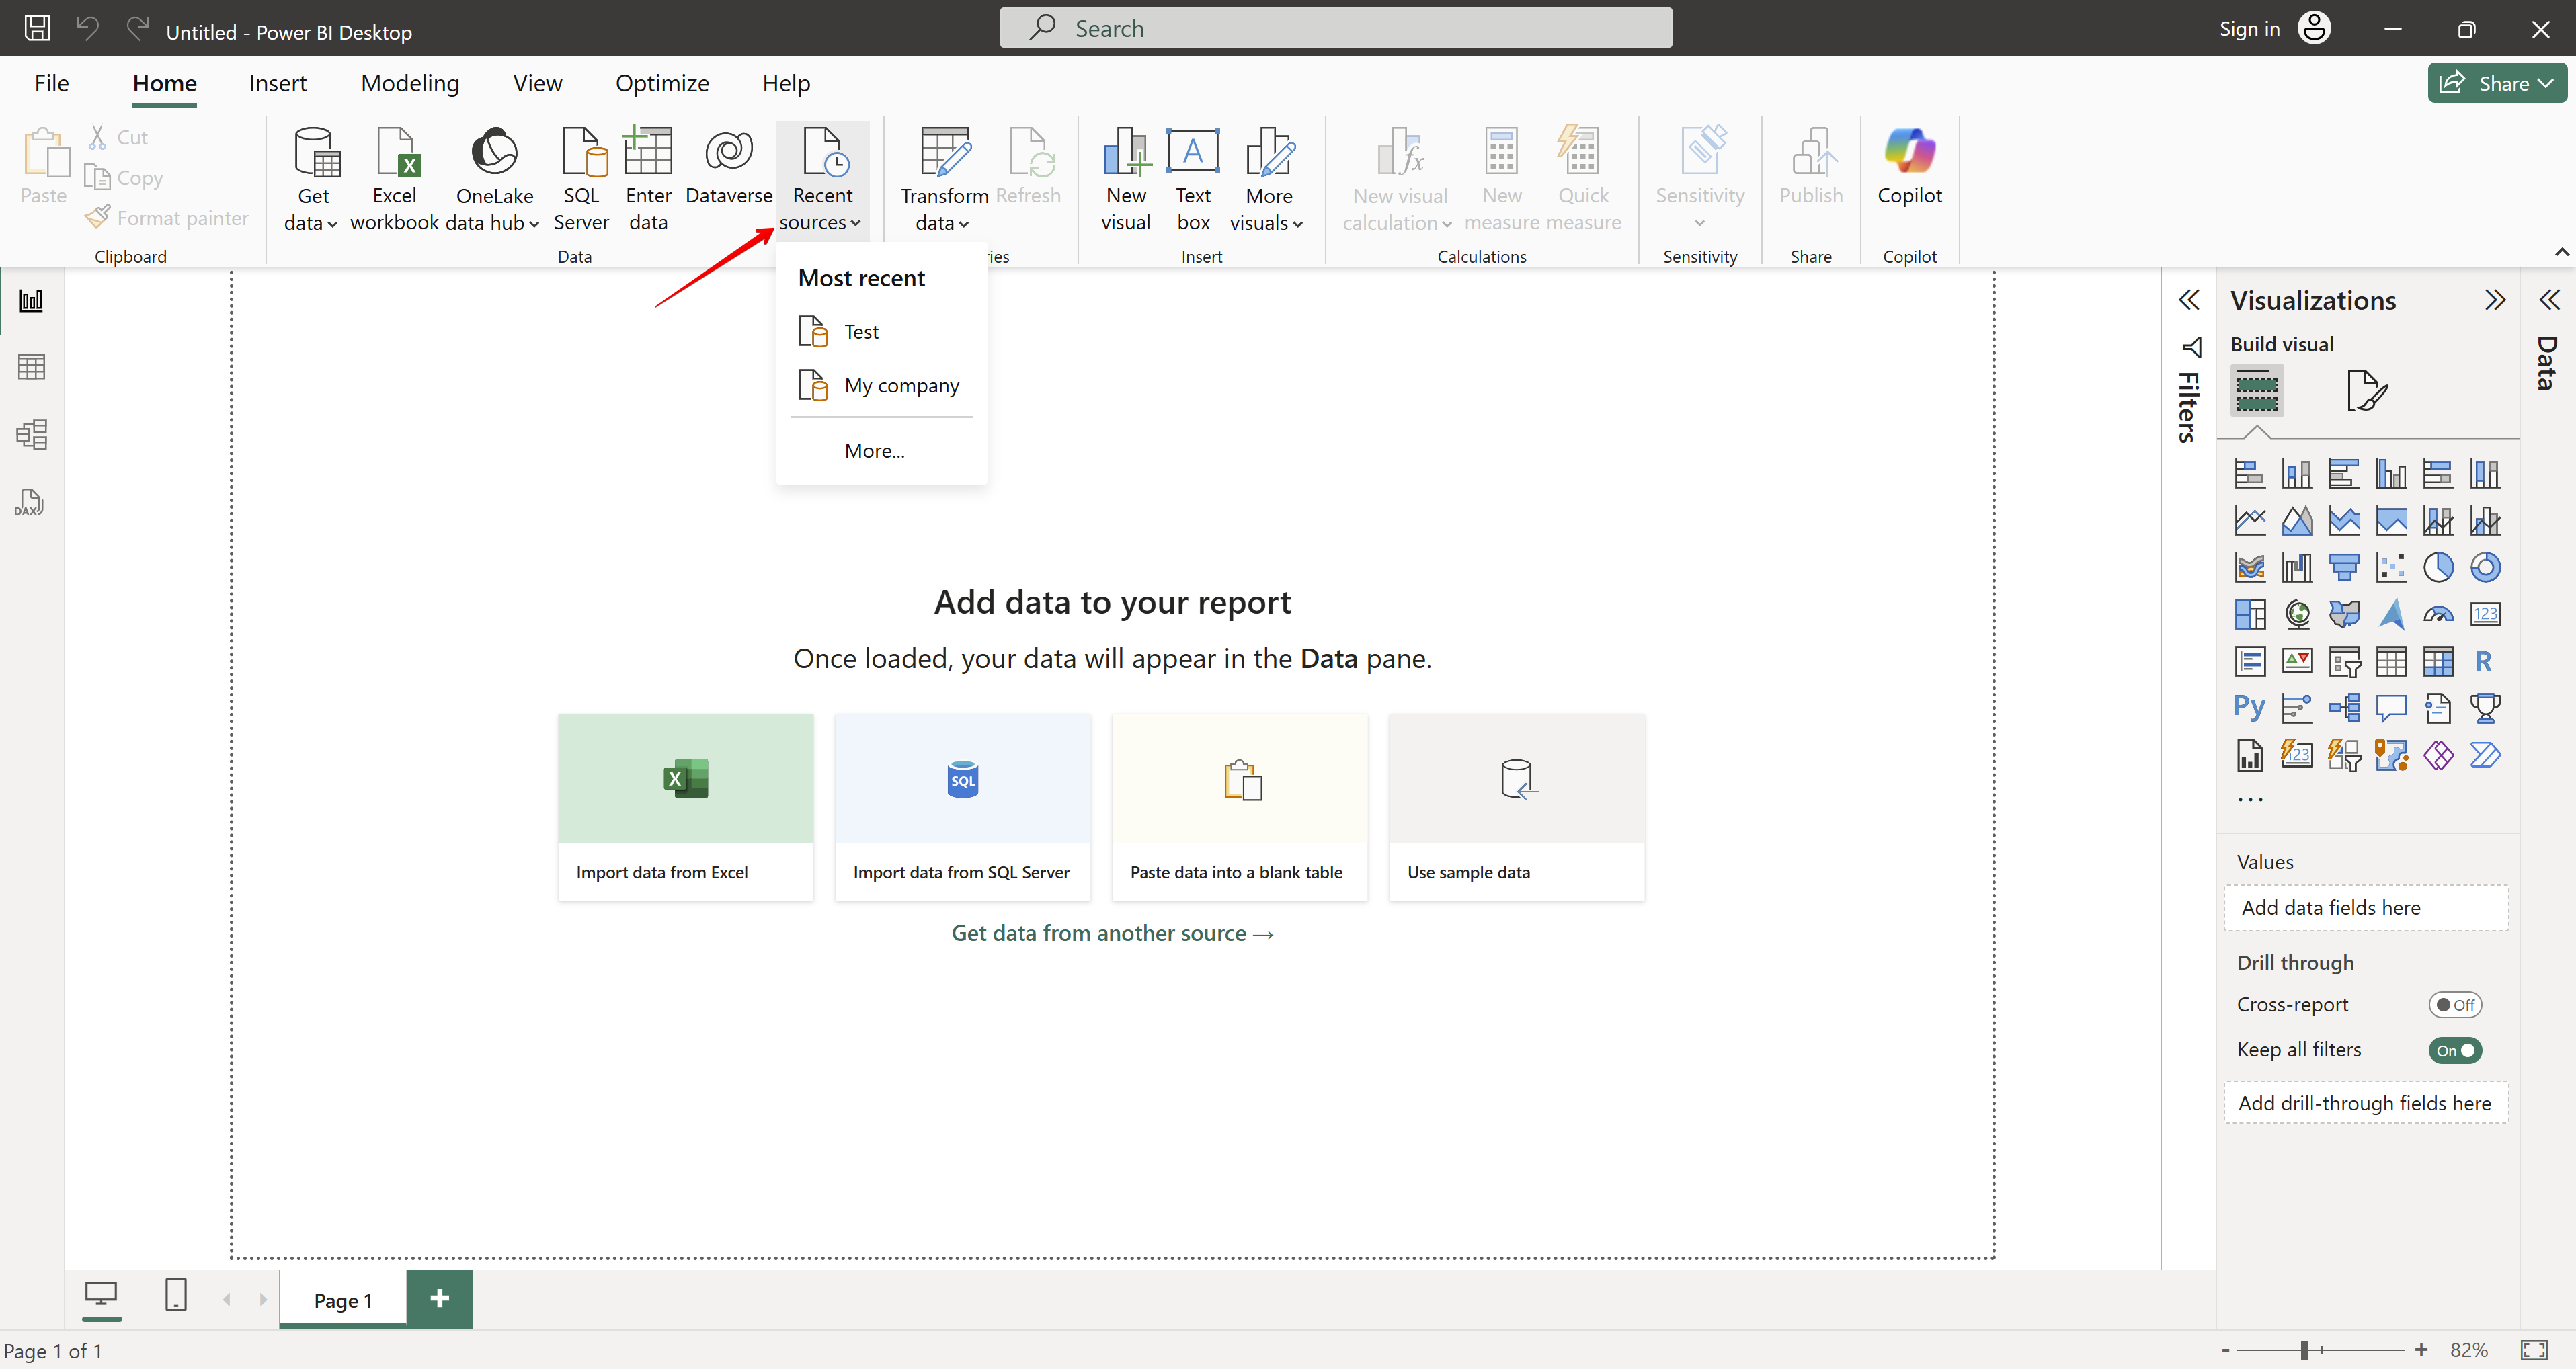
Next time you wish to connect to the database, use Recent Sources and select the needed Connection name from the drop-down:
Congratulations! You can now access your Precoro data in Power BI to build tailored reports and dashboards. Refer to the How to Load and Transform Data Tables via the Power BI Custom Connector article for further instructions.