TABLE OF CONTENTS
- What is a Single Sign-On?
- Simple Steps to Set Up SSO with PingOne
- What Happens Next?
- How to Invite New Users to Precoro if the SSO is Enabled
- Frequently Asked Questions
What is a Single Sign-On?
Single Sign-on allows your System Administrator to manage all logins across all applications from one secure platform. This ensures that applications can only be accessed if configured properly, thus giving you the confidence that your company’s private information is safe.
For organizations with more than a handful of employees, this feature is critical for IT and Security teams to effectively manage user accounts across dozens or hundreds of vendors’ contacts. In the event that an employee leaves the company, it allows the IT team to immediately disable their access to all applications, rather than logging into 100 different user management portals.
Simple Steps to Set Up SSO with PingOne:
- Open the Configurations tab on the left side of the screen, go to the SSO Settings tab, and move the switch to On.
- Open your PingOne account and create an Environment (or choose an existing one):
- Click Add Environment.
- Choose Customer Solution.
- Choose PingOne for Customers.
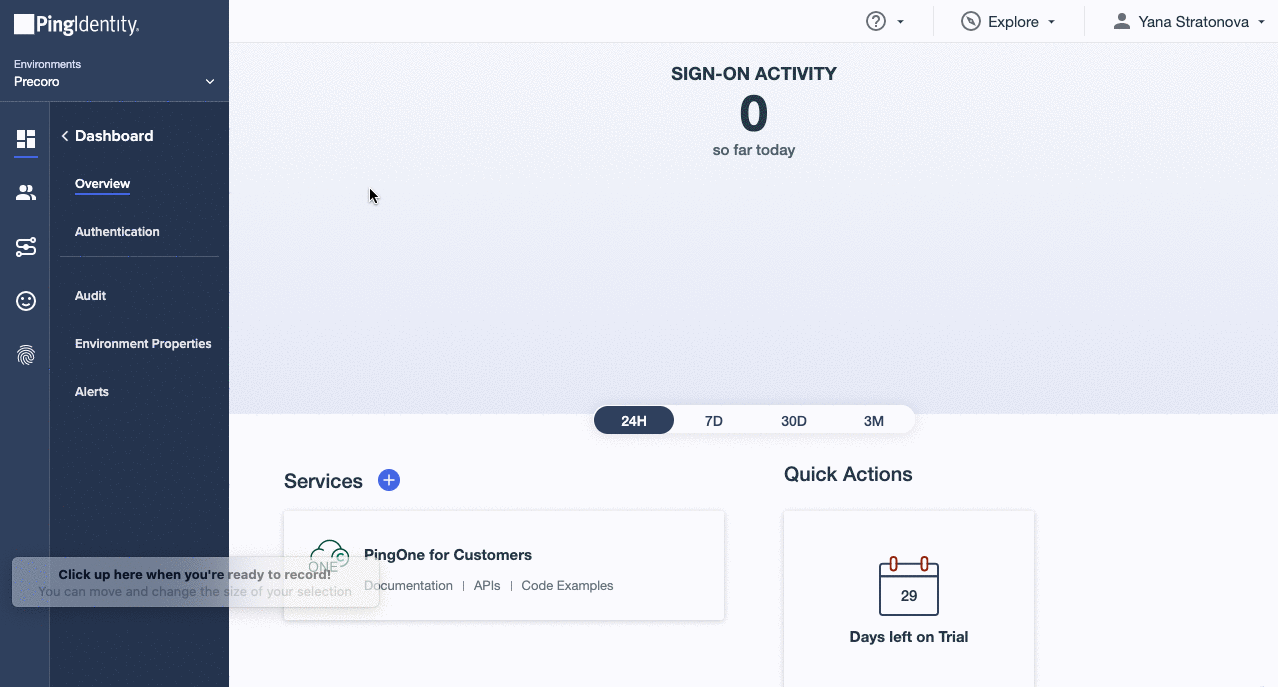
Enter your Environment Name and set license: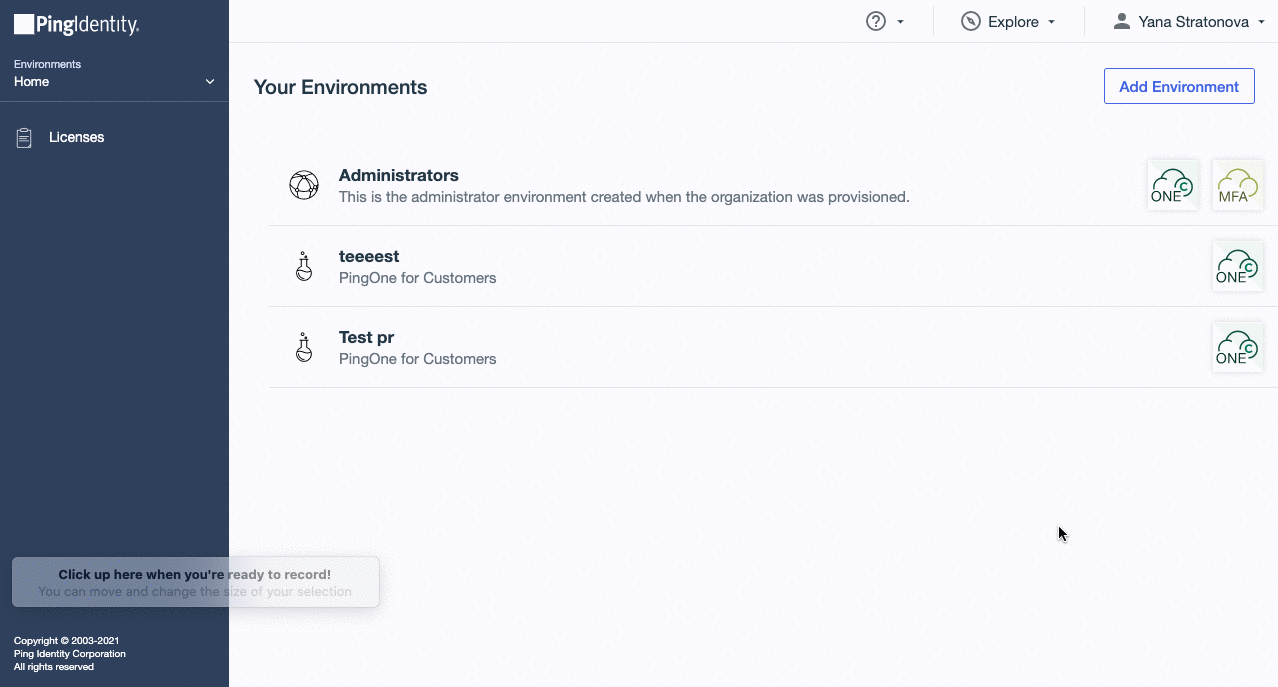
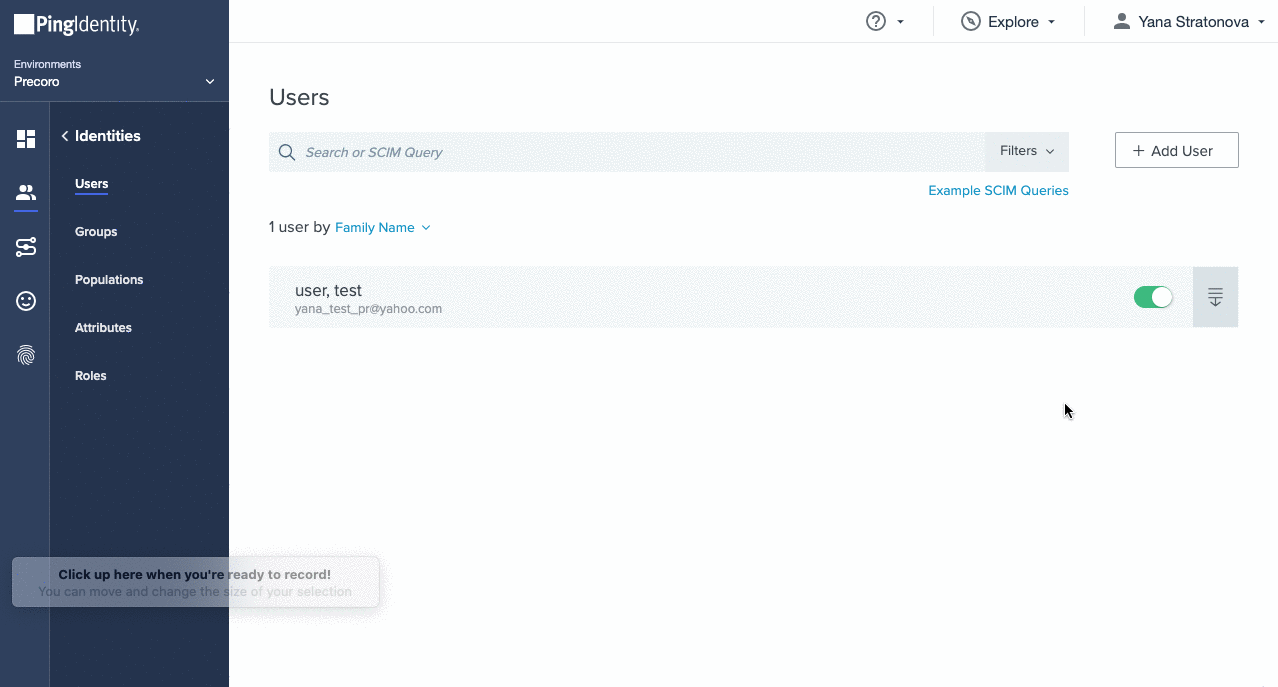
3. Add users to your Environment:
- Enter a valid Precoro account email.
- Set a password.
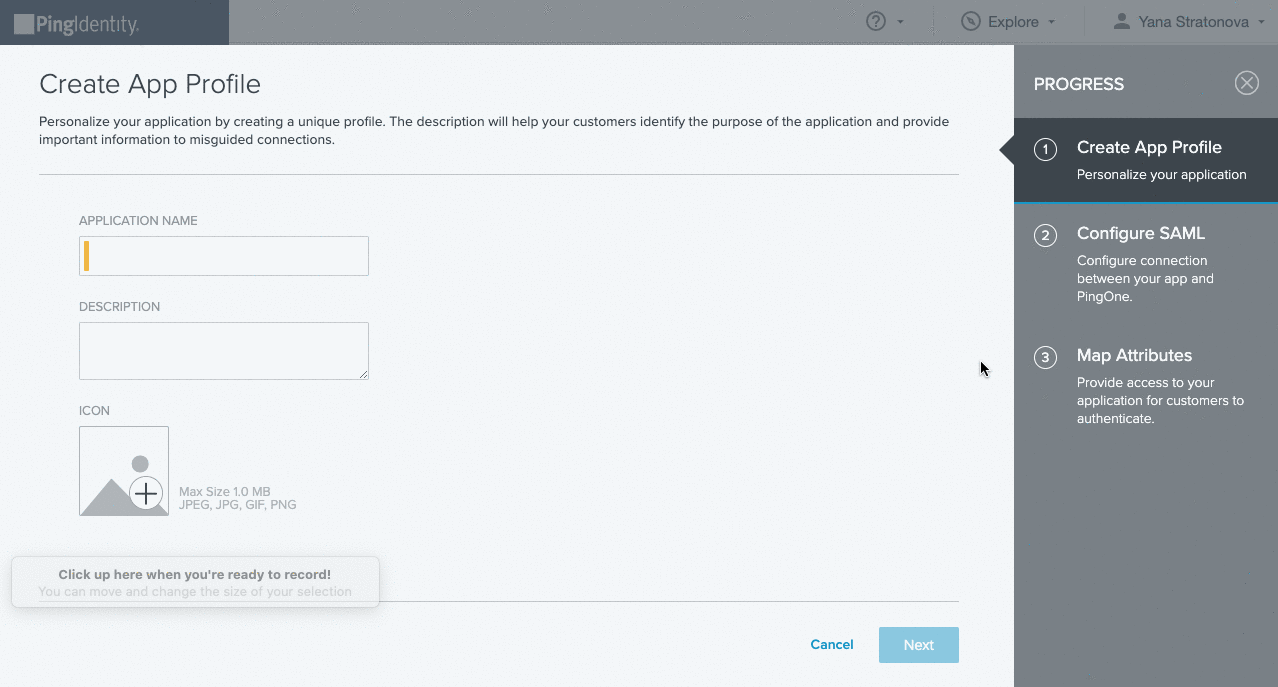
4. Create an Application for Precoro:
-
- Choose Advanced Configuration.
- Choose SAML Connection Type.
5. Configure your Application:
1. Enter an Application Name.
2. Make sure that the data in PingOne matches your data in Precoro SSO configuration tab:
-
-
- ACS —> ACS URLs
- Entity ID —> Entity ID
- Single Logout Response Endpoint —> SLO Endpoint
- Single Logout Response Endpoint —> SLO Response Endpoint
- Enter ASSERTION VALIDITY DURATION (IN SECONDS).
-
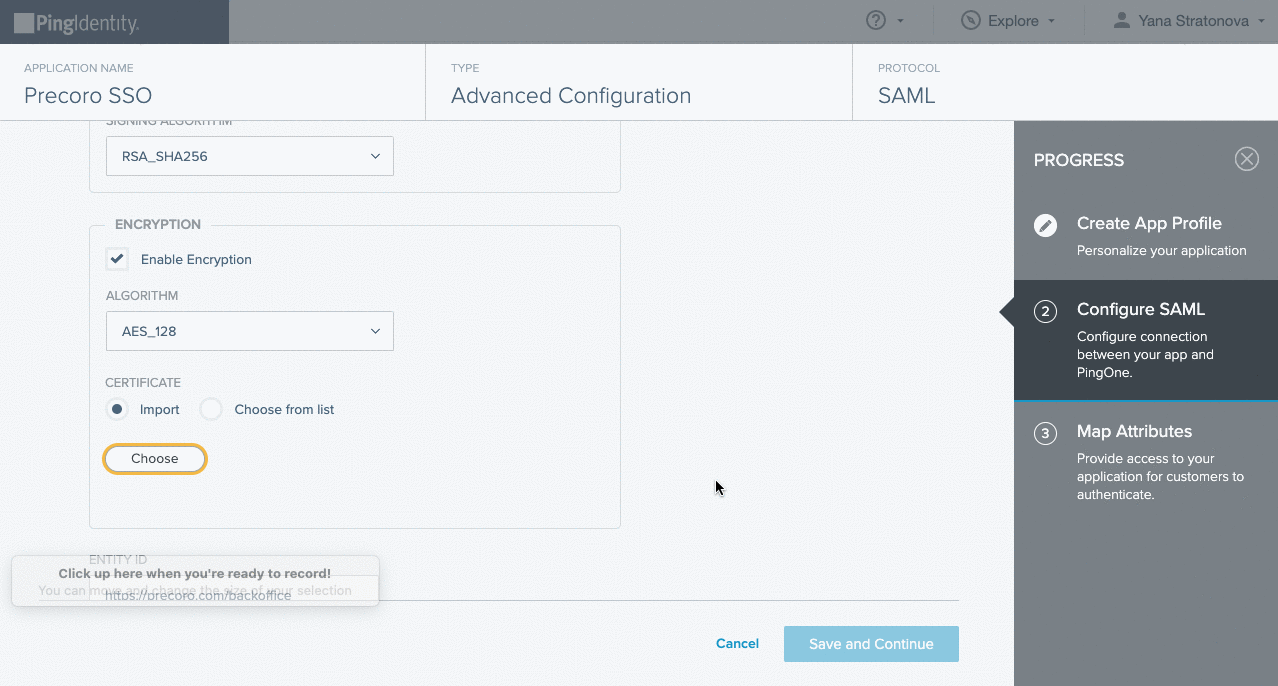
3. Set Encryption:
-
-
- Enable Encryption.
- Choose an AES_256 Algorithm.
- Import the Precoro Certificate from the SSO configuration tab in Precoro.
-
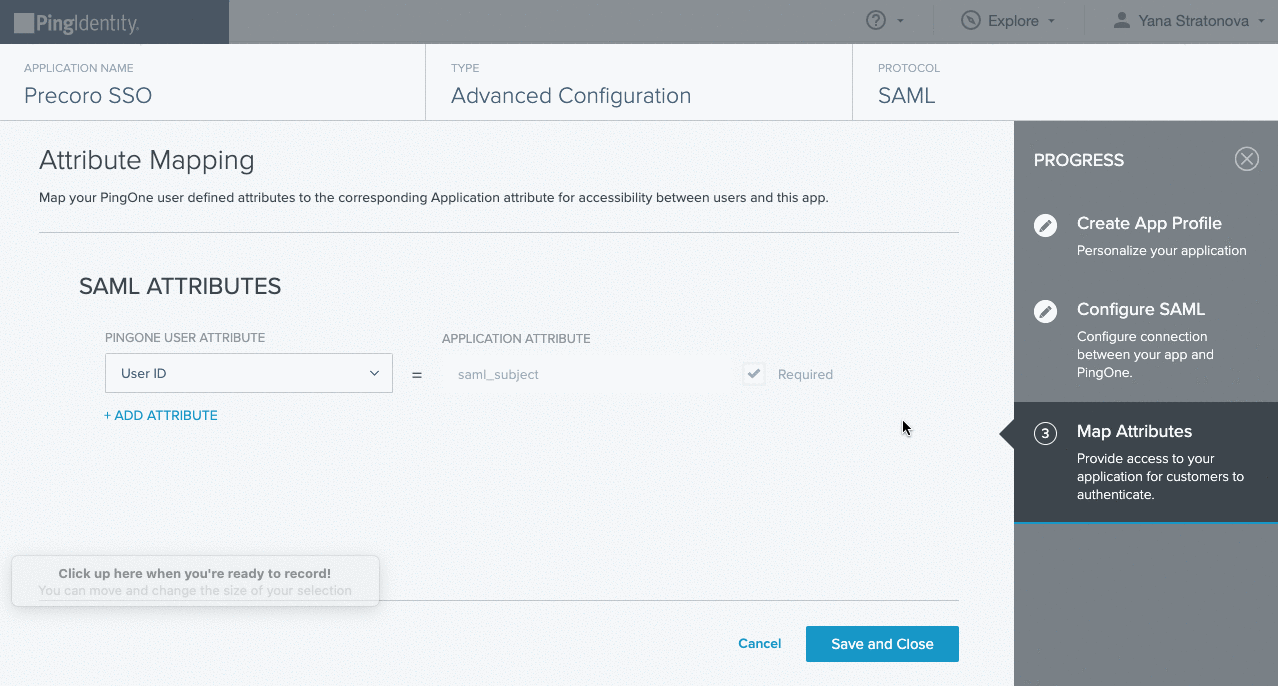
4. Match SAML Attributes:
- PingOne User Attribute must be an Email Address.
5. Download Metadata from the Configuration tab in the Application and upload it to Step 4 in the SSO Settings Tab in Precoro: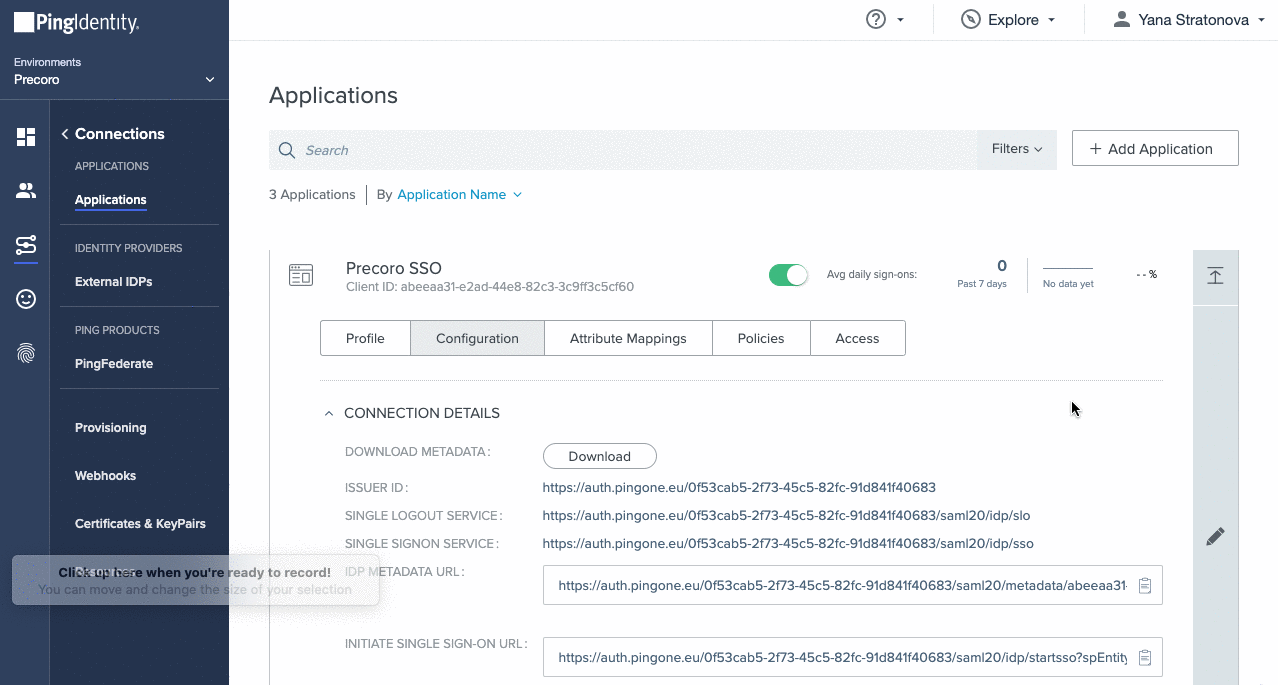
6. Copy Issuer ID from the Configuration tab in the Application and paste it to Step 3 in Precoro SSO Settings:
What Happens Next?
1. When a user has access to a group where Precoro is assigned, they can authorize access for Precoro with their access to the identity provider.
2. The following features will be disabled when your company uses SSO in Precoro:- password setup and reset.
- email editing.
How to Invite New Users to Precoro if the SSO is Enabled:
- You can still invite users to your Precoro company account from the User Management tab. But first, this user must be added to your user list in PingOne.
- A new user will be redirected to the Company Login page from the invitation email.
Frequently Asked Questions