
TABLE OF CONTENTS
- Custom Sender Address Overview
- How to Add a Custom Sender Domain
- How to Set a Custom Sender Email Address
- Troubleshooting
- Related Articles
Custom Sender Address Overview
By default, Precoro sends supplier-facing emails from no-reply@precoro.com. With domain verification, you can send these emails from your own company's domain instead, so suppliers see your business's address in their inbox.
📋 Before you start, make sure you have:
- the Automation subscription plan;
If your company uses the Core plan, you can request the Custom Sender add-on by reaching out to your Customer Success Manager, or you can upgrade directly to the Automation plan. - the Configuration role in Precoro;
- access to your domain's DNS settings, or support from whoever manages them (e.g., your IT team);
How to Add a Custom Sender Domain
1. Start domain verification.
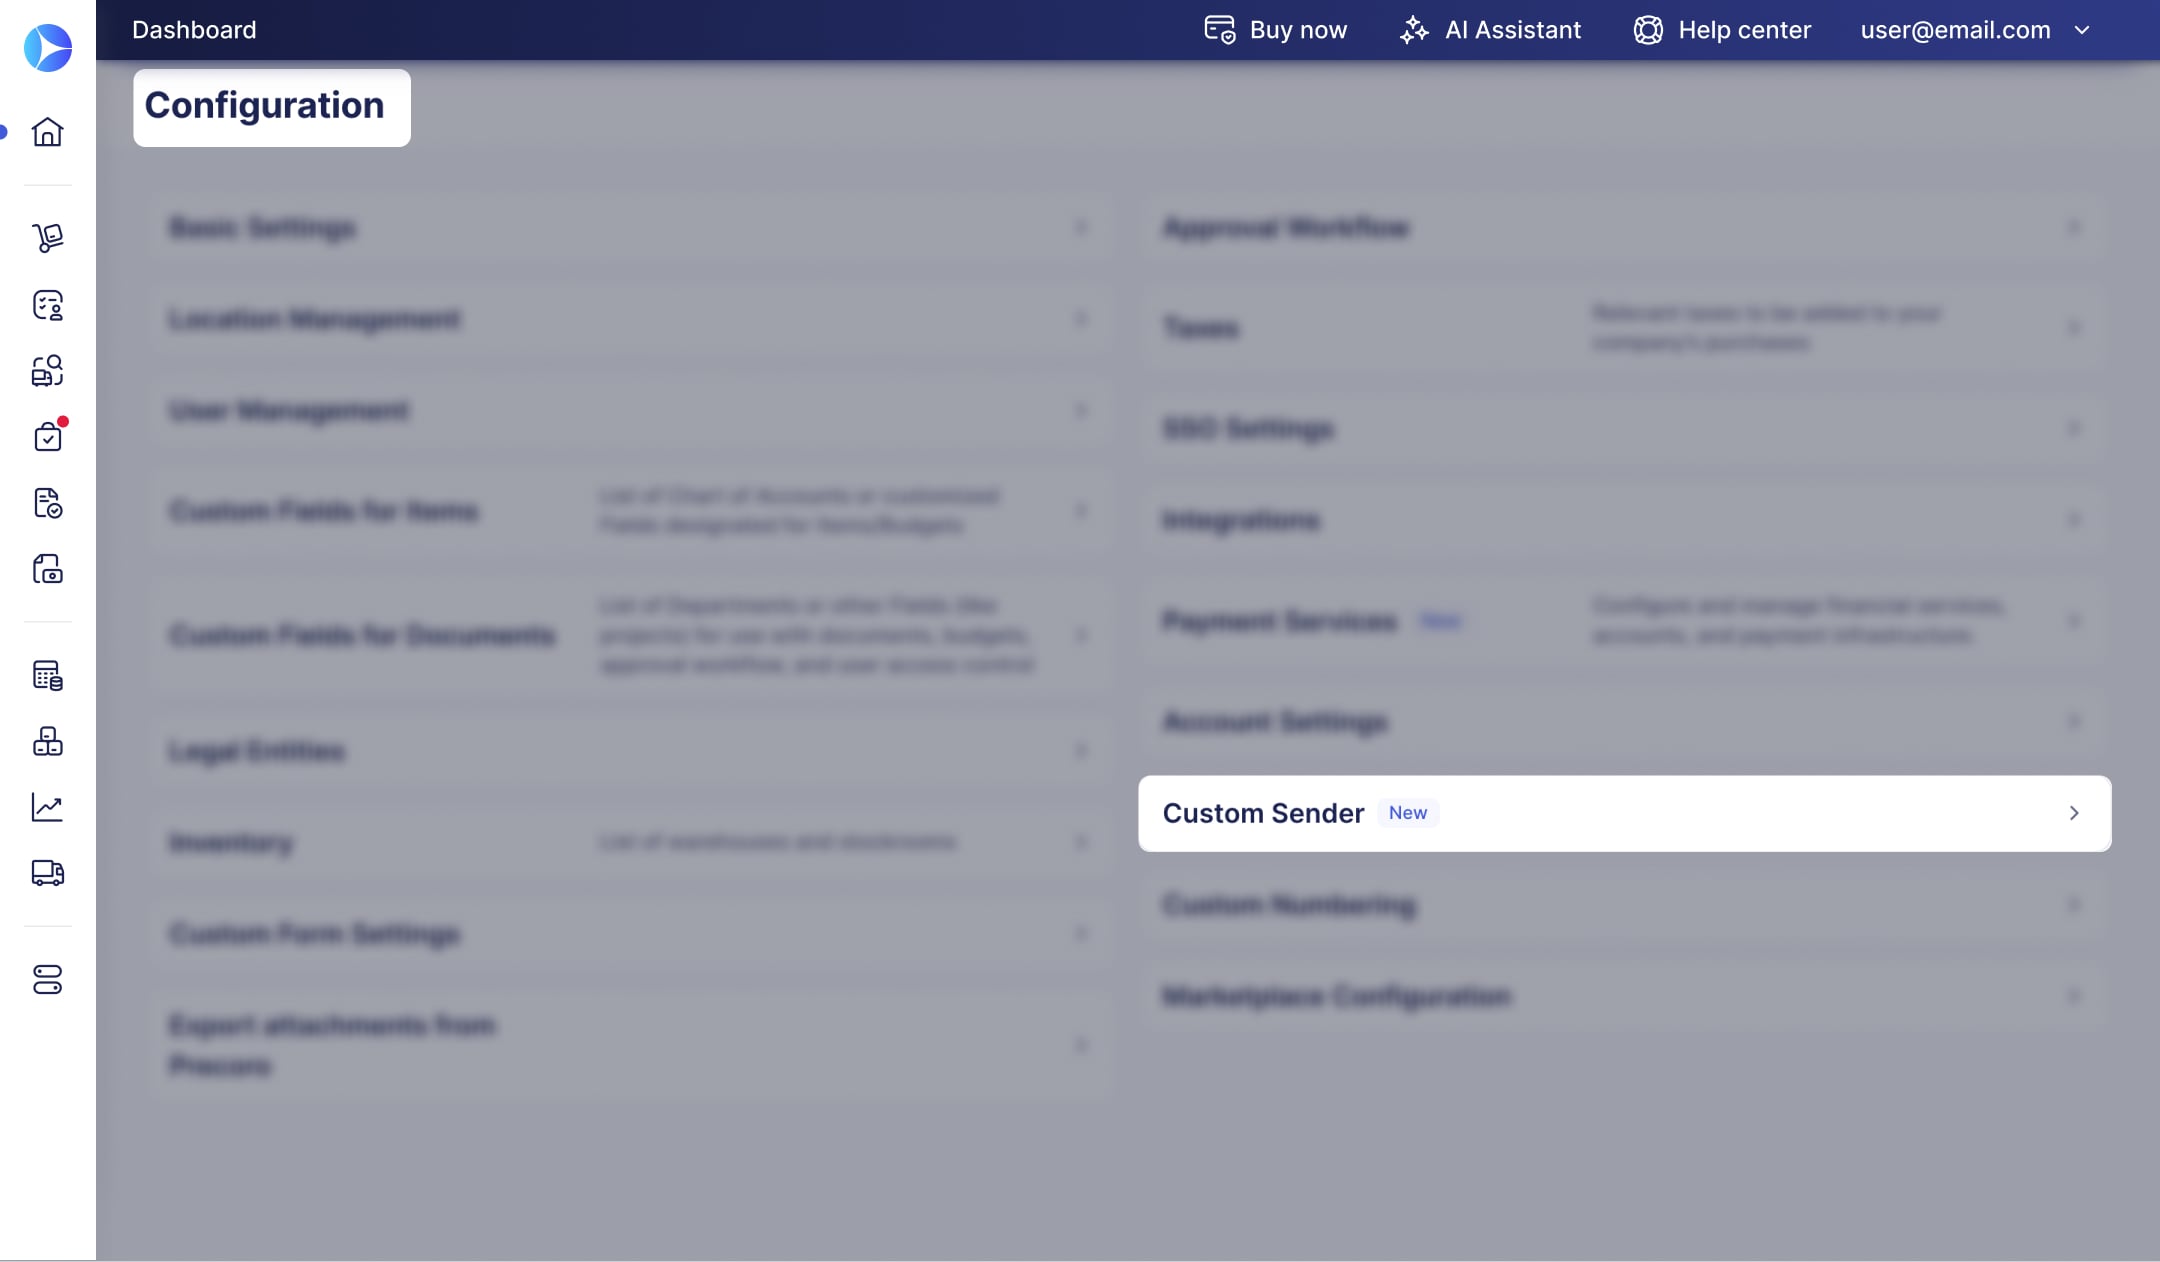
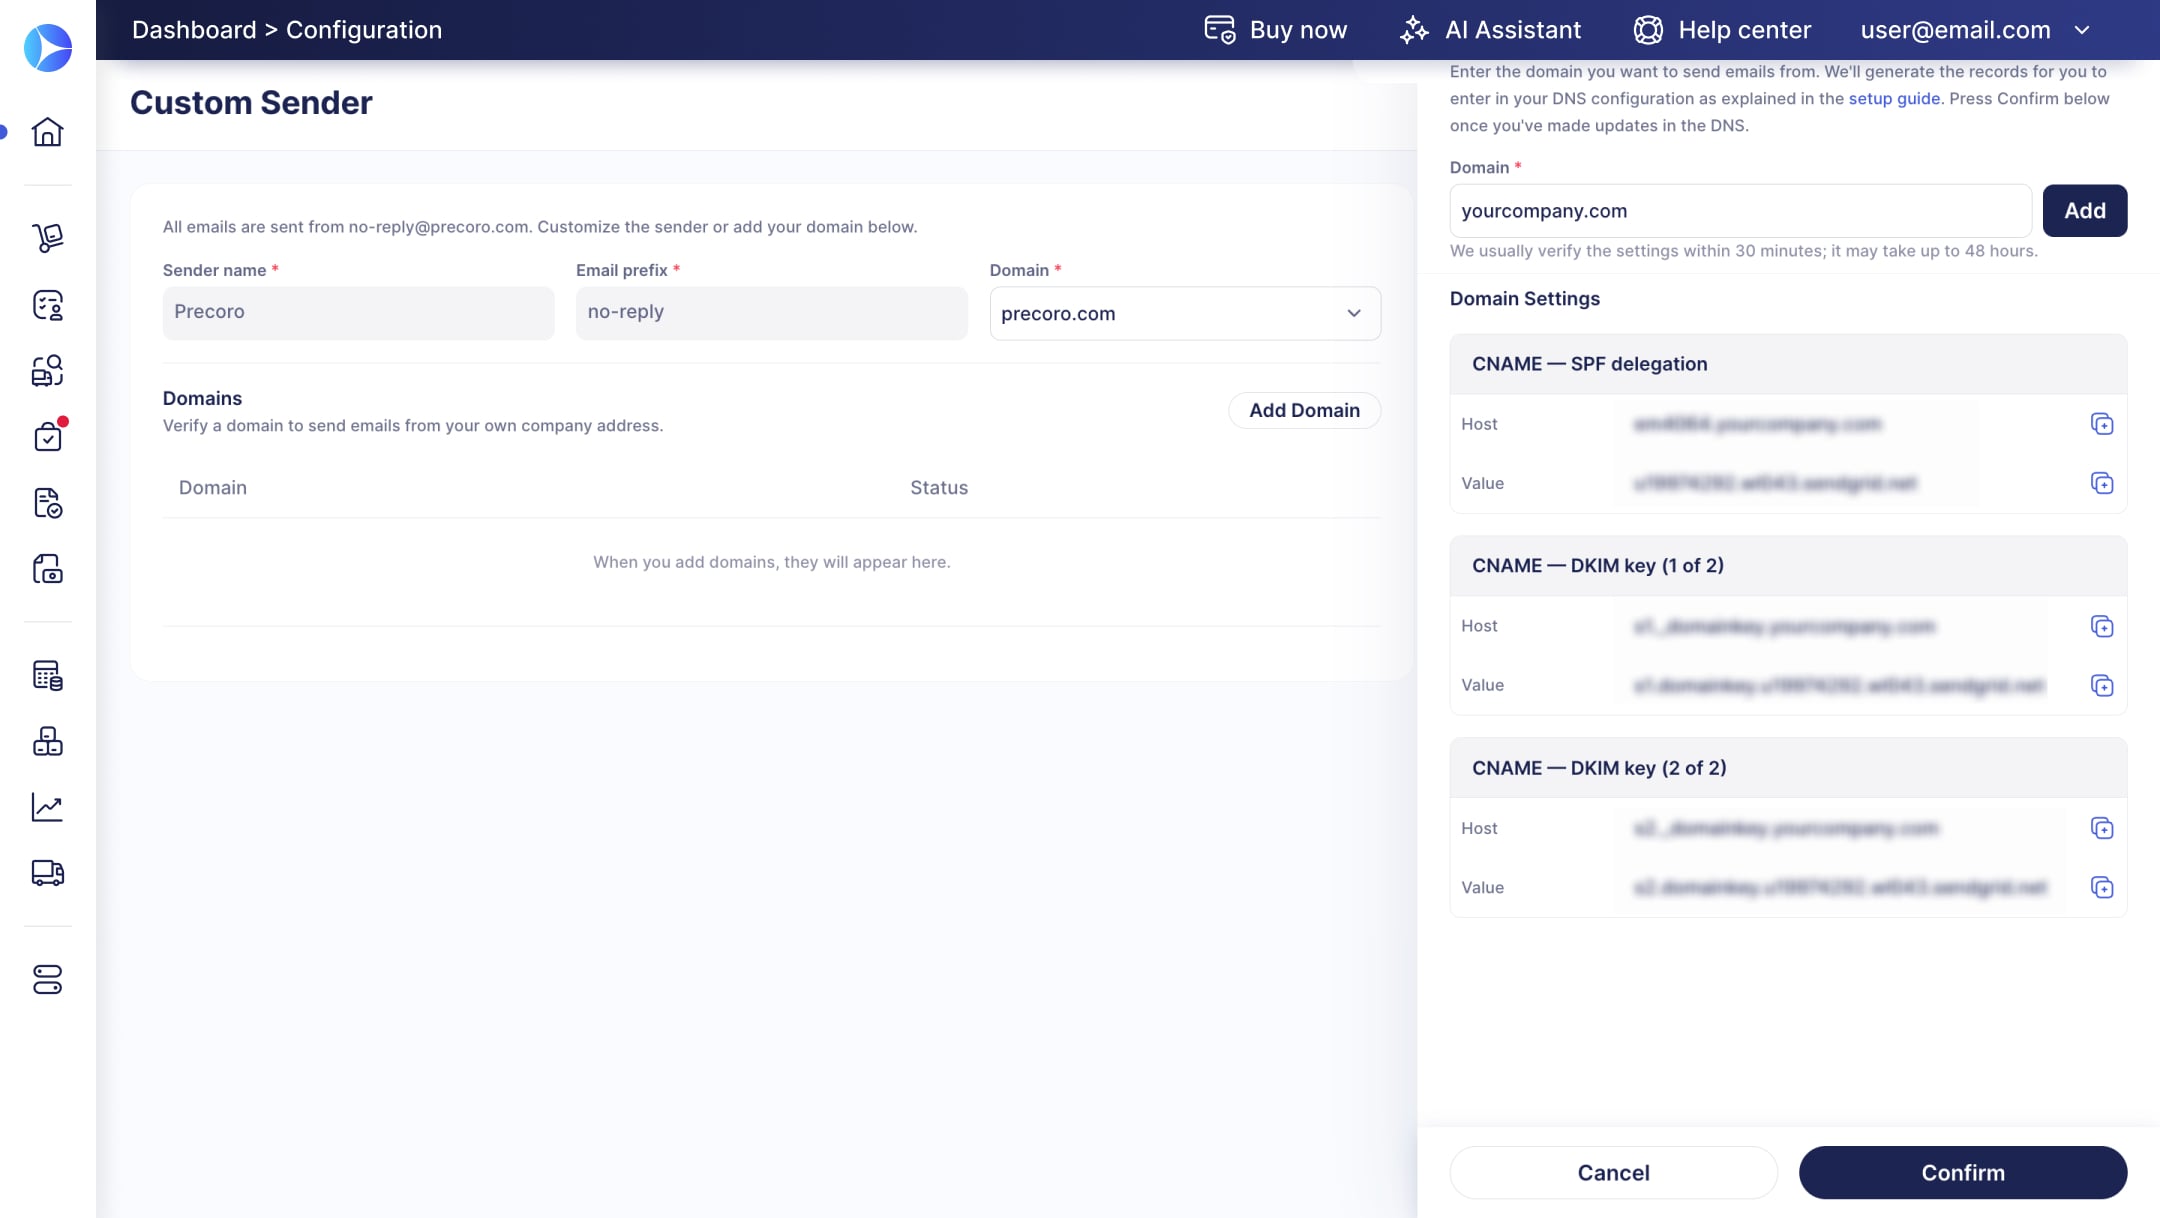
Go to Configuration → Custom Sender and click Add Domain. Enter the domain you want to use (for example, yourcompany.com).
2. Copy the generated DNS records.
Precoro generates an SPF and a DKIM record for your domain. Click Copy next to each one.
3. Add the records to your DNS settings.
Open your domain's DNS admin panel and add both records exactly as generated in Precoro.
💡 Please note:
- DNS changes can take anywhere from a few hours up to 48 hours to propagate, depending on your provider.
- Some DNS providers require a trailing period (.) at the end of a record to mark it as fully qualified. If your entries are rejected or verification doesn't succeed, try adding a period to the end of the value.
4. Wait for verification.
Precoro checks the domain's verification status automatically. When it succeeds, every user with the Configuration role in your company receives a confirmation email.
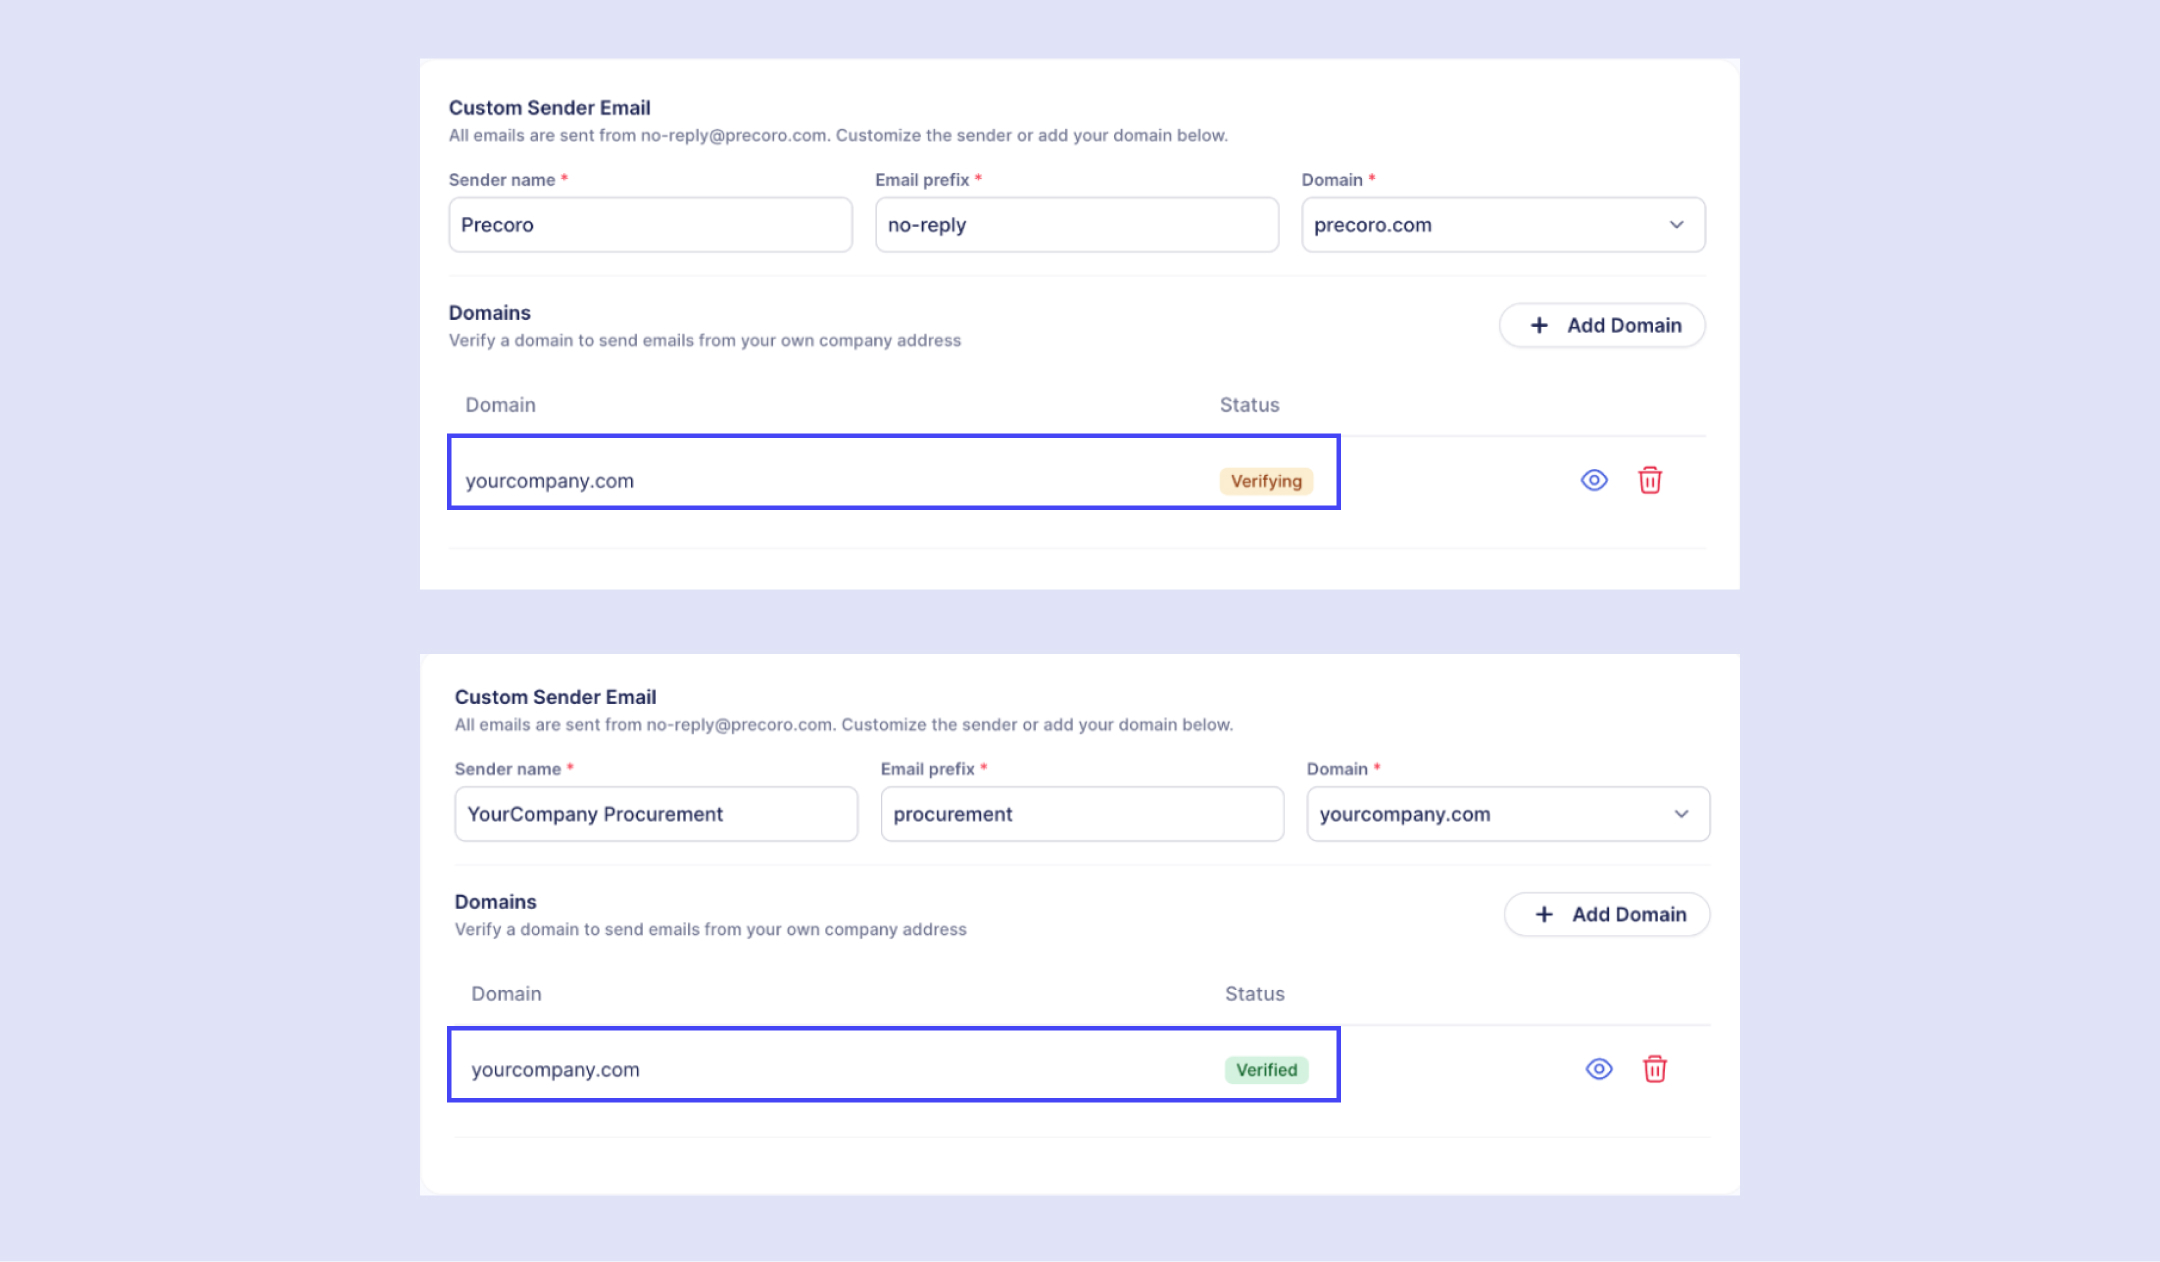
Once your domain shows Verified, you can set a custom sender email address for supplier communications.
💡 Please note: You can add multiple domains to choose from. They will be listed in the Domains section.
How to Set a Custom Sender Email Address
5. Configure your sender address.
Go back to Configuration → Custom Sender. In the Custom Sender Email section, configure your sender address:
- Email prefix—the part of the address before the @ symbol (for example, procurement in the email procurement@yourcompany.com).
- Sender Name—the name suppliers see in their inbox (for example, "Acme Corp Procurement").
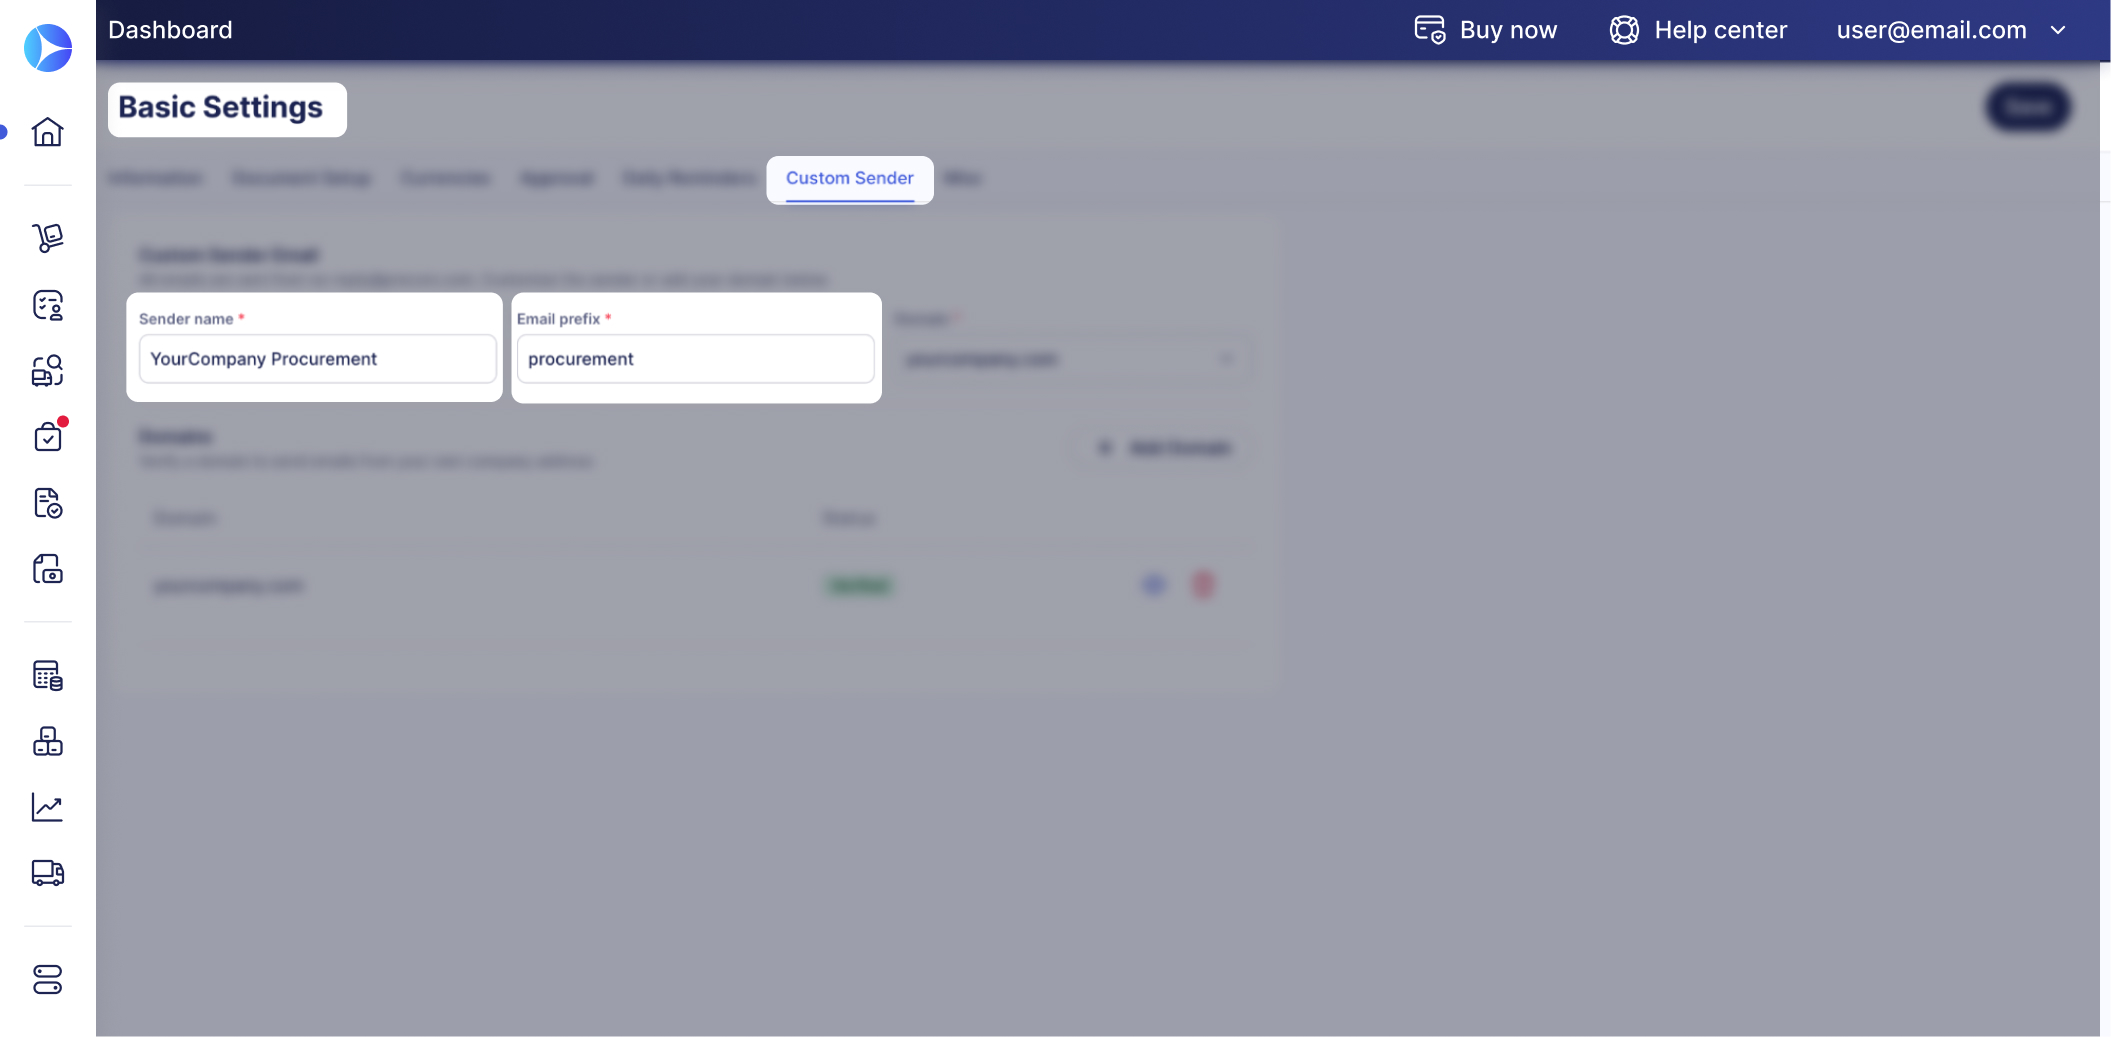
Precoro uses this address instead of no-reply@precoro.com for supplier emails sent from this company.
Additional information:
- A domain verified for one company in your account can be reused by any other company in the same account—you don't need to verify it twice.
- Precoro checks domain verification once a day. If a domain loses its verified status (for example, if a DNS record is removed), Precoro automatically falls back to no-reply@precoro.com for that company until the domain is verified again.
- Only SPF and DKIM records are supported at this time.
Troubleshooting
Related Articles