TABLE OF CONTENTS
- When to Use Item Groups
- How to Create and Assign Item Groups
- How to Add All Items of One Category to a Group
When to Use Item Groups
Item Groups can help you categorize and manage your company items more efficiently.
To enable the Product Groups feature, contact our Support Team via in-app chat or at support@precoro.com.
An example of using Item Groups:
You have items that are available to order only from the Head Office, and you have products that are available for other locations. In this case, you should use Item Groups: Head Office and General. The Head Office Group will be available only for an office manager or admin from the Head Office, and the General Group will be open to all users.
How to Create and Assign Item Groups
To start using the Item Groups, follow these simple steps below:
1. Open the Item Groups (Item Groups for precoro.us) management page in the Item Management section.
2. Click on the Add Group button and enter the necessary information.
3. Once done, click on the green checkmark in the Edit field.
💡 Please note: Ensure you have an active checkmark in the Enabled field. If you uncheck it, the Group will be deactivated, and you will not be able to use it when assigning items.

4. Assign items to a specific product group on the Item Management page. You will only see the available Groups after clicking on the Show Groups button.
5. Set up the available Groups for users on the User Management page.
How to Add All Items of One Category to a Group
If you use the Category custom item field to categorize your items, you can add items from one category to a group in bulk. Here's how to do it:
-
Create the necessary group.
-
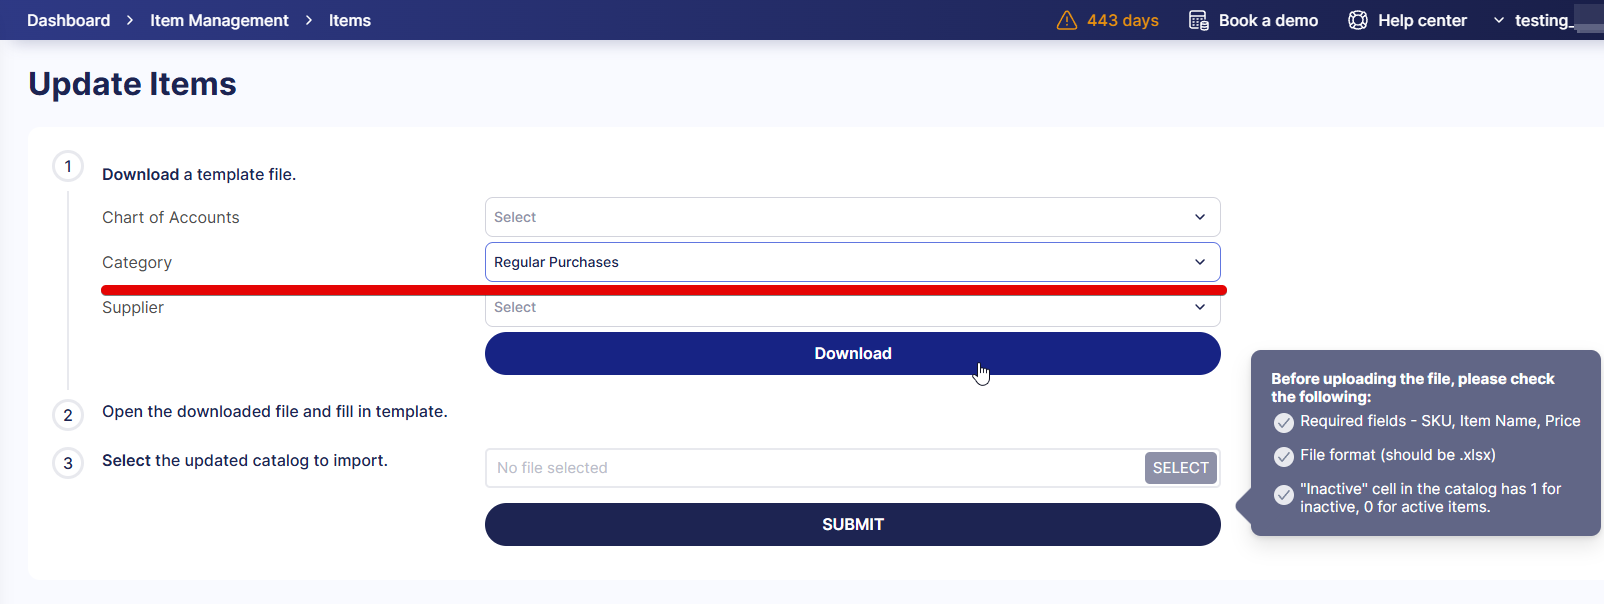
Navigate to the Item Management page and click Update Items.
-
On the Update Items page, select the category value (the field name is established on the company level), then download the template. It will contain all items with the selected category.
-
Open the file and enter the necessary group (Item Groups column) for all items with the tools available in your software. Follow the directions in the template to fill it out correctly, and don't forget to delete the rows with the tips.
-
Upload the file to Precoro on the Update Items page.