TABLE OF CONTENTS
- How to Create an Expense
- How to Use Mass Payment for an Expense
- How to Edit and Revise an Expense
- How to Track an Expense
- How to Check the Revision History
- How to Cancel an Expense
- How to Repeat an Expense
- FAQs
To begin, you should turn on the Expense module and make sure all Users have the necessary Roles. You can find more information on these settings in the How to Set Up the Expenses Module article.
How to Create an Expense
In Precoro, you can fill out an expense manually or scan a document to automate the process as explained here.
To manually create an Expense document, please follow these steps:
1. Navigate to the Expenses module in the left-side menu and press Create.
2. Fill out all the required fields and click Create.
3. Add items to the document. Learn more about adding items to documents in this article.
You can Update items in Expenses with Draft and In Revision statuses.💡 Please note: You can also use the functionality to add items directly through Expense without having to transfer them to Catalog manually. Find a guide on how to set up and use this function here.
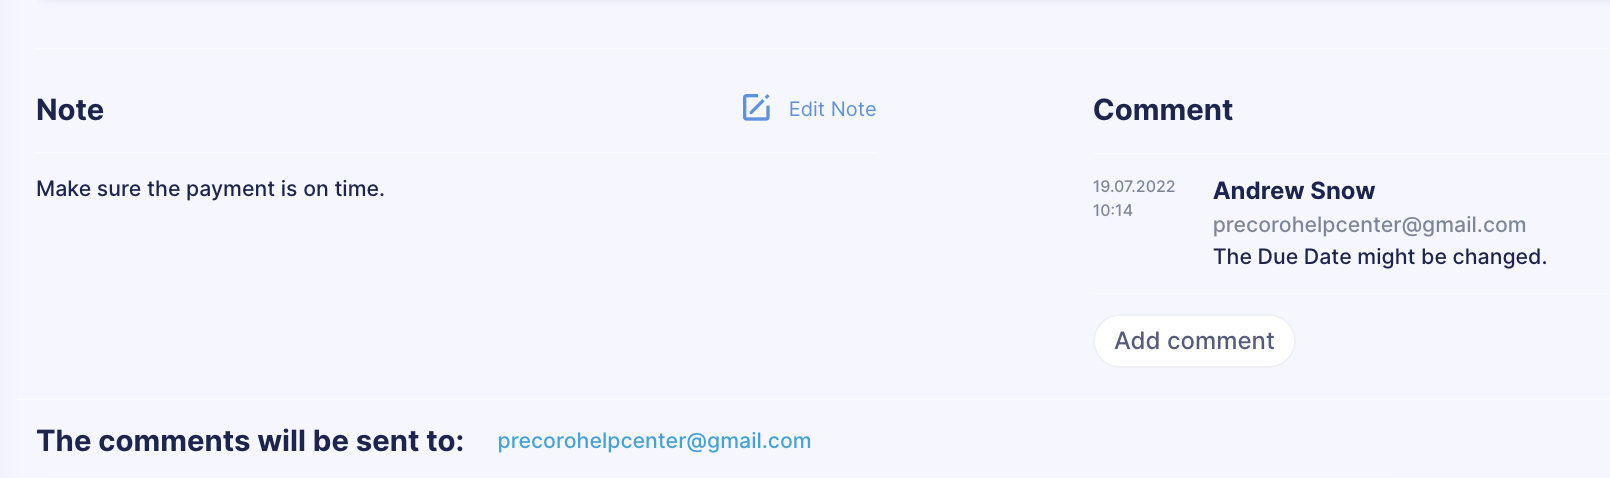
4. Add supplementary information like the following:
- Attachments to prove all spent costs
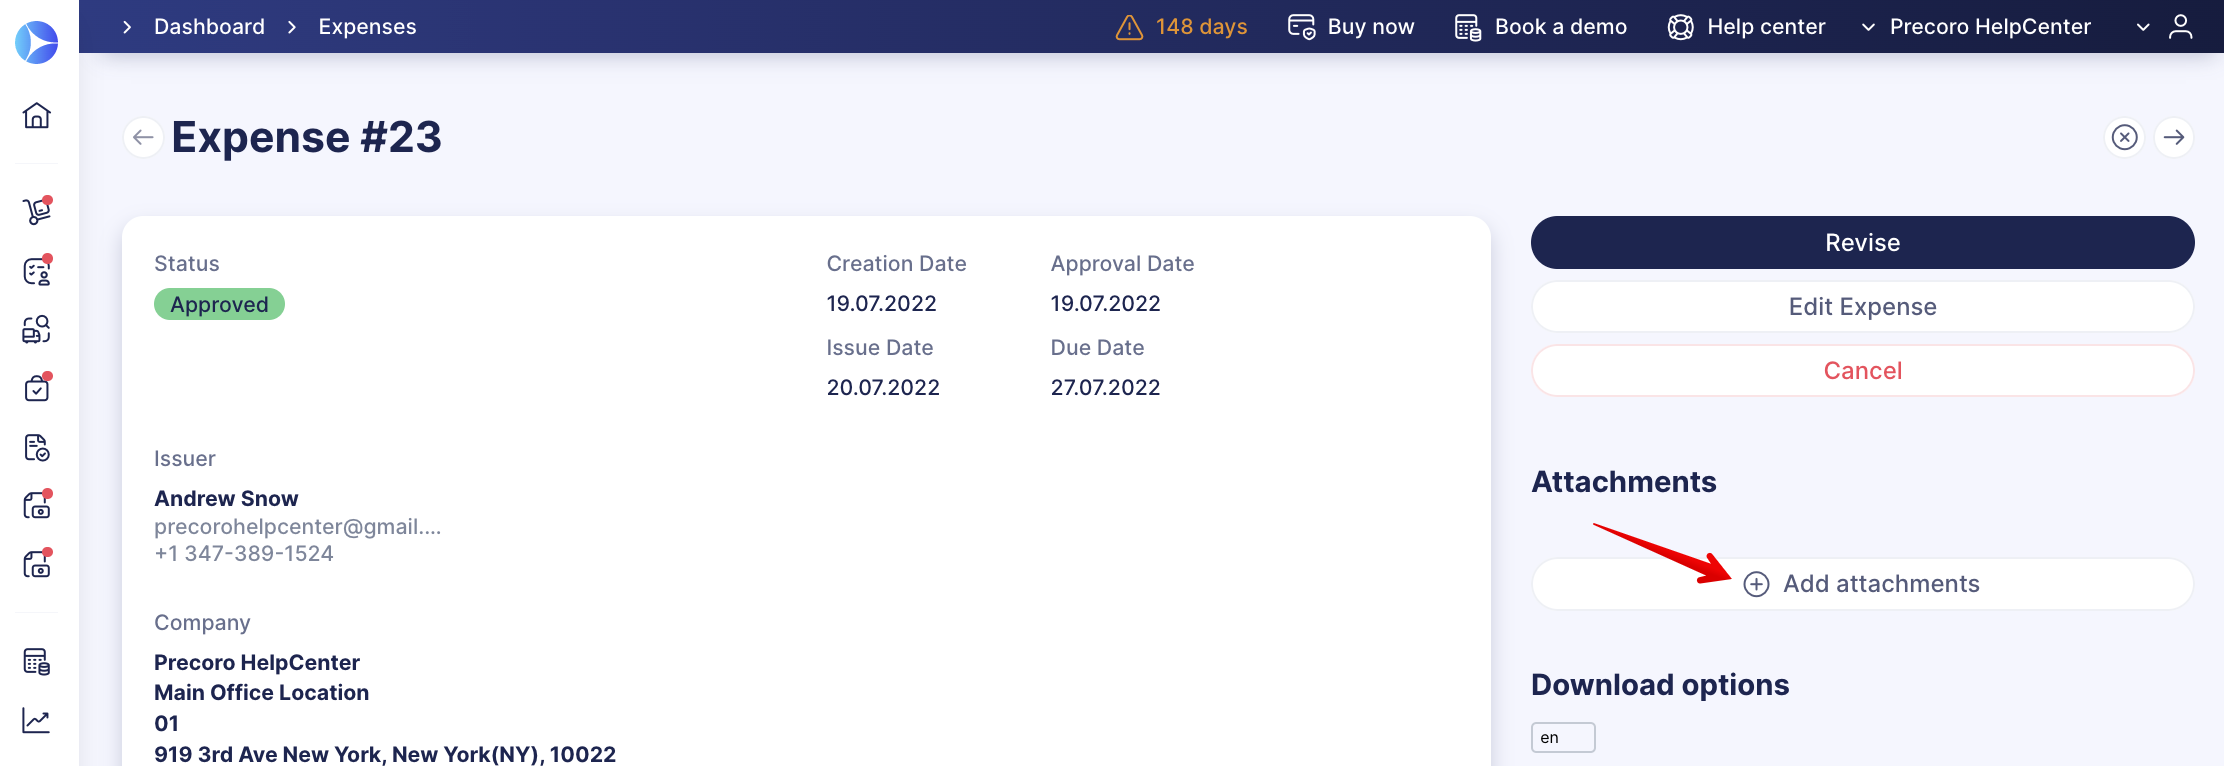
- Notes and Comments.
5. If your process requires approval, the Expense will be sent to the authorized approvers, and the Expense status will be changed to Pending.
Find out more about how to set up the expense approval process in the How to Approve/Reject Expenses article.
Scanning Expenses to Reduce Manual Work
In addition to manual creation, you have the option to upload an expense file, and the document will be automatically filled out with the recognized data! You can scan expenses via the mobile app or instantly create them in the web version by following these steps:
- Open the Expenses module.
- There are two ways to upload an image or a PDF file that contains expense information:
- Press Scan Expense in the top right corner, then select the file.
- Locate the file in your file manager, then drag it onto the page.
- Precoro will recognize the data, automatically create an expense document with the Draft status.
For larger expenses, data recognition may take time, but you can continue your work while the files are being processed in the background. The drafts you create are accessible on the Expenses page.
How to Use Mass Payment for an Expense
There is no need to create separate payments for different suppliers for each Expense. Instead, select all the necessary documents and pay for them with one click:
From the Expense Management page:
- Multi-select the necessary documents by checking the box on the left.
- Press the green Add Payments to Selected button.
💡 Please note: Only Expenses with the To be paid and Overdue categories are available for multi-select and mass payment.
From the Create Payment page:

2. Multi-select the necessary documents by checking the box on the left.
3. Press the Add Payments to Selected button.
You can also manage expense payments on the go using the Precoro mobile app. Learn how to mark expenses as Paid using the app in this article.
How to Edit and Revise an Expense
You can edit the Expense document fields with any status without sending them for Revision. To do this, click the Edit button to the right and enter the necessary changes.
Before editing any fields, please read this article: Field logic behavior after Edit and Revise actions in documents.
If you wish to send the document for Revision, click on the corresponding button to the right and add changes to the document and item fields.
💡 Please note: The document will change status to In Revision, and you will need to go through the Confirmation process again.

How to Track an Expense
To track the needed Expense documents you can use two sets of Filters for setting the specific parameters to receive the necessary results.
💡 Please note: In the Expense Filters, you can also set filtering parameters by Custom Fields for Items and Documents. Learn how to do that here.
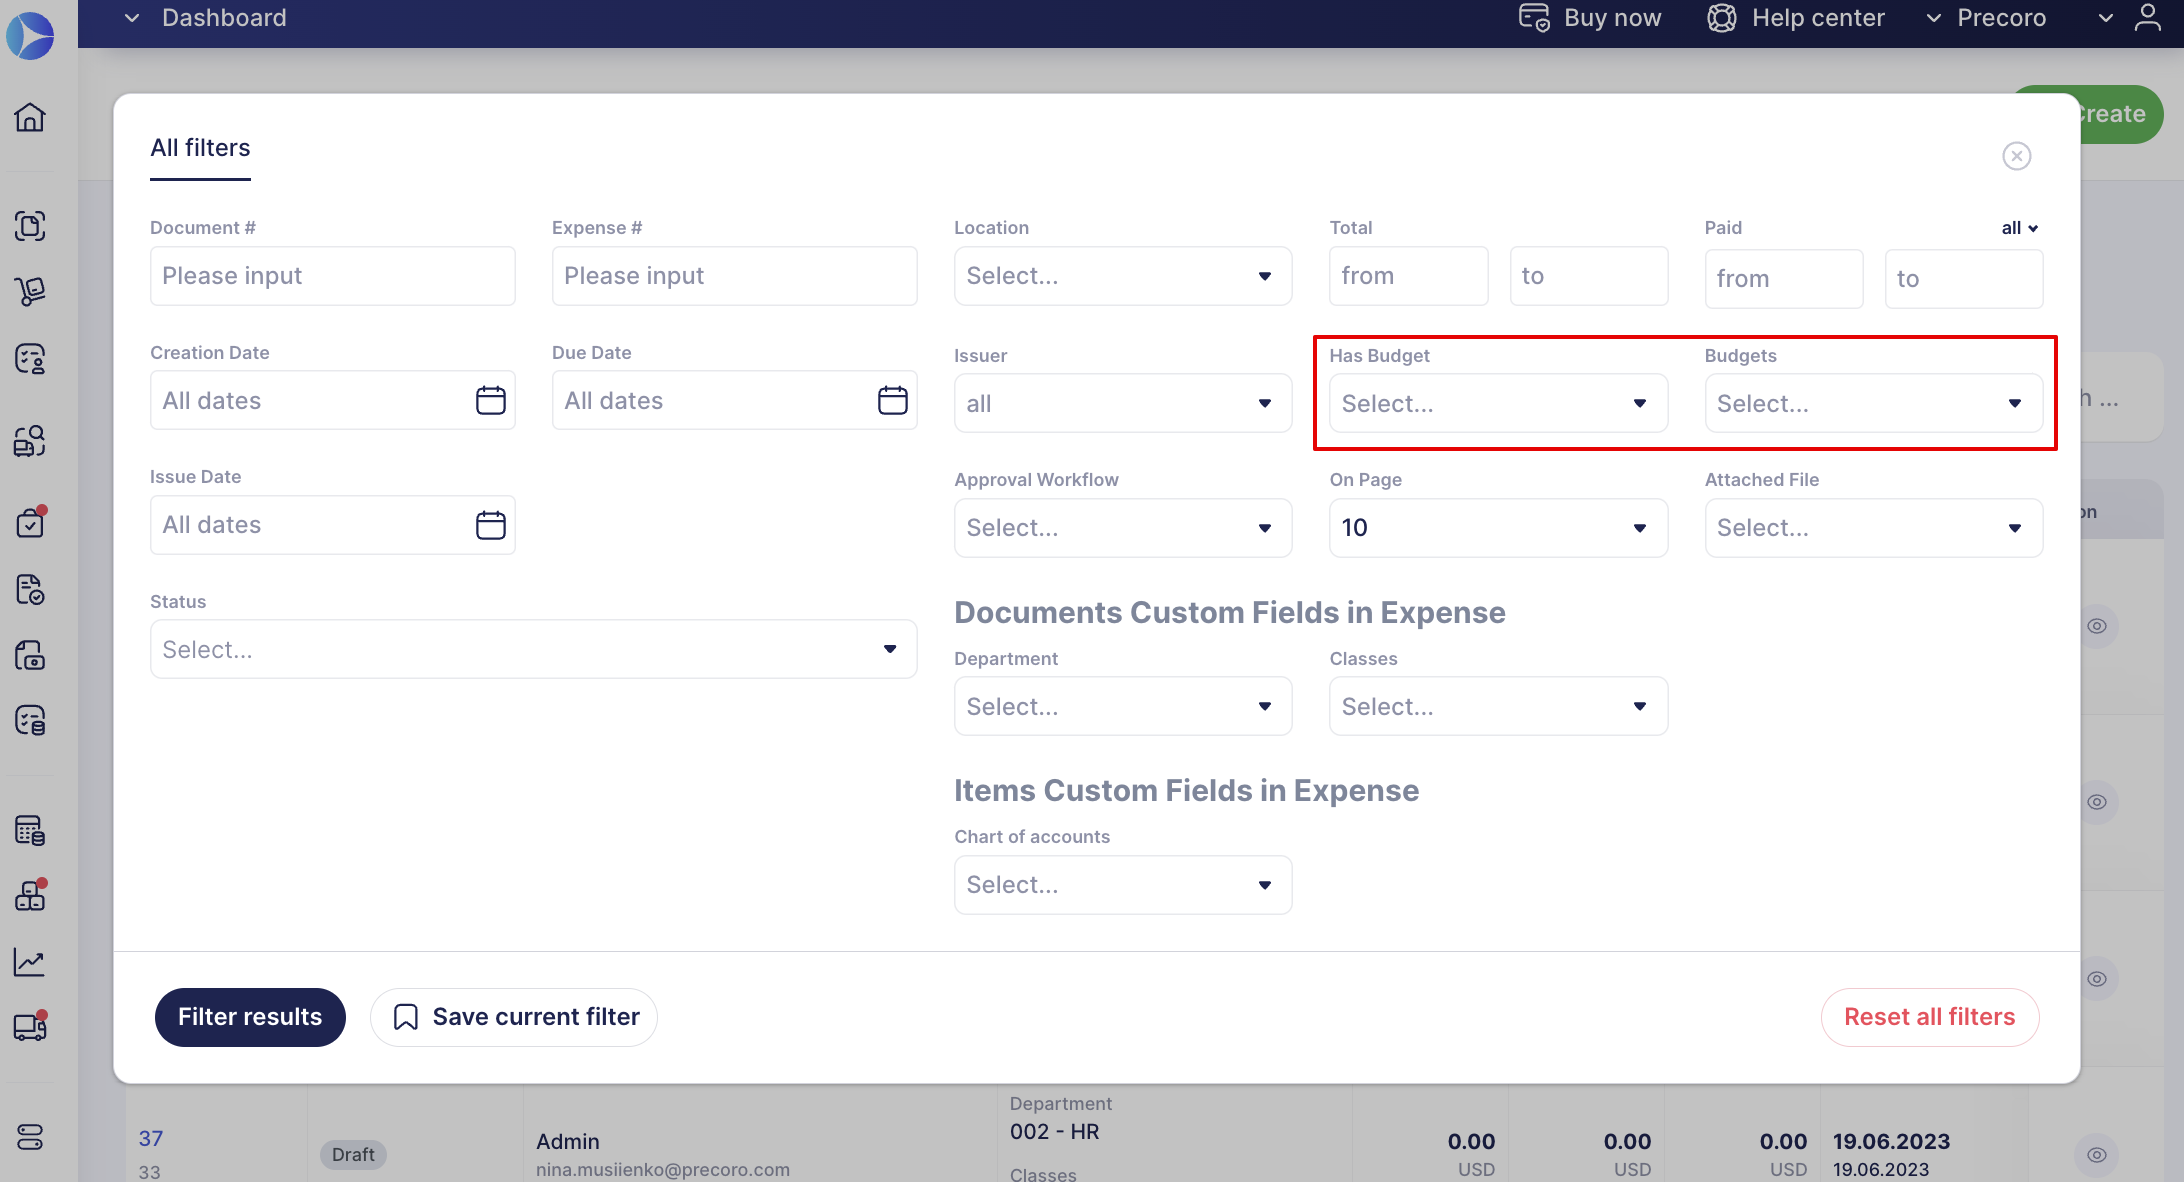
Using the advanced set of filters by pressing the Filters button in the left corner of the filtering panel, you can filter through and obtain the required information:
Use Budget Filters
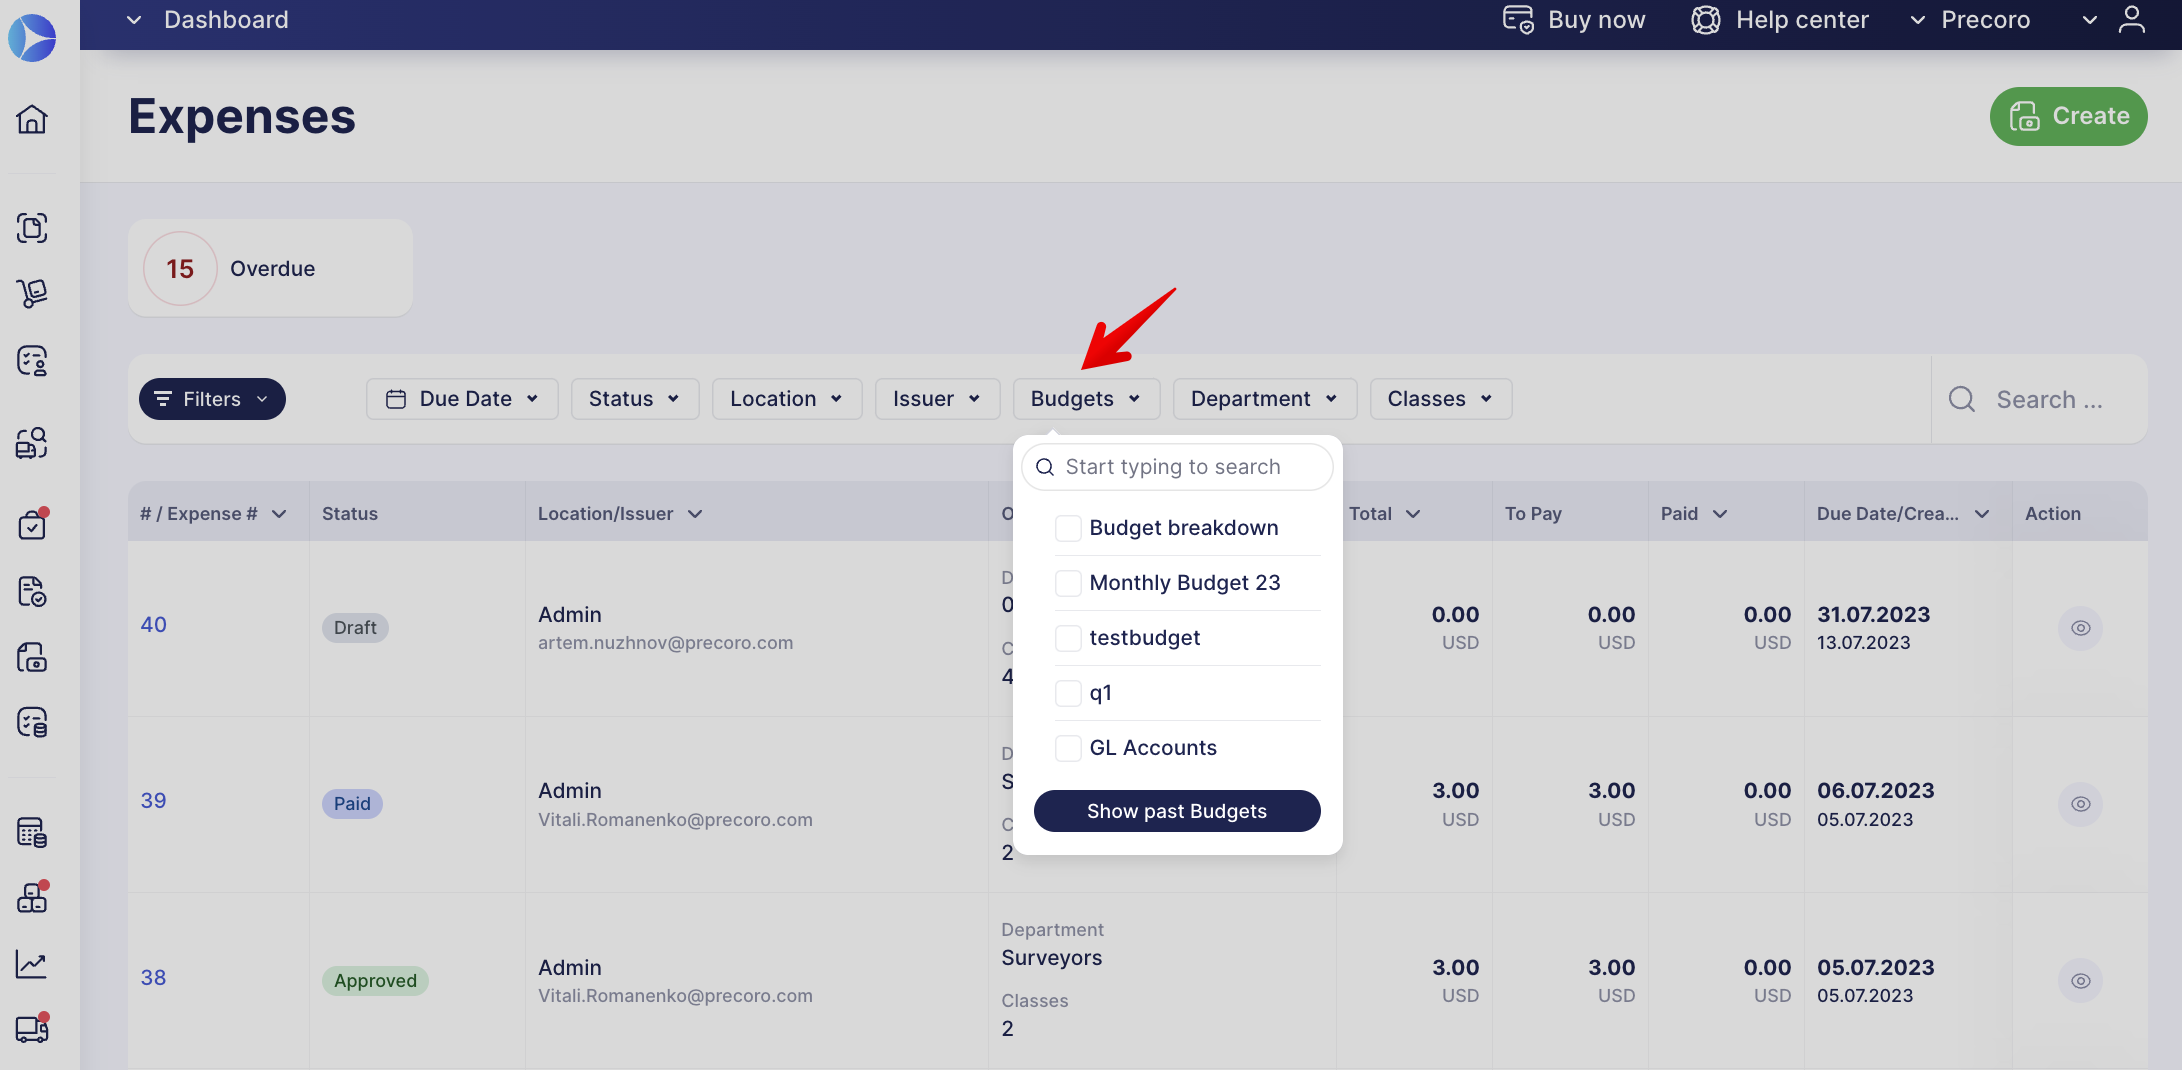
Use Budget filters in the fast and advanced set of filters for the Expense document type.
- View in the advanced filters:
- View in the fast set of filters:
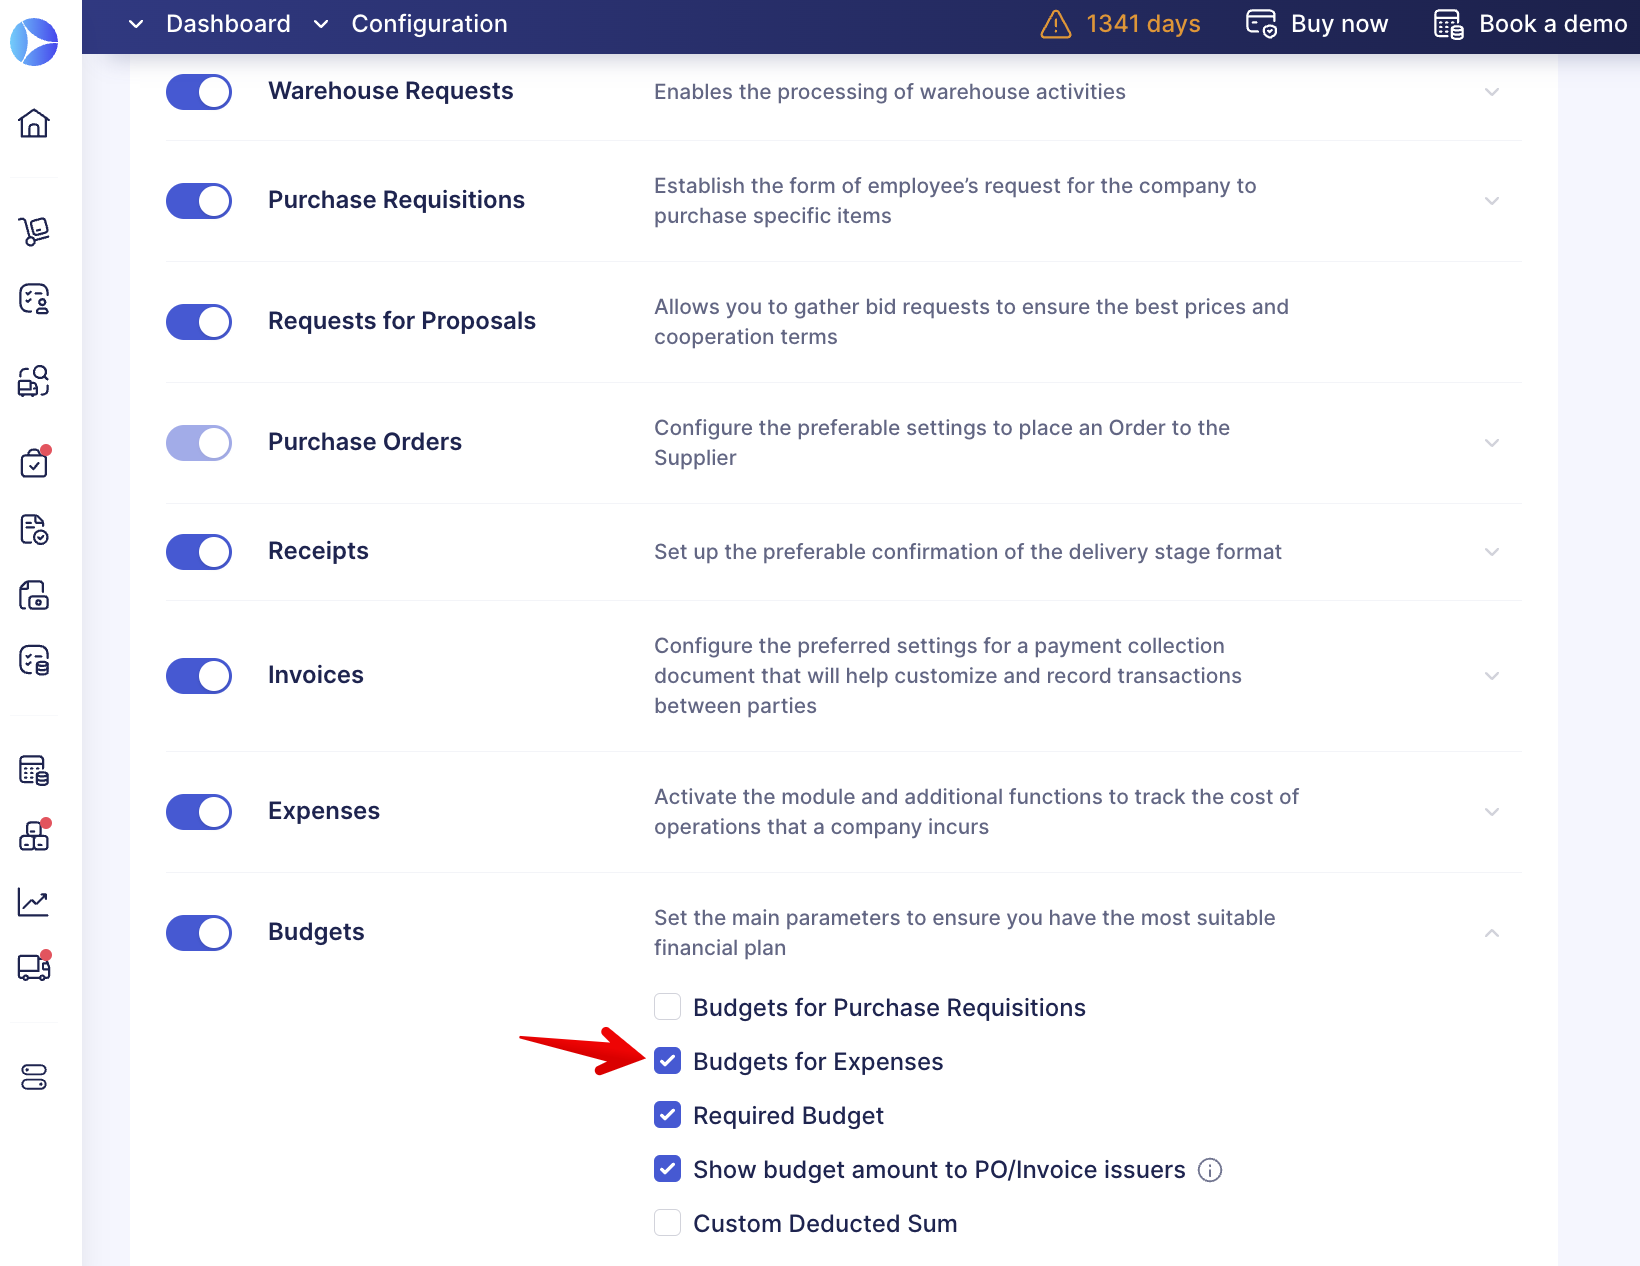
💡 Please note: The filters are only shown if Budgets for Expenses are activated for the Budgets module in Basic Settings.
How to Check the Revision History
You can now select and compare changes made in the Expense documents using the Revision History button.
This function is only available to users with access to the Expenses module.
Find additional information on how to use the Revision History here.
How to Cancel an Expense
Click the Cancel button on the right and provide the reason for cancelation.
How to Repeat an Expense
Use the Repeat function to save time creating new Expenses by copying the existing document.
To utilize this function, click the Repeat button in the already created Expense document, and its data will be copied into the new document.
💡 Please note: The Due Date and Expense # fields will not be copied into the new document.