TABLE OF CONTENTS
- How to Edit Multiple Items at Once
- Can’t Find a Feature? Suggest It in Our Roadmap
- Frequently Asked Questions
What is a Purchase Order?
A purchase order (PO) is a document issued by a buyer to a supplier that specifies the details of a purchase. It includes product descriptions, quantities, agreed prices, delivery schedules, payment terms, and other conditions.
Once the supplier approves it, the PO becomes a legally binding contract. This protects both the buyer and the seller in case either party fails to meet their obligations.
For tips on managing purchase orders, please visit our blog post.
How to Create a Purchase Order in Precoro
Step 1: Create a New Document
-
Open the Purchase Order module from the left menu.
-
Click "Create" on the right side and select the form.
-
Enter details like delivery date, location, budget, and any custom fields your company uses.
- You can also enable Split Costs functionality here.
-
Click "Create" to finalize.
💡 Please note: When adding a supplier, you can either select an existing supplier from the drop-down list or create a new one by clicking "Add new Supplier."
Step 2: Add Items to the Document
After creating your PO document, add items using these methods in Precoro:
- Click the Catalog button to select items from the existing catalog.
- Press the Add button to enter item details manually.
- Bulk upload or update items using Excel.
- Click Add Shipping to include shipping and tax costs without triggering approval or matching processes.
Learn more about adding items to documents in this article.
💡 Please note: You can add items from your purchase order directly to the Catalog to save time on future data entry. See how to set it up here.
Set Precise Rules for Receiving Items
Precoro allows you to define which items must be received for each purchase order. This helps you track deliveries more accurately and avoid unnecessary receipt steps for items that don’t require them.
The item-level rules are enabled by default. To manage this setting:
Go to Configuration → Basic Settings → Document Setup → Purchase Orders and enable or disable the Item-Level Receiving Rules in Orders option.
When this setting is enabled, a new Can Be Received field appears for each item in the order.
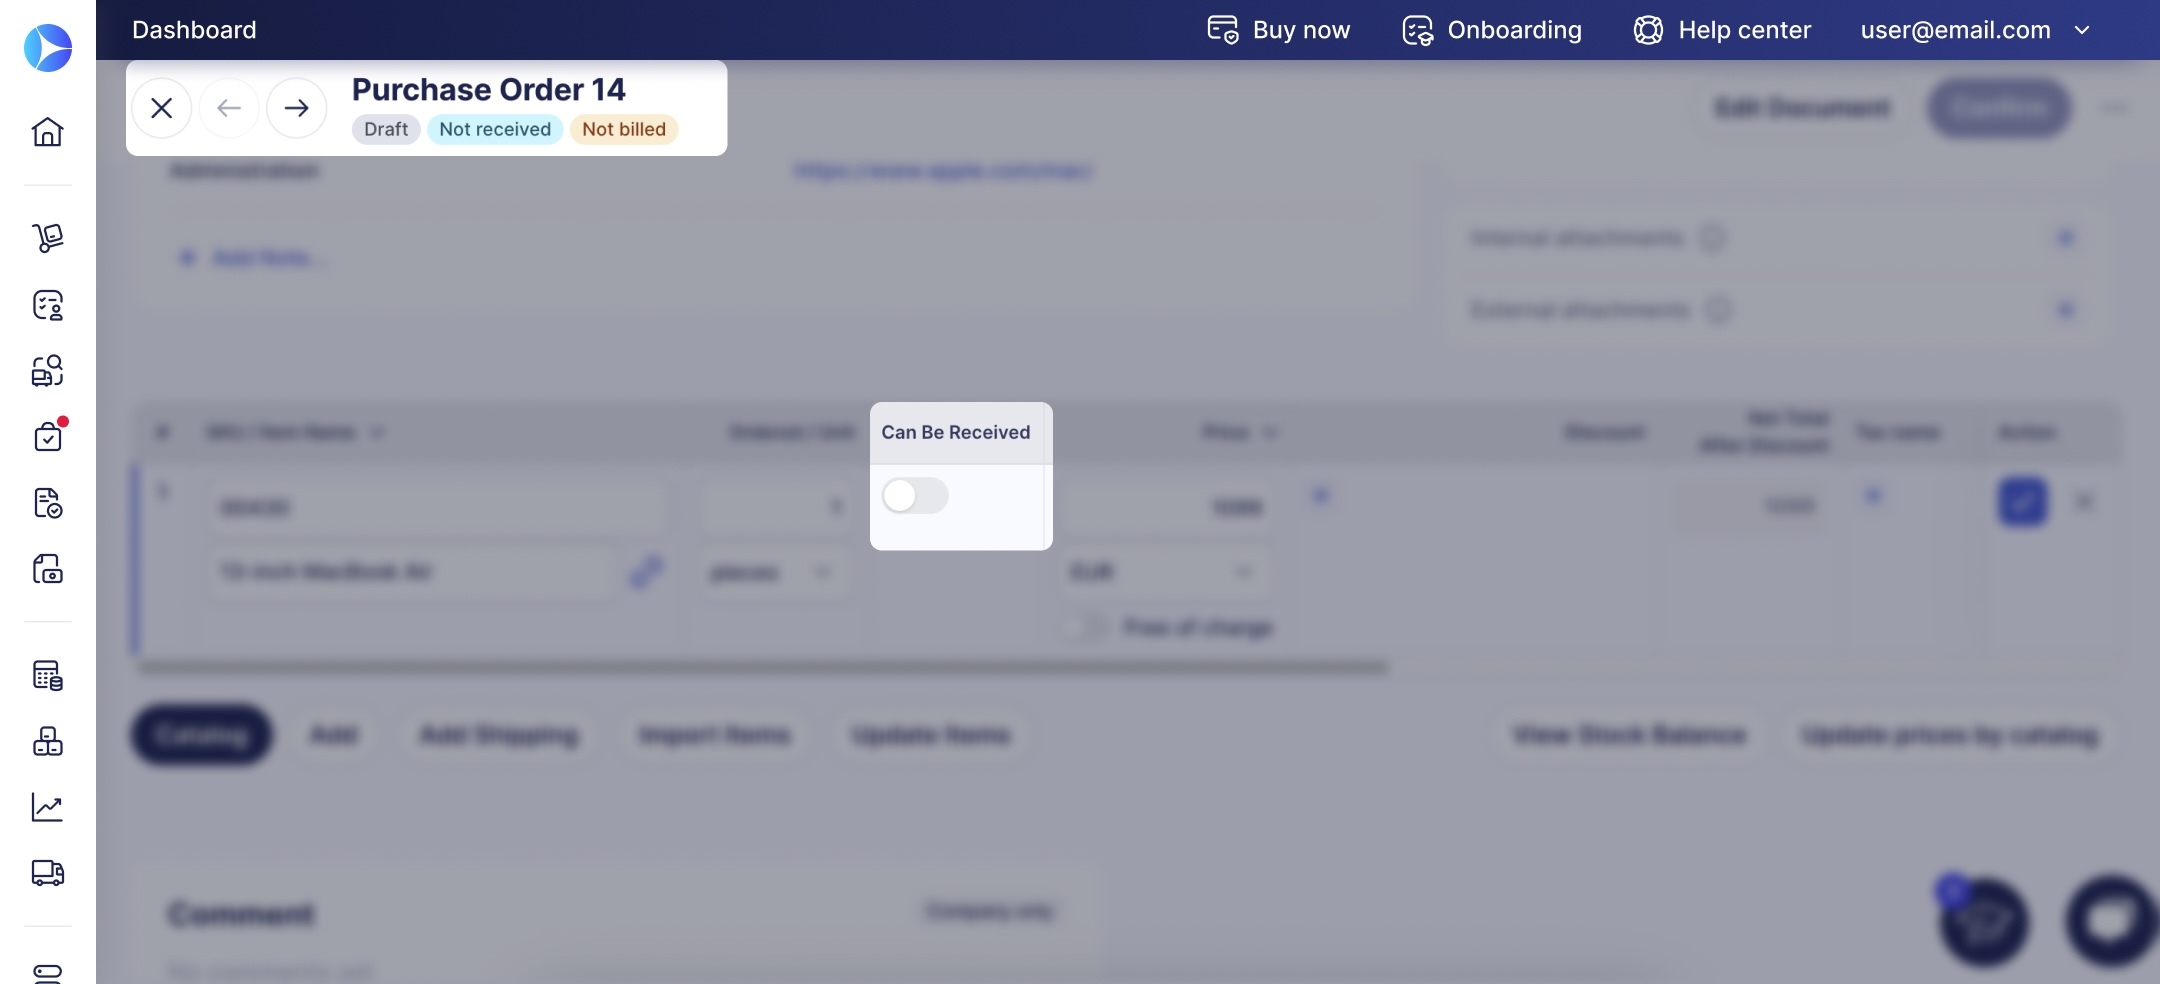
- If the toggle is enabled, the item must be included in receipts.
- If disabled, the item is not required for the order to reach the Received status.
Step 3: Add Notes, Comments, and Attachments
You can also include additional details or specify important information in your purchase order. In Precoro, you can do this in several ways:
- Add Notes: Include delivery times and other critical details. These notes will appear on the printed document and will be visible to the supplier.
- Add Comments: Communicate directly with your team by tagging users with “@” to notify them and keep all discussions within the document.
- Add Attachments: Upload relevant files such as images or documents. Internal attachments are visible only to users and approvers and are included with the PO PDF, but not shown to vendors. External attachments are sent to vendors along with the PO PDF and are also accessible to users.
For more detailed information on managing attachments, visit this guide. To learn more about how to work with notes and comments, please follow this link.
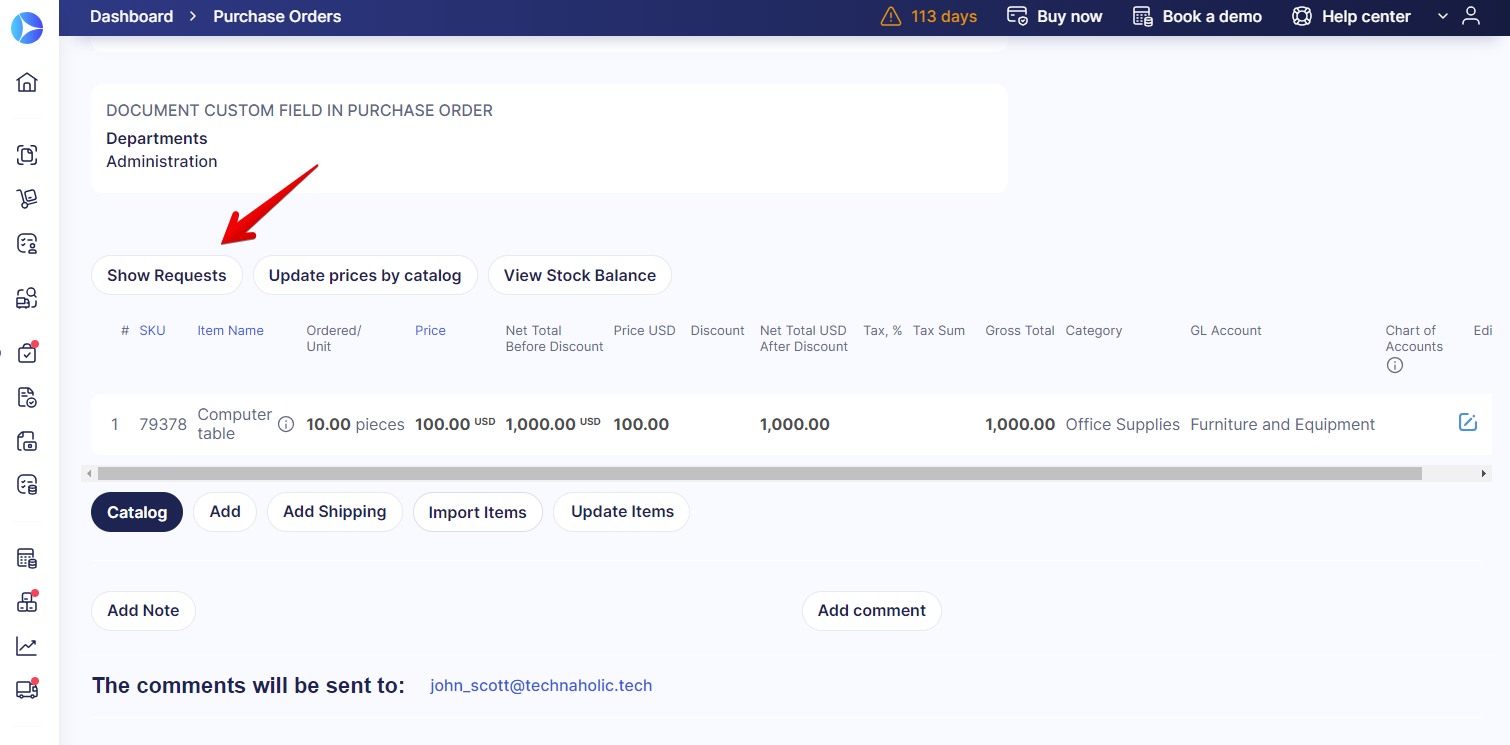
💡 Please note: When creating a PO from purchase requisition or requests for proposal, you can view related attachments by clicking the "Show Requests" button, located above the items line.
Step 4: Confirm the Document
Review the document to ensure all required information is included. When you’re ready, click the Confirm button on the action panel.
💡 Please note: If the Confirm button is inactive, hover over it to see which fields need to be filled out before you can proceed.
If your company uses the Approval Workflow feature, the PO status will change to Pending. Once approved, you can send the PO to the supplier manually by clicking the Send to supplier button on the right panel.
Alternatively, you can enable automatic PO sending to suppliers. Learn more about this feature here.
Step 5: Download the Created PO
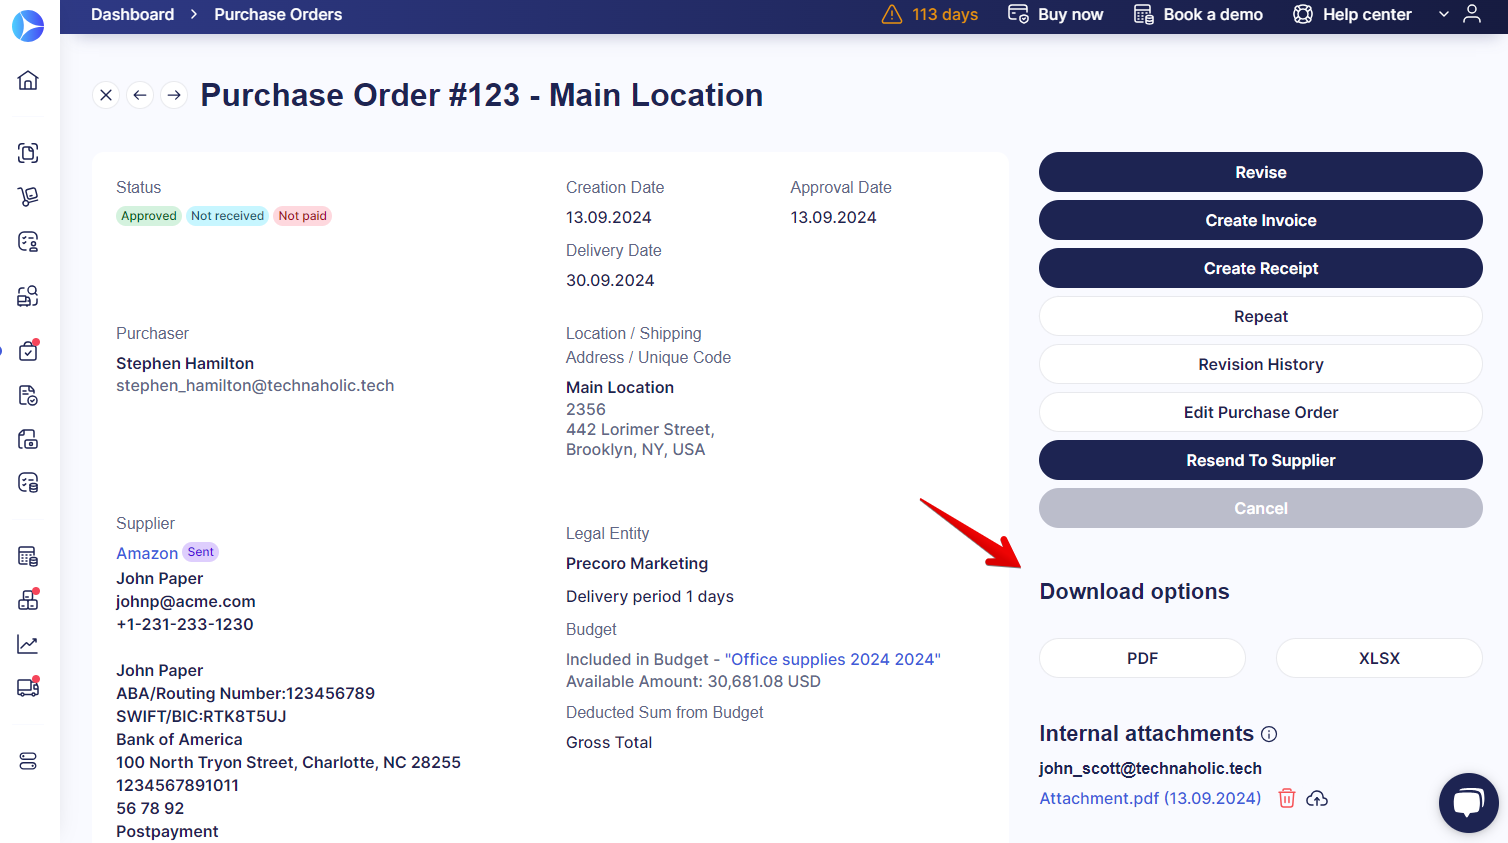
To download the created document, choose from the available options to save it as either a PDF or XLSX file.
If you want to download a PO when it is still pending approval, ask your admin to enable this feature. They can do so by going to Basic Settings → Document Setup → Purchase Orders → Order Printing Configurations. Check the Download while Purchase Order Pending box and click Save.
How to Edit Multiple Items at Once
If you need to enter or select the same option for multiple lines in an item table, you can use mass editing—no more copying values one by one.
Here's how to do it with mass editing:
- Find the item table: Open a document you’d like to change and scroll down.
- Select items: Check the boxes in the leftmost column for the lines you want to edit.
- Open mass edit: Once multiple items are selected, the Edit Items button appears at the bottom of the screen. Click it to open the sidebar.
- Apply changes: Enter the necessary values in the sidebar and click Save. The changes will be applied to all selected items.
Can’t Find a Feature? Suggest It in Our Roadmap
If you know a feature that would make working with Precoro easier, it may be in development or waiting to be requested. To see what's in store, please check out our Open Product Roadmap.
There, you can:
- See what’s planned and in progress
- Upvote ideas that matter to you
- Leave comments to share your use case
- Subscribe to announcements and follow relevant ideas
- Submit new feature requests
To get started:
- Review existing ideas and upvote the ones that you find helpful.
- Log in or sign up using your business email to access full functionality.
- Submit new ideas and share insights with your peers in the comments.
Frequently Asked Questions