TABLE OF CONTENTS
How to Add a New Supplier to the Supplier Portal
To add a new supplier to the Supplier Portal, you should do the following:
1. Open the Supplier Management page.
2. Press the Add Supplier button, enter the required info, and save it.
3. Press the Invitation to the Supplier Portal button.
💡 Please note: If you do not see the Invitation to the Supplier Portal button, contact your CS manager.

4. In the window, click on New Invitation, select the new supplier, enter their email, and press Send.
💡 Please note: If a supplier is added to the Portal, the information they provide in their profile is available to all clients who also use the Supplier Portal.
Therefore, if the supplier you're inviting has already been added to the Portal, you won't have to wait—the invitation status will change to Registered, and the details in the supplier card will update automatically.
If the supplier hasn't been added to the portal before, an invitation email will be sent to them.
5. Once the Supplier receives their invitation, they need to confirm it and register in the Supplier Portal. After that, you will be notified that the Supplier has been registered.
Precoro will send you a notification email regarding the Supplier registration progress, so you will constantly be up-to-date with the latest changes.
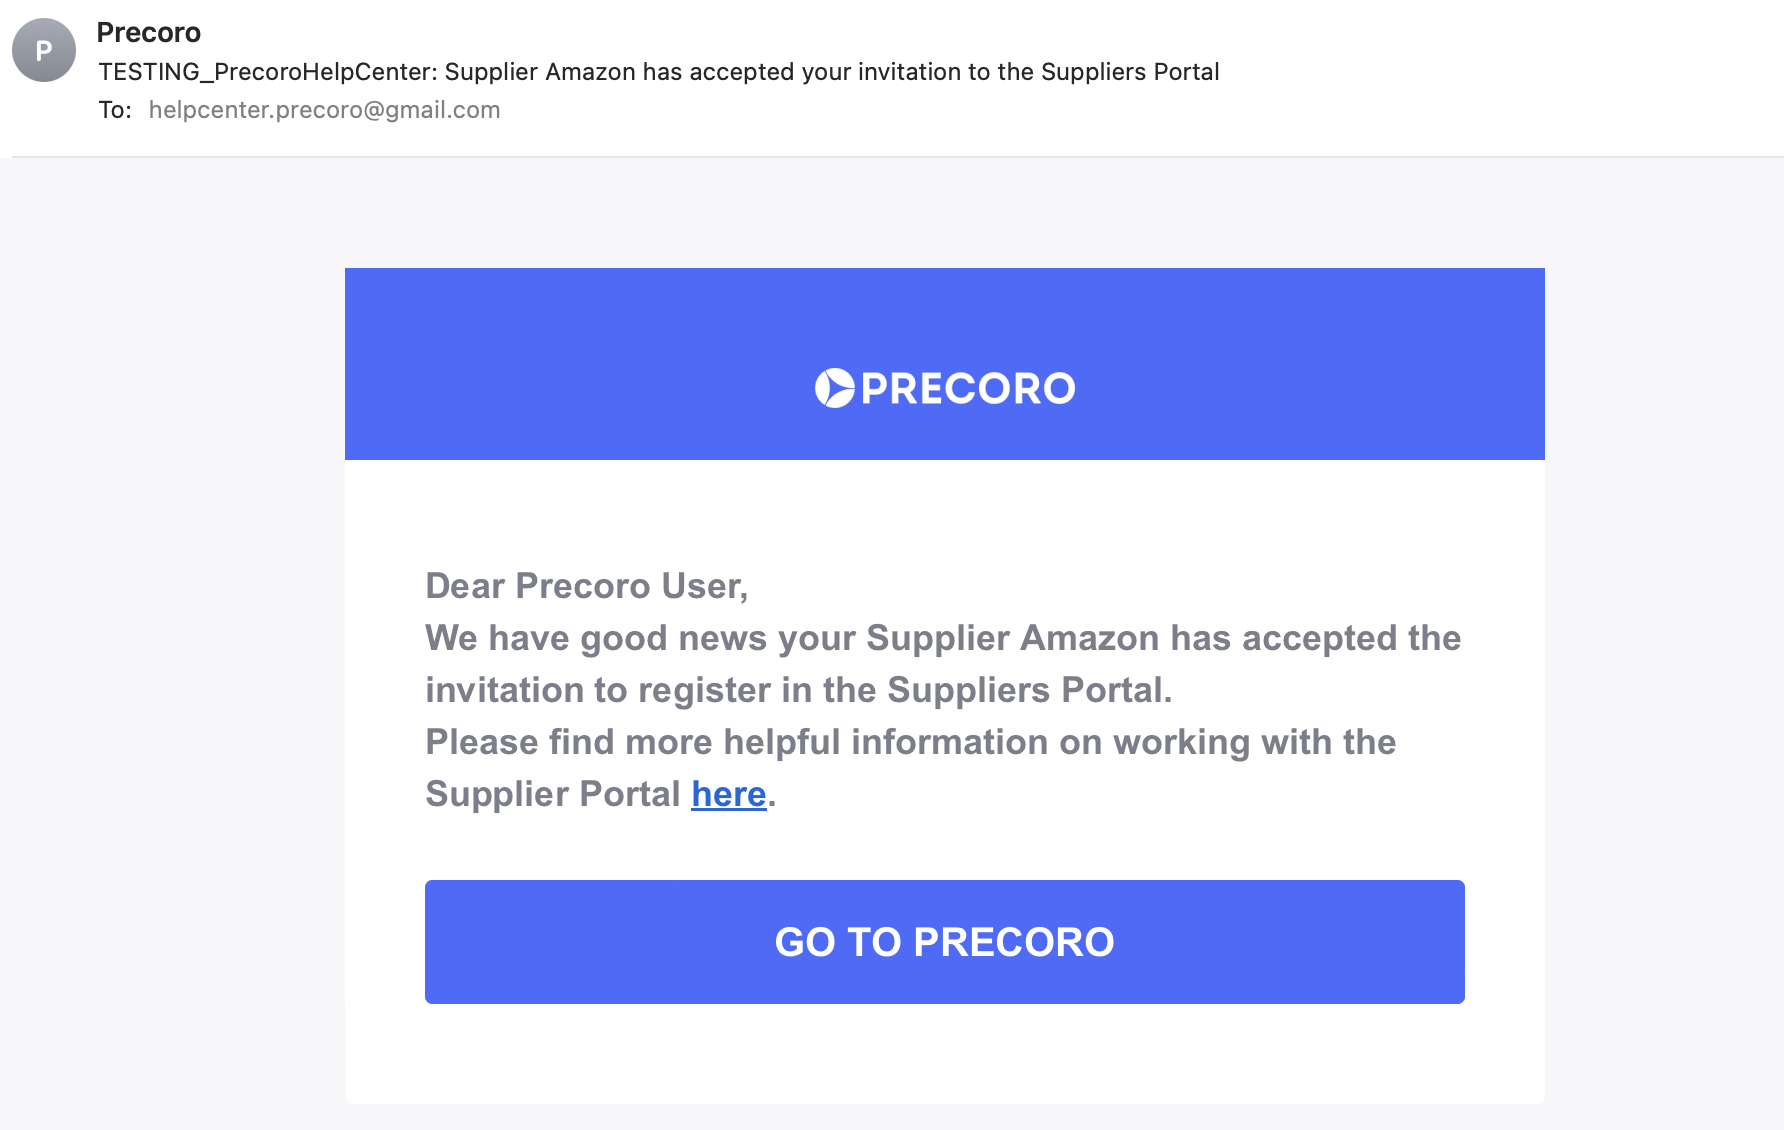
The letter will read as follows, letting you know that the Supplier has accepted your invitation:
How to Resend Invites for Suppliers to the Portal
You can resubmit an invitation to the Supplier Portal without having to create a new one. To do that:
1. In Supplier Management, click on Invitation to the Supplier Portal.
2. On the Sent Invitations page, you can see the new Action column with a Resend button that makes it possible to resubmit the letter.
💡 Please note: The Resend button is only available when the Supplier has not yet registered by setting a password in Precoro.
Track the Supplier Portal Invitations Statuses
You can view and track the invitation statuses on the Invitation to the Supplier Portal page:
- Sent — when the invitation has been sent.
- Opened — when the supplier opens the letter for the first time.
- Registered — when the supplier enters Precoro for the first time.
- Failed — when the letter you sent did not reach the supplier’s inbox for one of the possible reasons listed below:
- The letter was sent, but the server rejected it.
- The mail does not exist.
- Any other unexpected error that prevented the email from reaching the recipient.

How to Send POs to a New Supplier Automatically
To do that, follow this instruction:
1. Go to Supplier Management, find your new supplier, and press the Edit button.
2. In the Automatic PO sending field, select Yes → Update.
If there are multiple new suppliers, you can send them POs in bulk:
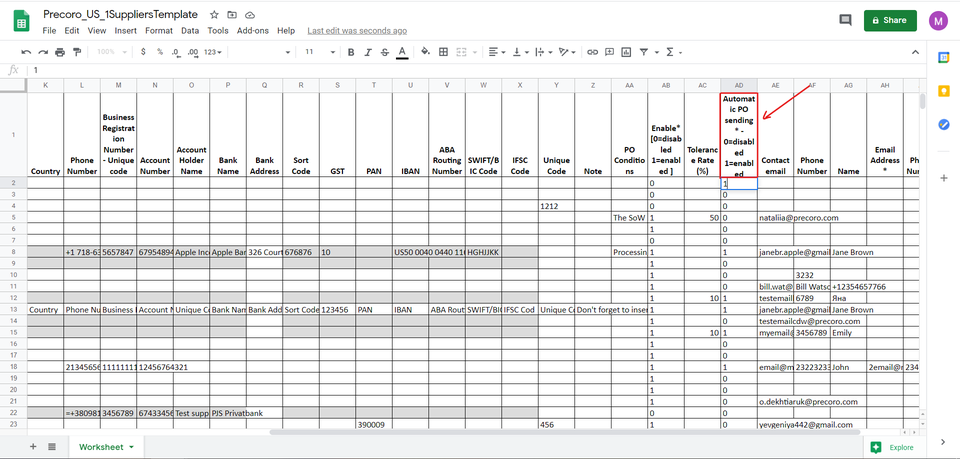
1. In Supplier Management, click Update Suppliers and download the XSLX file.
2. Find the Automatic PO sending column and enter “1” for the suppliers to whom the order should be sent automatically.
3. Save the file and upload it back to Precoro.